You’ve got to give Instagram credit for staying the course. They have always been dedicated to being an app exclusively for mobile devices. Photographers who shoot with cameras have always been at a disadvantage — having to use an array of workarounds to edit photos on their computers before sharing them to a mobile device.
One of those workarounds involves sharing your photos to Instagram from your Mac. Unfortunately, it’s not as straightforward as using the mobile app, but once you get the steps down, it almost becomes second nature.


Is there an Instagram app for Mac?
There is not an Instagram app for posting photos to Instagram from your Mac. You can, however, go to Instagram.com on any computer and log in to your account to view and comment on photos. Uploading photos is another story altogether.
How to post on Instagram from Mac using your browser
Depending on which browser you use on your Mac, the technique for uploading photos to Instagram will be slightly different. In this article, we’ll provide instructions for using the two most popular Mac browsers: Safari and Google Chrome.

How to post to Instagram from Mac using Safari
If Safari is your browser of choice, you can use it to upload a photo to Instagram using developer tools, which will allow you to view Instagram exactly as if you were using the mobile app on your phone:
- Open Safari on your Mac.
- From the top menu, choose Safari > Preferences.
- Choose Advanced from the menu tabs at the top of the window.
- Check the box next to “Show Develop menu in menu bar.”
- Now go to Instagram.com in Safari.
- From the top menu, click on Develop > User Agent > Safari > iOS (current version) > iPhone.
- You should see Instagram exactly as it would appear on your iPhone.
- To upload a photo, tap the + icon at the bottom of the screen, just like you would on the mobile Instagram app. This will open your files on your Mac so you can choose a photo to add.
- The rest of the process works just like it does within the Instagram app. The only limitations are that you can’t add videos or gallery posts, just single photos.

How to upload to Instagram from Mac with Google Chrome
If you’re using the Chrome browser with your Mac, there’s an equally easy way to upload your photos to Instagram on your computer:
- Open a tab in Google Chrome.
- Click on the three vertical dots in the upper-right corner and click on More Tools.
- Click on Developer Tools.
- Developer Tools will open on the right side of your screen. You will see a phone/tablet icon in the upper-left corner of the Developer Tools Screen. Toggle this icon so you see the mobile view in your main window.
- If you don’t see the + icon at the bottom of the screen, click on the refresh button, and it should appear.
- When you click on the + icon, a window will appear with your Mac files. Choose the photo you want to upload and proceed as you normally would to upload your photo.
Post to Instagram from Mac using third-party apps
Using Developer Tools in Chrome and the Develop menu in Safari is relatively straightforward, but it does require a few extra steps. If you want to set something up that you can use over and over again without any hassle, consider using a third-party app for Instagram.
Two Instagram posting apps stand out for their ease of use and beautiful interface — Flume and PhotoDesk. Here’s how to post to Instagram using both of them.
How to post to Instagram from Mac using Flume
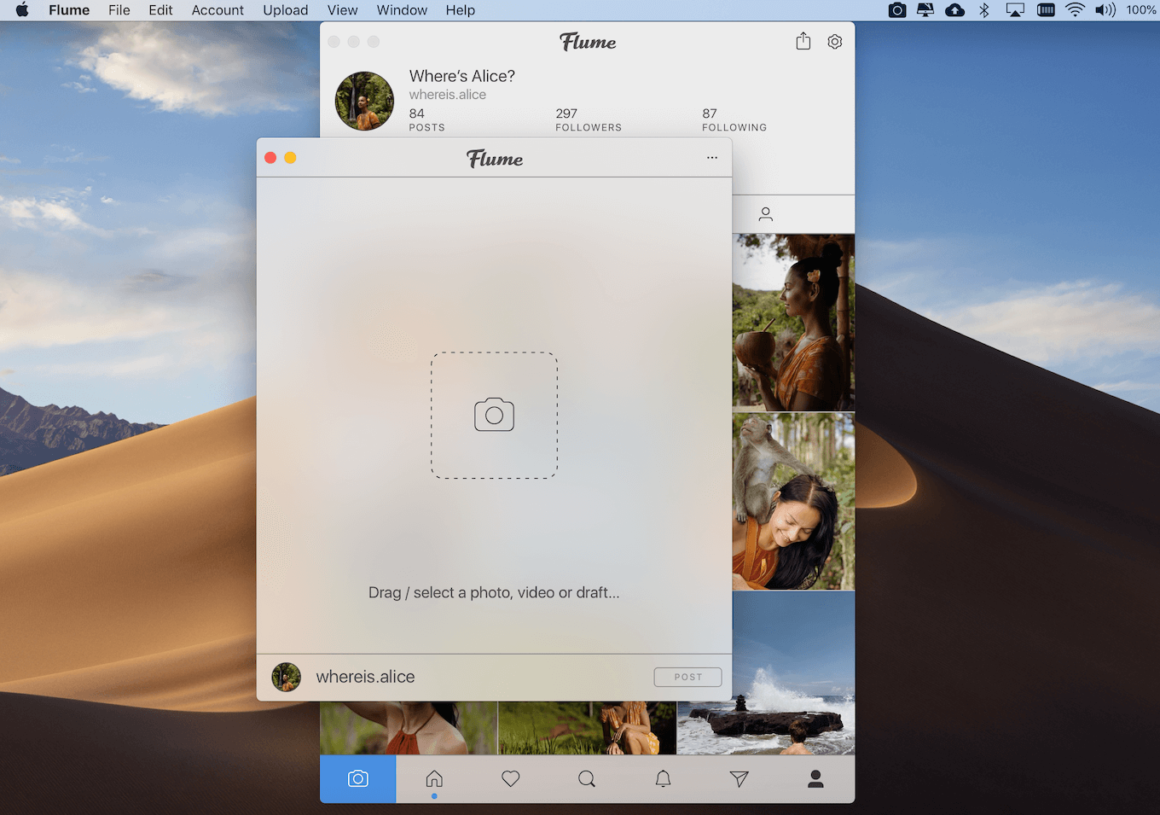
Flume makes it possible to navigate Instagram from your Mac and includes the ability to like and comment on photos, follow and unfollow accounts, and direct message accounts. In order to use the upload feature, you will have to purchase the premium version of the app.
Here’s how to use Flume to upload a post to Instagram from your Mac:
- Get the premium version of Flume on your Mac.
- A window will appear with your Instagram feed.
- Scroll to the bottom of the window and click on the camera icon.
- A separate window will appear. You can drag a photo or video from your Mac into this window, or you can click on the camera icon to open your files and choose a photo.
- Once you’ve loaded your photo, you can type a caption, add hashtags, and tag accounts. You can also use Instagram’s native filters and edit screen before uploading your photo.
- When you are finished creating your post, click the Post button to upload it to Instagram.

How to upload to Instagram from Mac with PhotoDesk
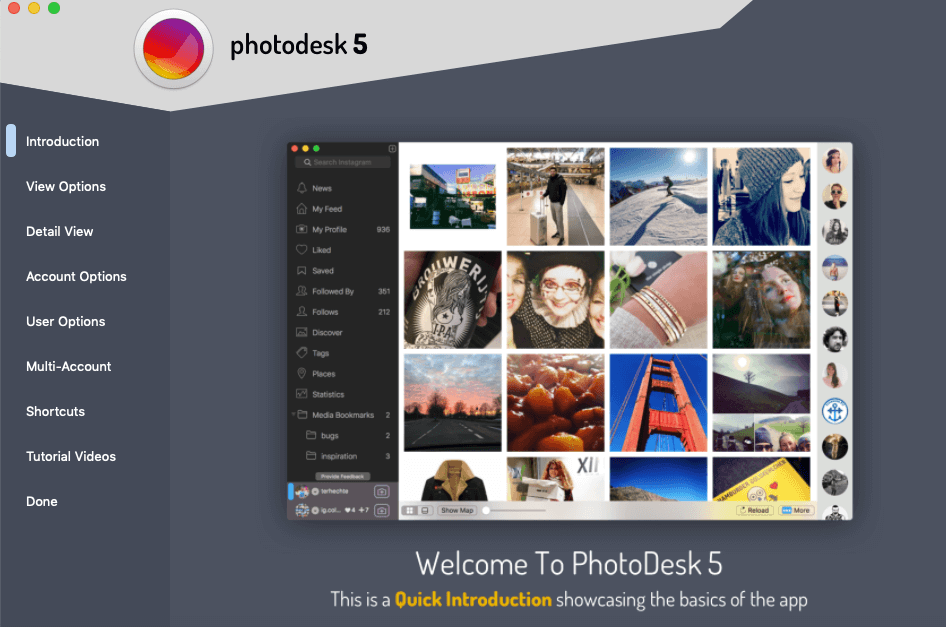
PhotoDesk is another feature-packed app that is perfect for doing all of your Instagram tasks from the comfort of your Mac. It even provides detailed statistics so you can see how your posts are doing within the app. You can start by accessing a free trial, but after that, you’ll have to purchase the premium version.
Here’s how to upload to Instagram using PhotoDesk.
- Download PhotoDesk and open the app on your Mac.
- At the bottom of your dashboard, you’ll see your username with a camera icon next to it. Click on the camera icon.
- Choose a photo from your files and click Open a New Image.
- A new window will appear with a variety of editing tools. These are similar but not identical to Instagram’s editing tools.
- When you’re finished editing your photo, click Post to go to the next screen.
- Now you can add your caption and hashtags.
- When you’re finished, click Export to save your photo to Instagram.

Whether you choose to upload photos to Instagram using your browser or a third-party app will depend on the features you want to use. If you’re using a browser, you will have limited functionality and won’t be able to post videos or gallery posts. Using one of the apps mentioned above will give you more features, but, of course, you’ll have to pay for them. While neither method is perfect, they’ll have to do until Instagram adds the ability to upload from its web browser or develops an app just for Mac users.


