Want to make some edits to your photos or videos before posting them on Instagram for the world to see? Sure, there are hundreds of apps that let you apply filters and effects to your creations before you post them, but Instagram filters are still among the best.
With Instagram, you can apply filters and effects seamlessly before posting. And the best part is that it only takes seconds to edit and post your favorite shots. Here are some of the best Instagram filters and effects, along with some tips for using them.


Our favorite Instagram Story filters and effects
Want to make your Instagram Story stand out? Choose from several filters and effects (or both) before posting.
You may be wondering what the difference is between effects and filters for your Instagram Story. Filters change the overall look of your photo and can make your photo warmer, cooler, or black and white. Effects, on the other hand, are more dramatic changes, adding new elements to your photo or video, including animation, digital makeup, or unusual patterns. Here are some of the best Instagram filters and effects we love to love.
Oslo: The best Instagram Story filter for selfies
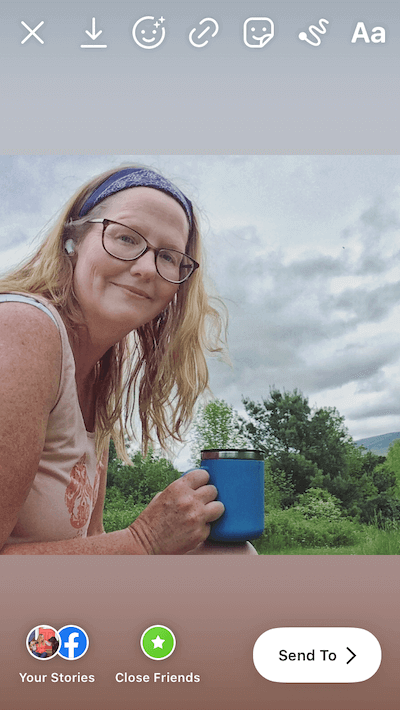

Oslo is our first choice for striking selfies. It gently warms up skin tones and increases contrast for a look that is both natural and subtle. If you like the look of Oslo, don’t stop at selfies — landscapes, food, and street scenes also look great behind the Oslo filter!
Tokyo: An amazing black-and-white Story filter
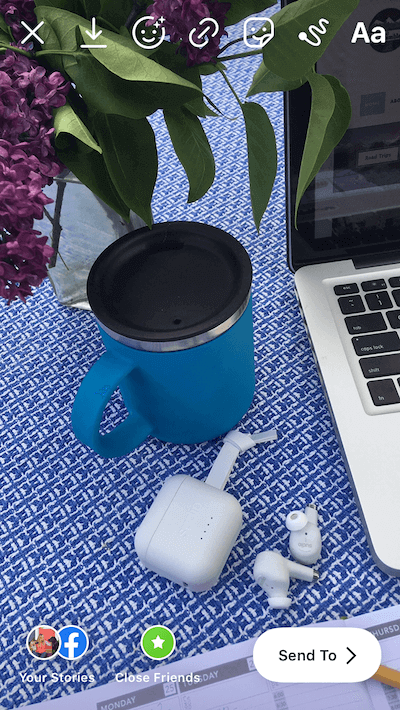
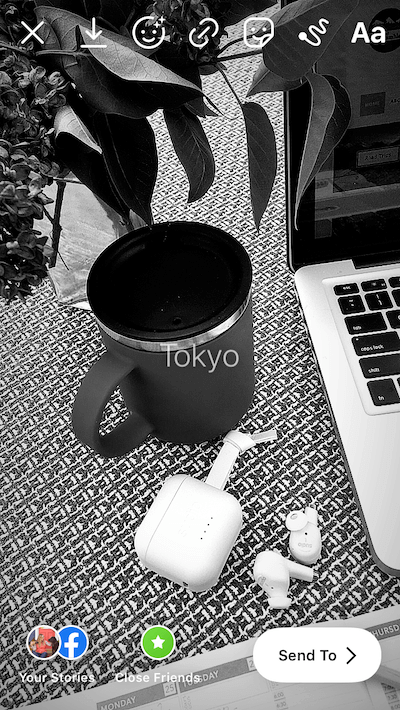
Black and white isn’t always the best choice for posting to Instagram Stories, but when you need to douse the color, you can do it easily and beautifully with the Tokyo filter. Tokyo is the only black-and-white filter available on Instagram Stories. It also adds dramatic shadows and bright whites for the maximum wow factor.
Sunglasses: Like looking through vintage shades

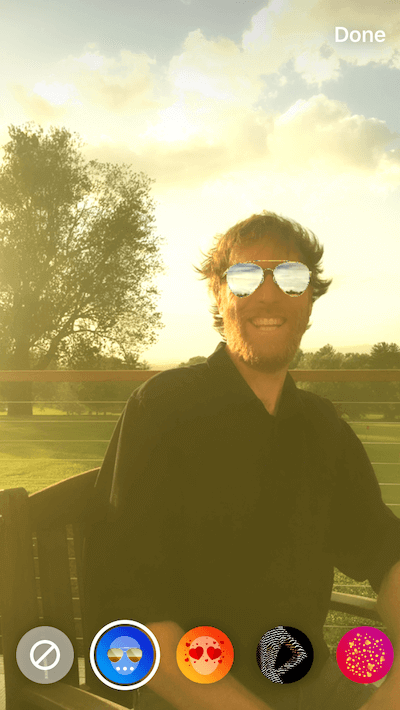
Not only does Sunglasses by Instagram add vintage sunglasses to the person in your photo or video, but it also washes them with a warm tint for a few seconds. The sunglasses effect erases flaws, lowers saturation, and makes your Story look like a warm summer day in the 1960s. (If you don’t have a human subject in your photo, you’ll get the same photo effect, minus the shades.)
Prism Light: A subtle rainbow effect for skies and landscapes
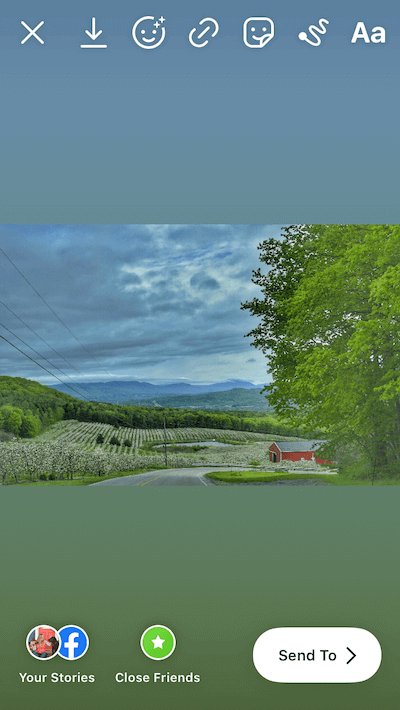
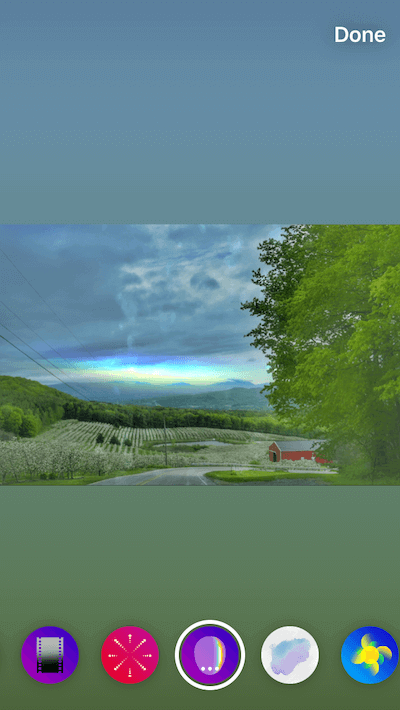
Prism Light is another fun effect created by Instagram. With it, you can transform the darkest landscape shot with a horizontal beam of rainbow-tinted light. This is useful for those scenes where there isn’t really a strong subject matter or focus. Add Prism Light, and just like that, you’ve got some magic to work with.
Glitter: A story effect when you need a shower of glitter
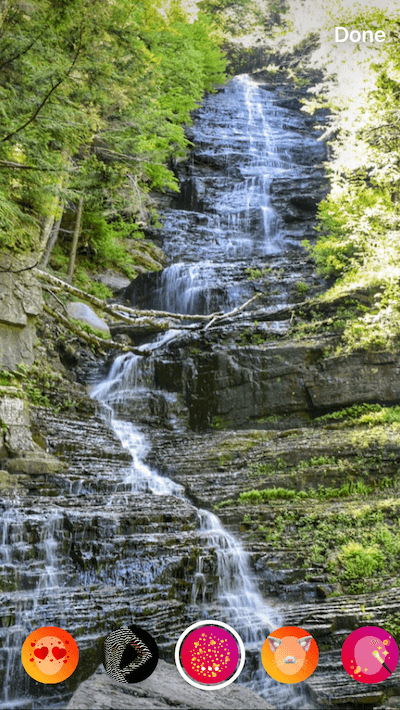
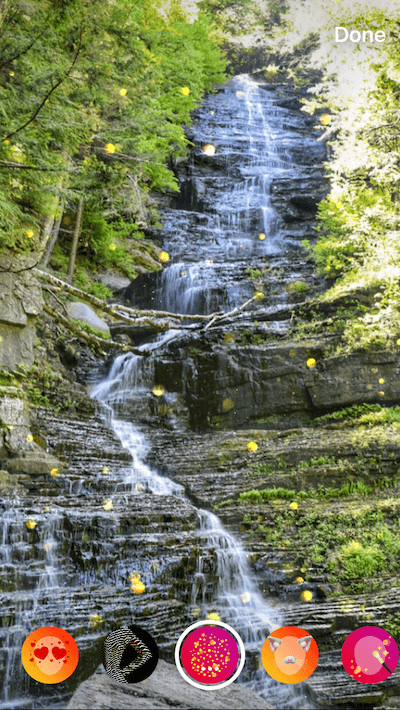
Everyone could use a bit of glitter raining down on their favorite scene every now and then, and Glitter by Instagram does just that, highlighting your Story frame with yellow pricks of light that fade in and out as they gently fall across the screen. This one is perfect for a subject that you really want to highlight — your favorite dessert, a new hairstyle, or an adorable kitten. When used sparingly, Glitter is a fun way to show your viewers what matters most to you.
How to apply Instagram Story filters
There are 11 Story filters hidden within your Story screen. To find them, all you have to do is:
- Open your Stories.
- Choose a photo or video.
- Start swiping from right to left.
When you find one you like, simply tap Your Stories to share it with your followers.
Each Instagram Story filter is named after a city around the world. While we love Oslo and Tokyo, you may find that Paris or Melbourne is the perfect filter to make your Story unique. Experiment with Story filters to find out.
How to access Instagram Story effects
Open Instagram Stories and add a photo or video. You can access effects by tapping the smiley face icon at the top of your screen. From there, all you have to do is scroll through the effects and tap on one to see it in action.
You’ll notice that many of the effect icons show an oval in the center. These represent a blank face, meaning that the effects are intended to be applied to portraits or selfies. Once you’ve found the perfect effect for your Story, just tap Done to apply it.
The best Instagram filters for photo and video posts
The filters available for Instagram photos and videos that you share as posts are totally different than the ones available for your Stories. This isn’t done to confuse you — just to keep you on your toes and to give you more creative options when posting to Instagram. Want to find the perfect filter for your Instagram posts? Here are a few that we’re loving right now.
Clarendon: A filter for everything
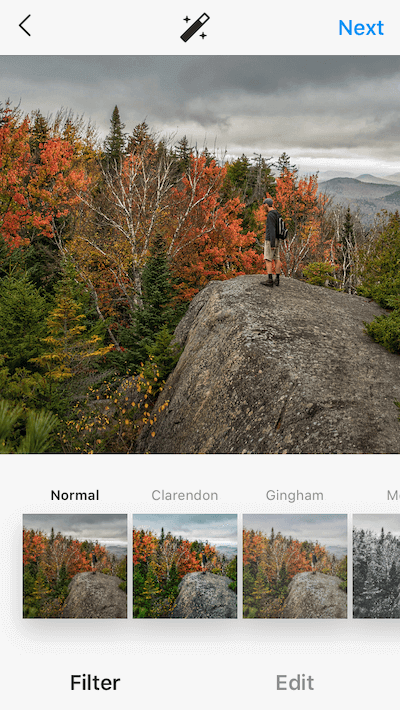
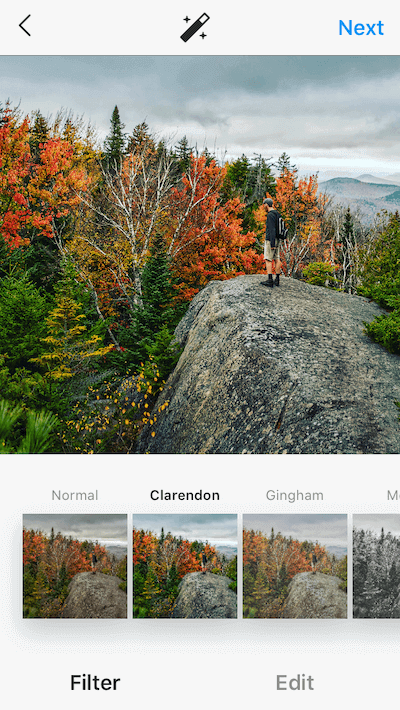
Clarendon is the most popular filter on Instagram, according to Lifewire, probably because of its slightly oversaturated look and high-contrast effect. The Clarendon filter adds an overall cool tint to your photo, but skin tones remain warm and natural. From landscapes to portraits, Clarendon is the filter to use when you don’t know what to use.
Juno: A subtle pop of color for food shots and street scenes
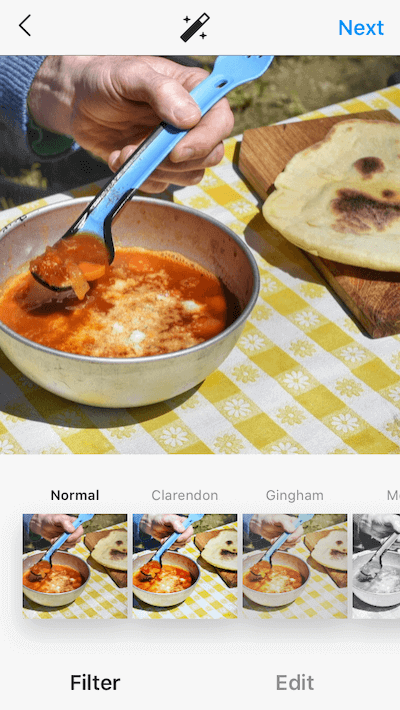
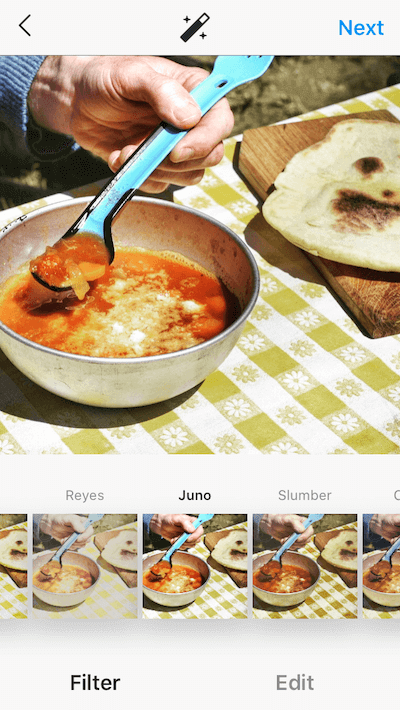
Want a natural-looking filter that won’t change the overall look that you’ve already achieved with great photography? Try the Juno filter, which makes colors more vivid while bumping up the contrast. Juno will also intensify the warmer tones in your photo, which is great for colorful scenes like a picnic on the beach or a city streetscape.
Rise: A warm filter for portraits


Think of the Rise filter as a dose of morning sunshine. It adds a warm glow to your photos, making this filter a great choice for selfies and portraits, no matter what time of day you choose to use it.
Sutro: A strong vignette filter to highlight your subject
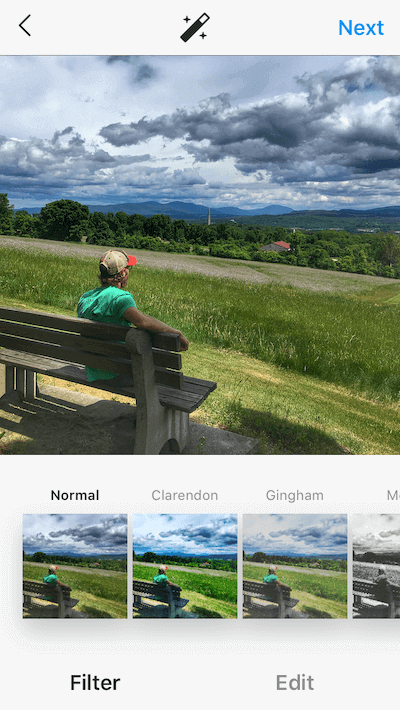
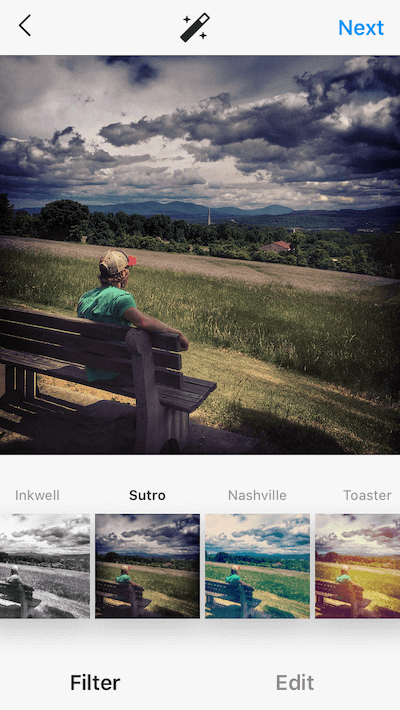
If you want to emphasize a central subject in your Instagram post, it’s worth checking out the Sutro filter, which significantly darkens the edge of your photo while adding highlights to the center. Sutro also adds drama to dark elements like storm clouds and is perfect for moody travel photos.
Hefe: A dramatic Instagram filter for awe-inspiring landscapes
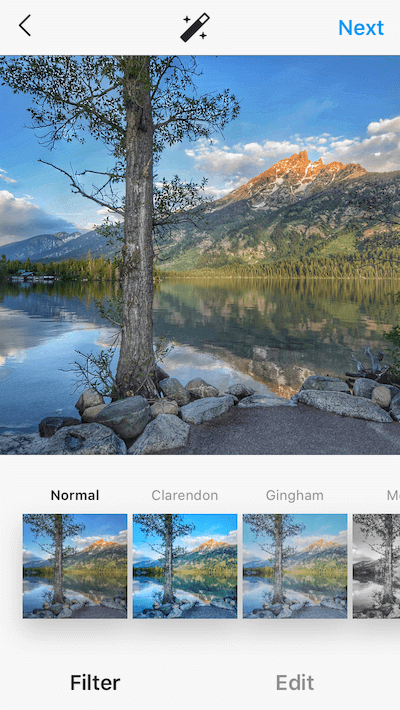
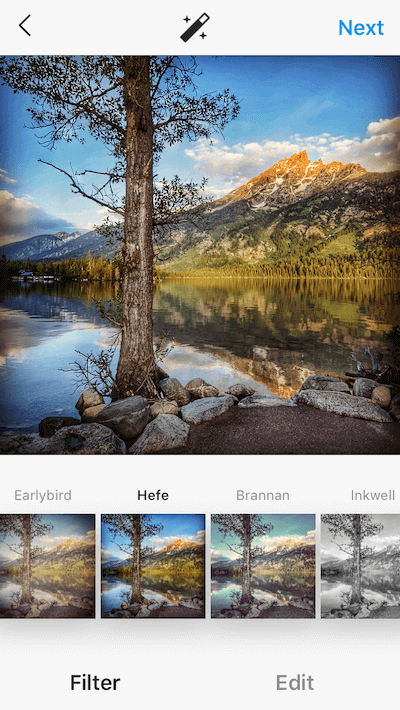
Hefe is not a subtle filter, but it’s fabulous for adding drama to otherwise flat scenes. With Hefe, you can instantly make your photo sharper and more saturated with deeper shadows. Hefe landscapes are stunning and otherworldly when not overdone — perfect for majestic mountains, towering skyscrapers, or the setting sun.
How to use Instagram filters for posts
Using filters on Instagram is quick and easy — and a bit addictive. Here’s how to apply your favorite filter to your next photo:
- Open Instagram on your iPhone.
- Tap the plus sign at the bottom of your screen > Post.
- Tap Library and choose a photo.
- Tap Next in the top-right corner.
- The filter options will appear at the bottom of the screen.
- Scroll through and choose one to add to your photo.
- If you like a certain filter but want a less dramatic look, tap the filter again, and a slider will appear.
- Move the slider from 100, which is full power, to the left for a more subtle effect.
- When you are happy with the results, tap Done and Next to add your captions and hashtags as normal.
Creating unique Instagram posts and Stories is incredibly fun, and adding filters and effects is an easy way to make your photos and videos more unique. No matter what story you’re trying to tell, there’s a filter or effect to help you do it creatively. For more Instagram know-how, check out the Instagram photo size guide we published earlier.
