Creating professional-quality YouTube videos can take a lot of time and can require some bulky gear, such as a desktop computer. But if you’re traveling and need to create a video quickly, what do you do? The good news is, you can do everything — from coming up with the concept to uploading your video to YouTube — using only your iPhone. And yes, that means you can shoot and edit without needing to have your heavy equipment or desktop with you.
In this article, you’ll read about how to make a YouTube video from scratch. And you’ll learn some additional tips to help take your videos up a notch and ensure that you won’t lose any quality just because you’re using your phone.
How to create a YouTube video in 4 steps
Although it’s possible to simply record a video using the Camera app and upload it directly using the YouTube app, you probably shouldn’t do this. Your video won’t look its best, which means you might not get the performance or results out of it that you’d like. So follow these steps to help keep your content looking professional, even if you’re only using your iPhone:
- Plan your video.
- Shoot your video.
- Edit the video on your iPhone.
- Put your video on YouTube.
Step 1. Plan your video
While it’s tempting to run out and start filming videos with your iPhone right away, the better you plan for a video, the better the outcome will be. The first thing you should ask yourself is who your video is for. Because once you have that figured out, you’ll be able to research ideas, search for inspiration, and write an outline for your video.
Research similar videos
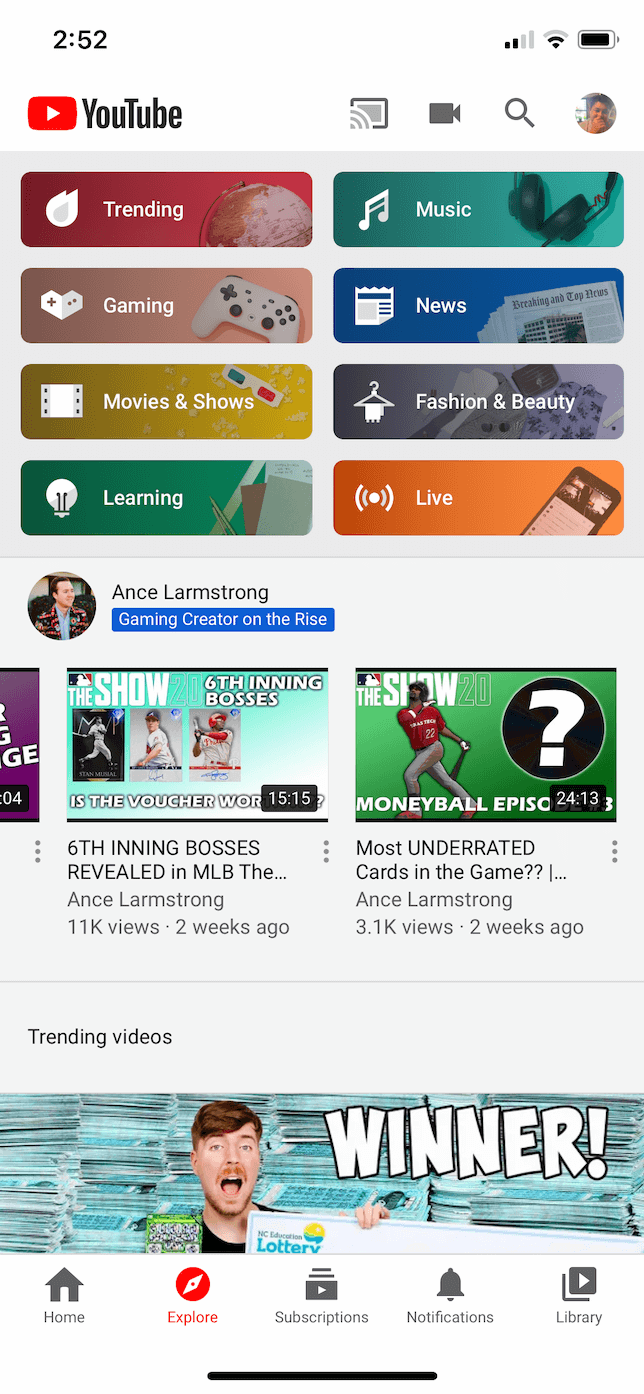
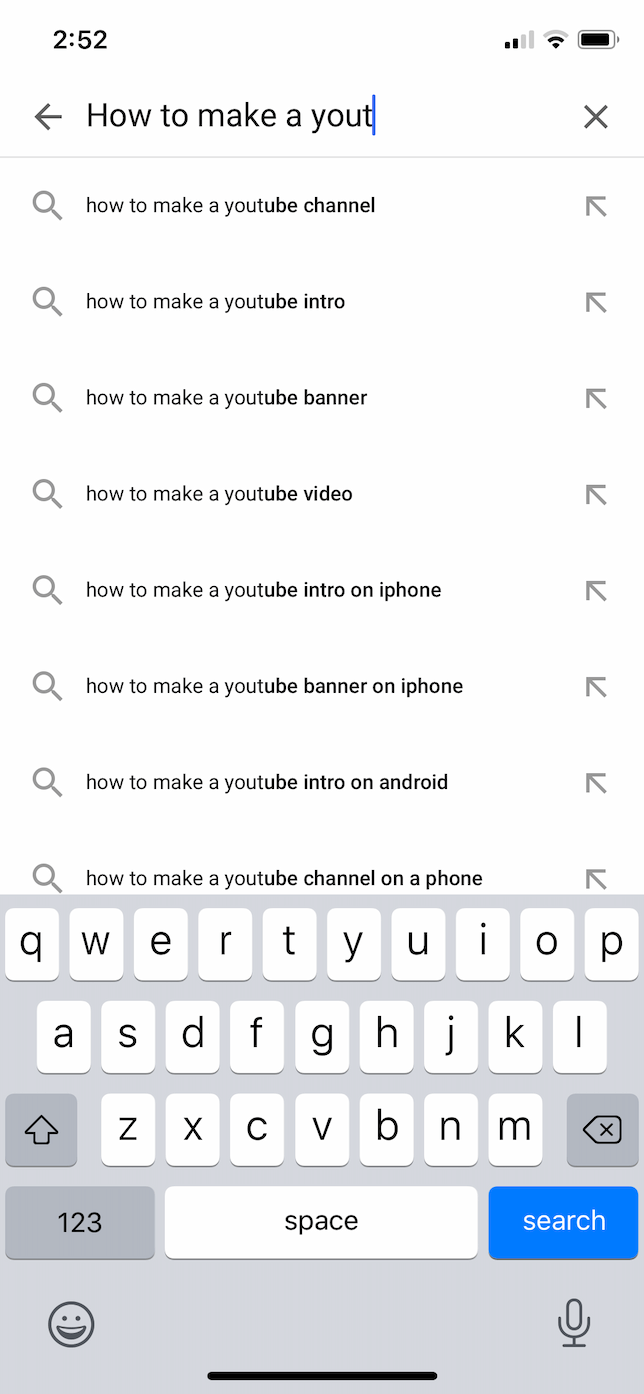
After you know who your audience is, you can do a quick search on YouTube to see what people are searching for and what videos are already out there. When you know what sort of videos other people have already made, you can figure out what will make your video special or unique.
Write a script or outline
Sometimes when you’re recording videos, you get lucky and film something genuinely amazing. But the problem with luck is that it’s tough to recreate. Writing a complete script might sound a little intimidating, but having at least an outline will help you figure out a structure and overall flow for your videos. And it can save you time because you already know exactly what you need to record, and you’re not guessing what else you should film.
What equipment do you need to make a YouTube video?
Equipment can be a bit of a slippery slope. If you’re anything like us, you’ll be tempted to buy every gadget available. The best thing to do is to make a couple of videos and see where they could use some improvement.
The following are some basic pieces of equipment you may want to consider picking up:
- Joby Tripod: The great thing about this tripod is that you’re not limited to only flat surfaces. You can also wrap it around things like a tree branch or the back of a chair. Plus, it’s lightweight and portable, which makes it great for travel.
- Rode Microphone: If you want to record videos that include audio, a directional microphone like this one will help you get better sound.
- GLOUE Selfie Light: Lighting can make a huge difference in your video. A portable ring light like this can clip to the top of your iPhone and help brighten things up.
Step 2. Shoot your video
Once you’ve figured out what your video will be about, it’s time to shoot it. To make sure your videos look the best they possibly can, you want to keep your iPhone as stable as you can and check that everything’s in focus. When it comes to lighting, you don’t always have control over your filming environment. So, even though you can’t change the actual light, there are some things you can do with your iPhone to help you make your videos look more professional.
Keep an eye on your lighting and exposure
You can adjust your video’s exposure by tapping on a darker or lighter area of your screen. But in certain situations, it can be hard to find the right balance.
For instance, if you’re shooting outdoors, try to film in shaded areas. That way, the lighting is more evenly balanced. Or if you’re filming inside, try to avoid shooting windows, as the light from outside may be too bright, making it difficult — if not impossible — for your iPhone to adjust the exposure.
Try a different camera app
The default Camera app is great in iOS, but the more you shoot, the more you may find that you want an increased level of control over your visuals. For this, you can try an app like Filmic Pro, which will give you easy access to options like adjusting your aperture and white balance. And for more advanced users, it will provide you with exposure warnings and focus peaking.
Step 3. Edit your video on iPhone
After you’ve filmed your video, it’s time to edit it before you upload it to YouTube. If you only want to trim or crop your videos, you can do so in the Photos app that’s native to iOS. But if you want to do a little more with your videos, you can download Apple’s video-editing app, iMovie, for your iPhone.
How to trim and crop your YouTube video
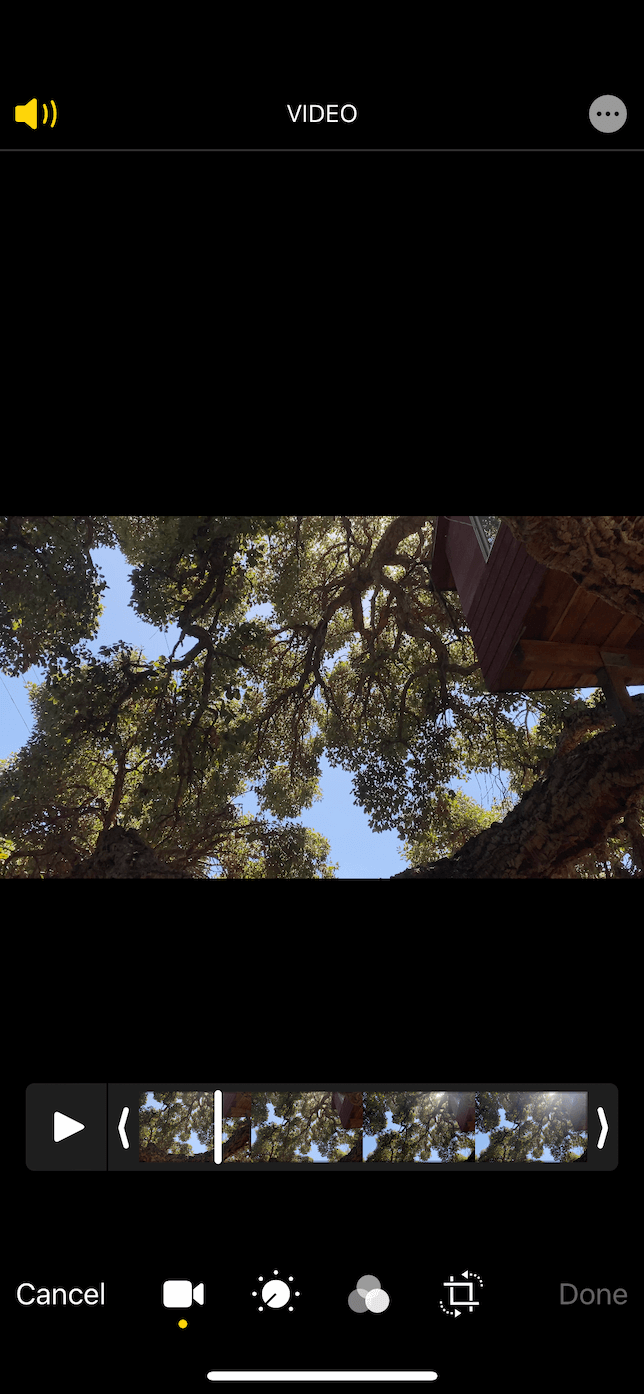
Cutting down the beginning or end of a video is really simple with the Photos app. Just follow these steps:
- Open the Photos app on your iPhone.
- Select the video you want to trim.
- Tap Edit in the top-right corner.
- Drag either the left or right arrow to where you want your video to begin and end. A yellow box will appear around the new duration of your video.
- When you’re happy with your selection, tap Done.
- Tap Save Video (or Save Video as New Clip if you want to keep both versions).
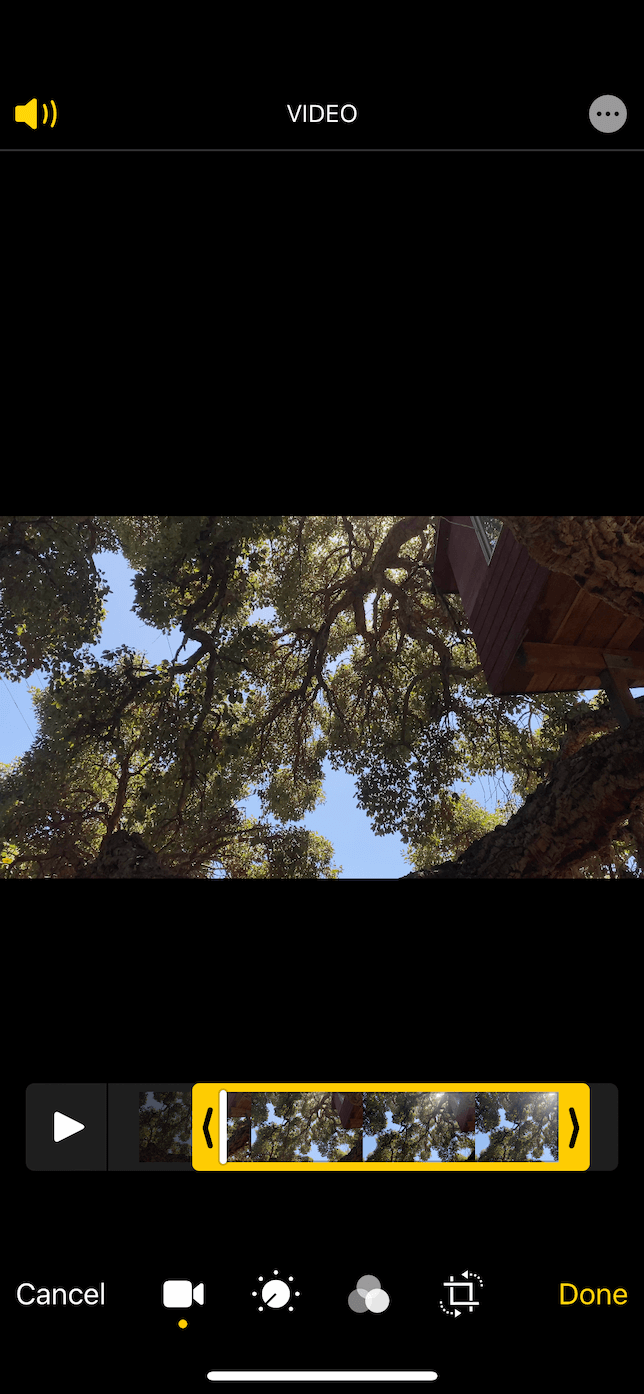
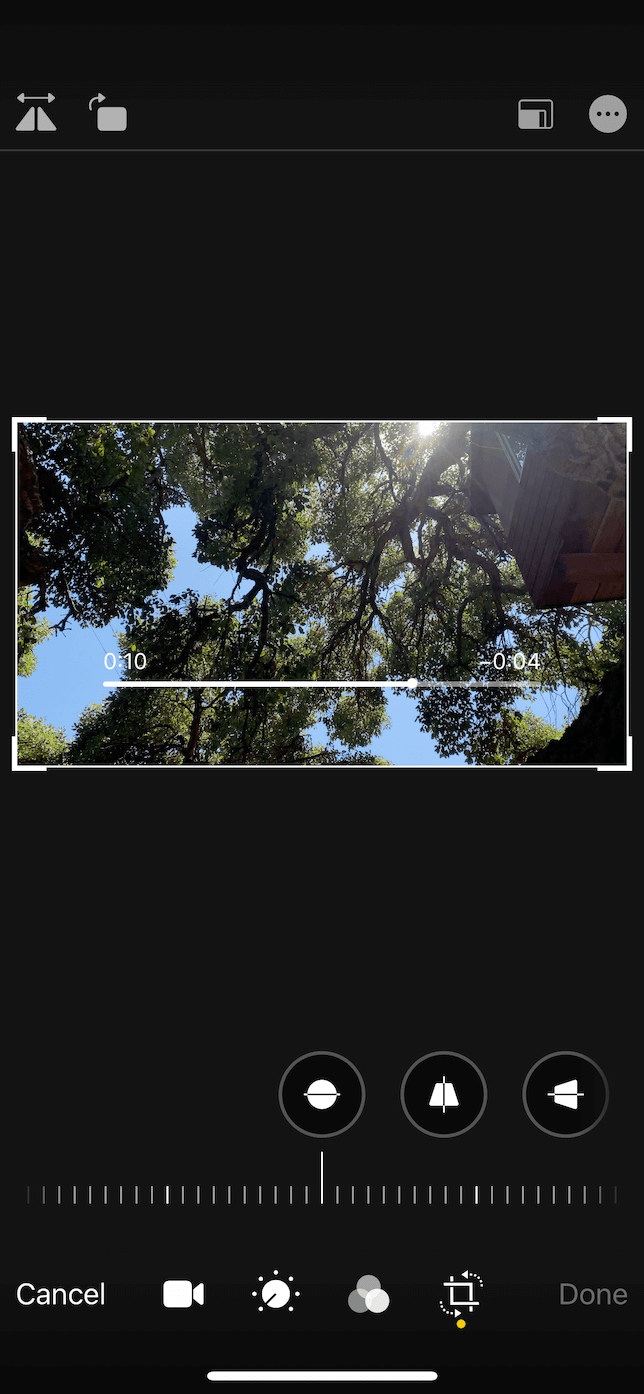
If you want to crop a video’s image size or reframe your video, use these steps in the Photos app:
- Select the video to crop.
- Tap Edit at the top.
- Tap the Crop icon at the bottom right.
- Drag any of the corners to crop.
- Tap Done and choose either Save Video or Save Video as New Clip.
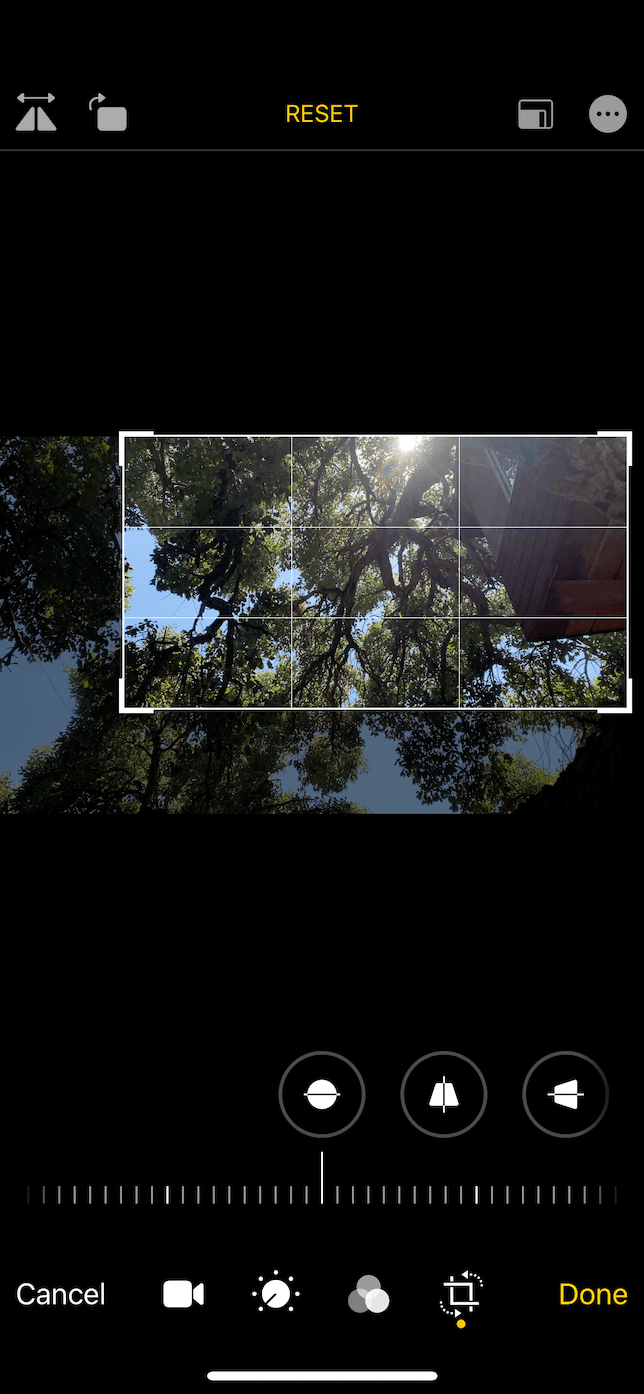
How to add music and voiceover
Maybe you want to add music or record a voiceover for your video. You can do all of that on your iPhone, thanks to iMovie.
Here’s how to add music to your video:
- Open iMovie.
- Tap Create Project > Movie.
- Select your video.
- Tap +.
- If you want to choose a song from your Music app, tap Audio > My Music. To use a stock song from iMovie, tap Audio > Soundtracks. Or you can add a song from your Files app if you tap Files.
- The song will appear as a green bar under your video.
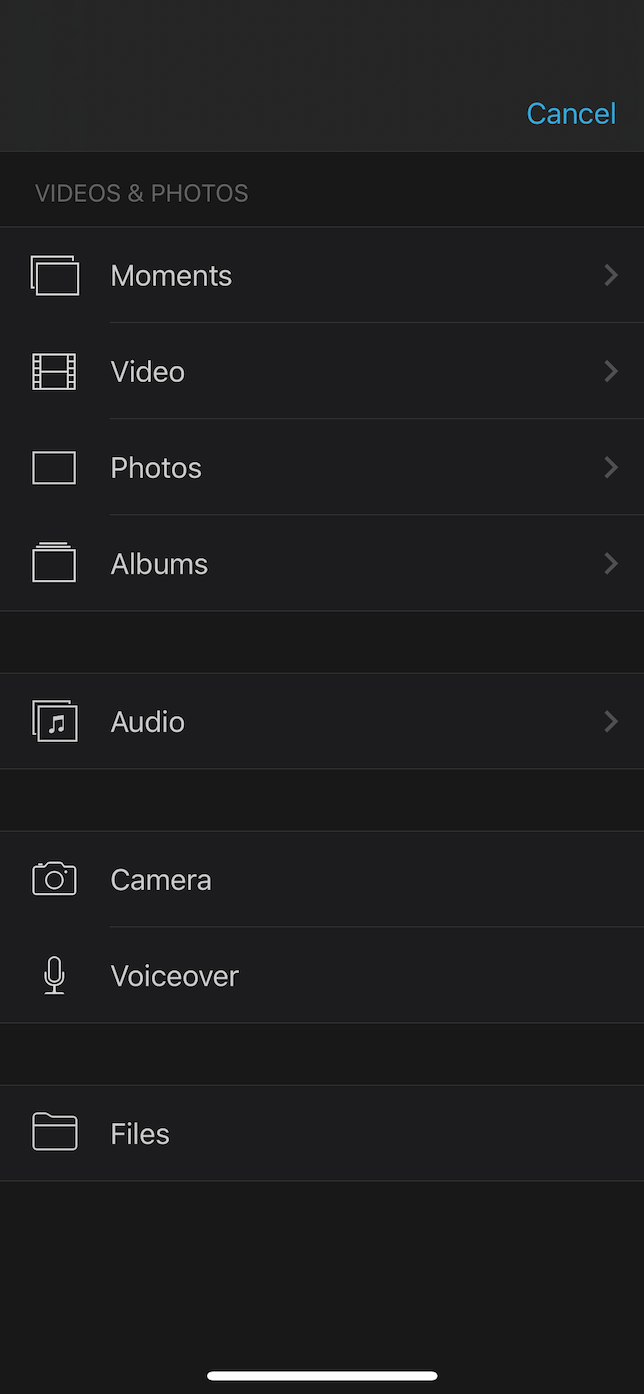
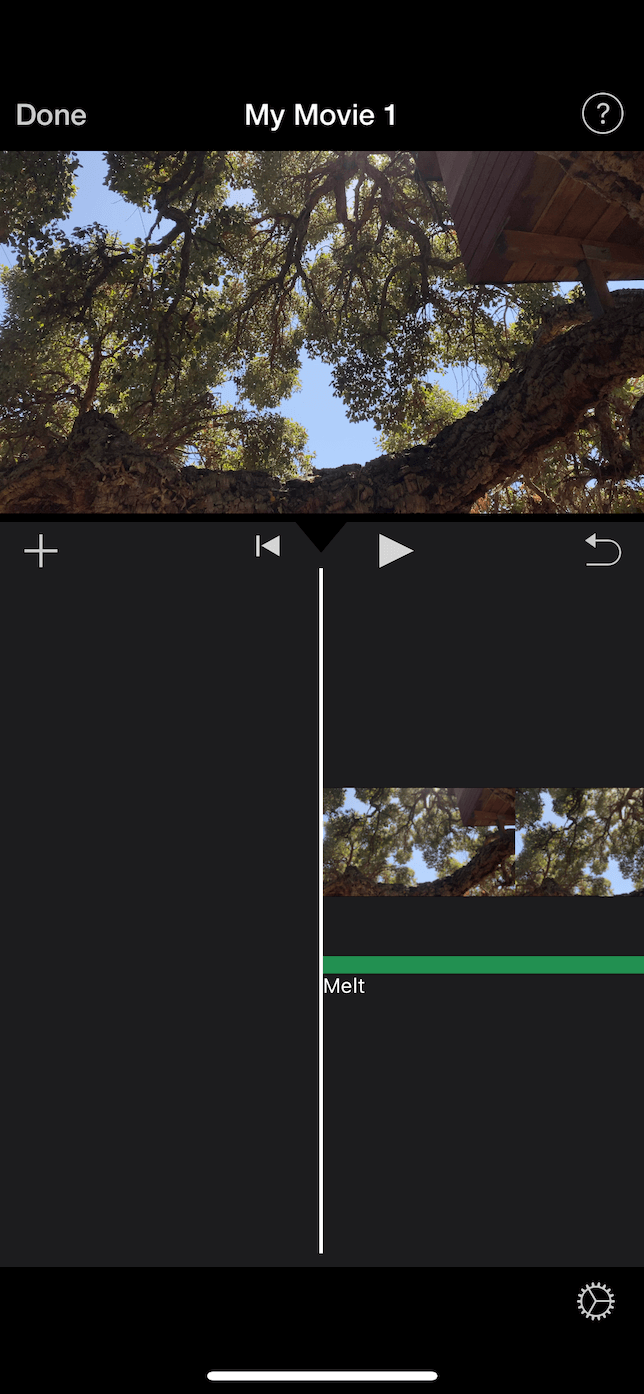
Maybe you need to add some narration or a voiceover to your video. To do so, just follow these steps:
- Open iMovie.
- Tap Create Project > Movie.
- Select your video.
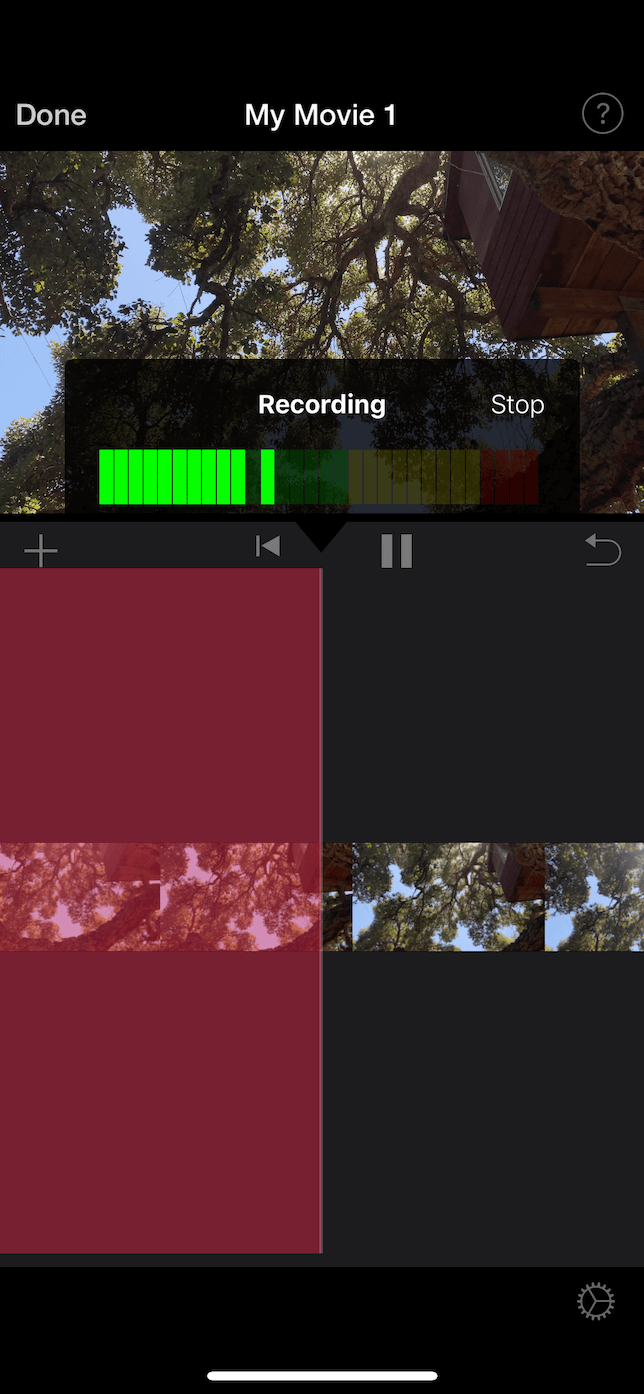
- Tap + > Voiceover. Recording controls will appear above your timeline.
- Press Record to start.
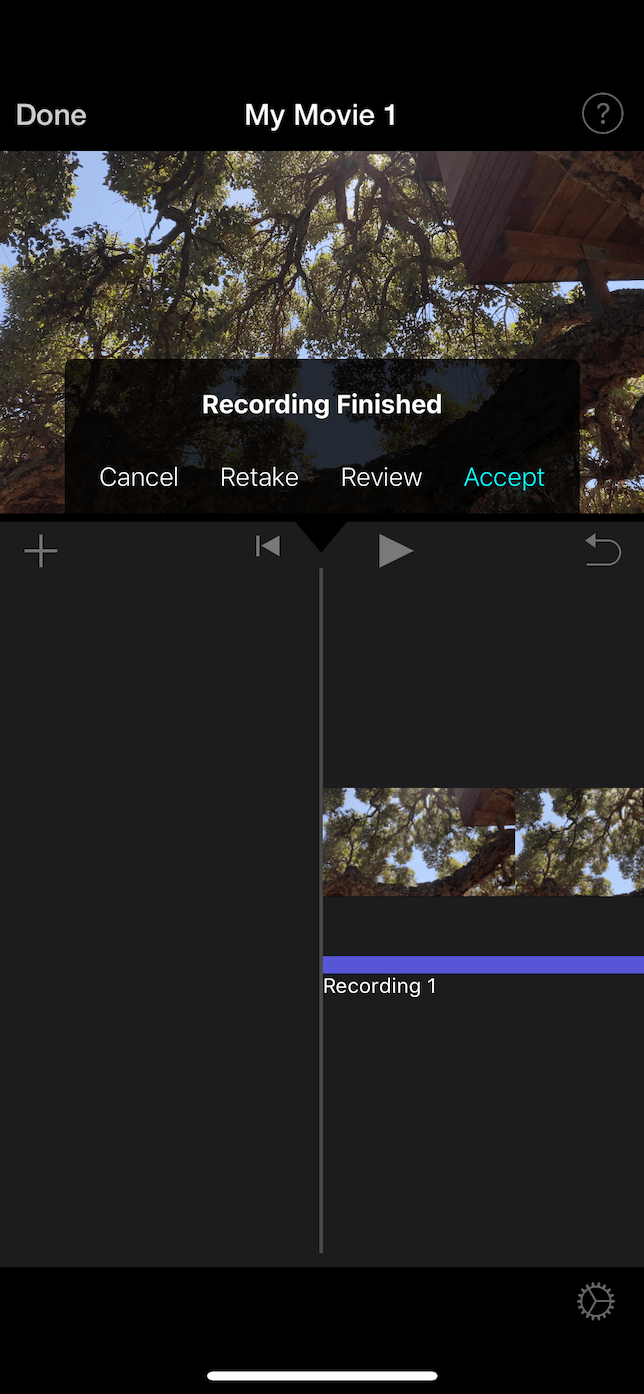
- When you’re finished, tap Stop. Then tap Review, Accept, or Retake.
Step 4. Put your video on YouTube!
You’ve planned out your video. You’ve shot it. You’ve edited it. Now it’s finally time for the world to see it. This step may seem intimidating, but trust us — uploading your video to YouTube is probably the easiest part of the whole process.
How to publish your video on YouTube
Before you publish your video on YouTube, you need to make sure you have the app downloaded from the App Store. Then you can follow these steps:
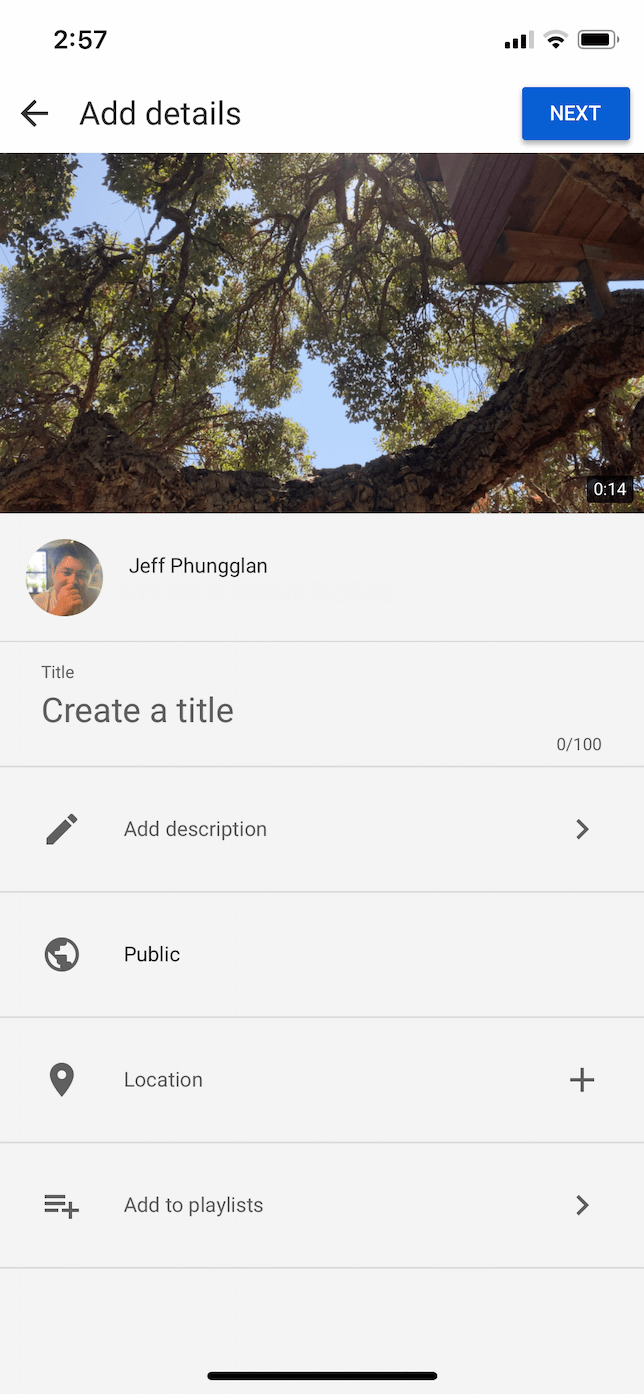
- Open the YouTube app.
- Tap the Camera icon at the top.
- Select your video.
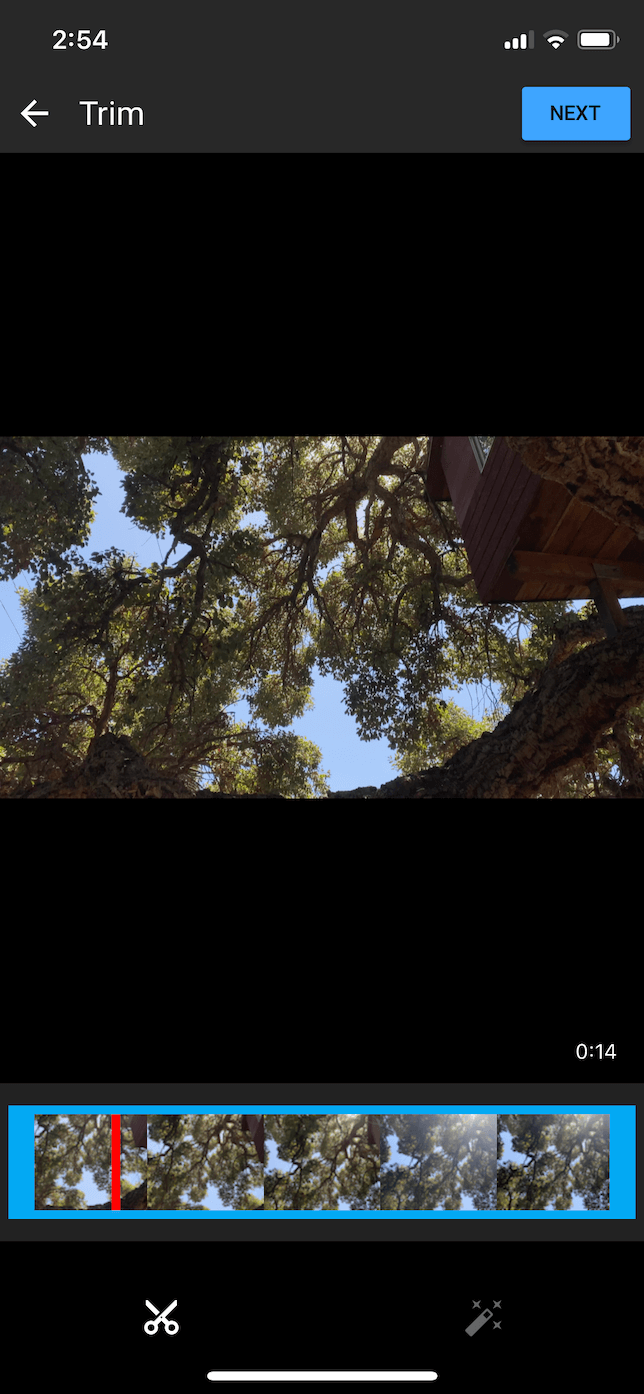
- Make some final edits with the built-in YouTube editor if you like.
- Tap Next.
- Title your video and give it a short description.
- Tap Next.
- Choose your audience settings and then tap Upload.
Best YouTube publishing tips to follow
When it comes to actually publishing your video on YouTube, there are a couple of tips you should try that can significantly impact the performance of your video:
- Create a click-worthy title. Make sure the title of your video is intriguing and engaging. If you’ve done your research on what your audience is looking for, then it shouldn’t be hard.
- Use keywords. Include keywords or phrases that people search for in your title and description.
- Self-promote your videos to your audience. The first 48 hours are crucial to your video. The more people who watch it, the more likely YouTube is to suggest it to other users. So, go ahead! Shamelessly promote your videos to all your friends and followers.
Creating great content for YouTube can be a lot of work, but it can also be very rewarding. While there’s a lot to keep in mind when making videos, from start to finish, the most important things are to have fun and not be afraid to experiment. Because just like anything else, the more you do it, the better you’ll get at creating videos.
