Do you want to reduce harsh shadows and create photos with beautiful lighting that looks natural but isn’t? Softbox lighting is great for shooting portraits, products, and other interior scenes where the natural light is lacking. It’s one of the easiest lighting setups to use, and you can even DIY your own softbox for an affordable lighting option.
What is softbox photography lighting?
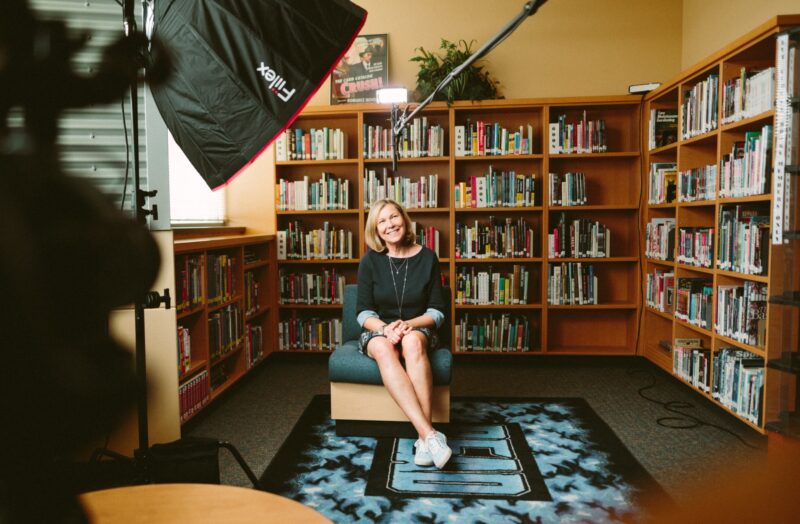
A softbox is a light modifier that diffuses light so that it is soft and appears natural, almost like window light. It is comprised of a sheer fabric cloth wrapped around a box that encloses the light source. Most softboxes are mounted on a stand. The light is then directed at the subject of your photos so that it is evenly distributed. The larger the softbox, the broader the area it can cover.
Small softboxes are great because they are very portable, but the shadows are harsher and more well-defined than light from large lighting softboxes. Generally speaking, you want your softbox light to be larger than the item you are photographing.
Do you need a softbox when shooting on iPhone?
While you don’t need a lighting softbox for iPhone photography, it can be extremely useful for certain types of photos. If you find yourself shooting a lot of portraits, flat lays, food, or products, a softbox is a great investment.
How to use softbox lighting
You can use your softbox lights for any photography project where you want soft, diffused lighting. Once you get used to your softbox setup, you’ll want to use it for all types of indoor photography.
Where to put softbox lights
Where you position your softbox lighting will require some experimentation on your part. It also depends on what you are photographing. For a portrait, raise the softbox so that the middle is positioned just above your subject’s eyes and tilt it downward at a 45-degree angle.
When shooting products or flat lays, you can try positioning two softbox lights on either side and above the product, pointing downward at a slight angle. If you only have one softbox, try a direct overhead placement or lighting your product from the side while you shoot from the front. These are just a few of your softbox placement options. The more you play around with them, the more you will start to understand the properties of light and what works for your situation.
When to use a softbox
Soft, natural lighting isn’t easy to achieve in a studio or home setting, which is exactly why a softbox can be so useful. Use it any time you want to soften up shadows and highlights within your image. Portable softboxes can also be used outdoors to complement natural lighting.
How to make a softbox light at home
Before you invest in a lighting softbox setup, you can familiarize yourself with softbox lighting by making your own. You can get as complicated as you like, but all you really need are some simple materials that you probably already have at home.
How to use your iPhone as a softbox
In a pinch and need to add some soft lighting without a softbox? You can use your iPhone for a bit of soft spotlighting, provided you don’t need to use it as your camera. This works best for photographing small items, as the light from your iPhone won’t be bright enough to illuminate a large scene.
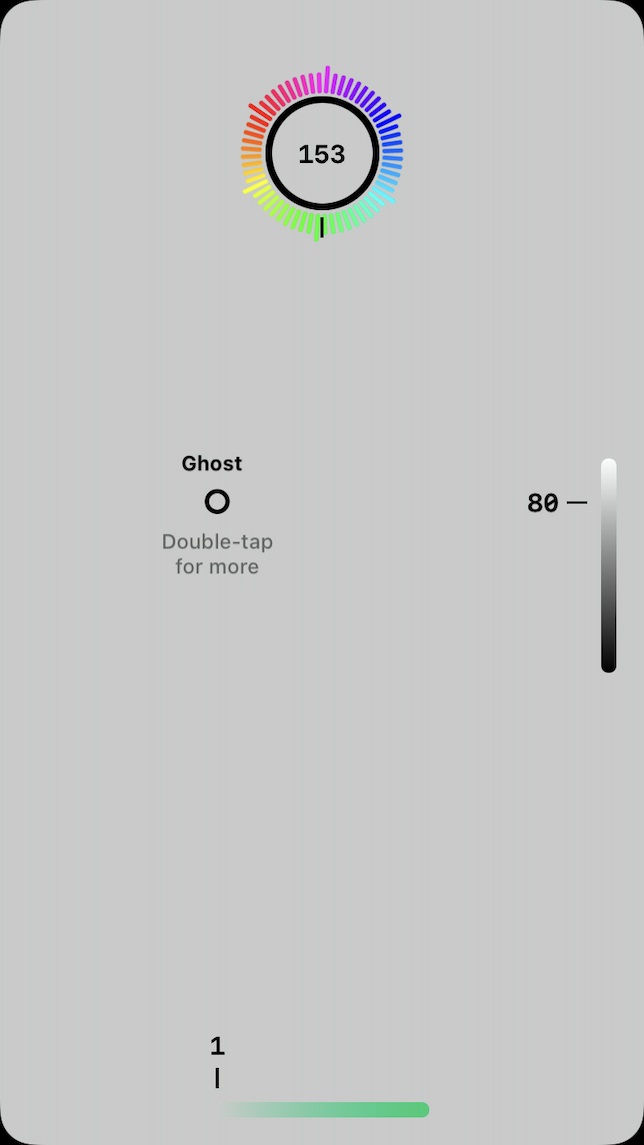
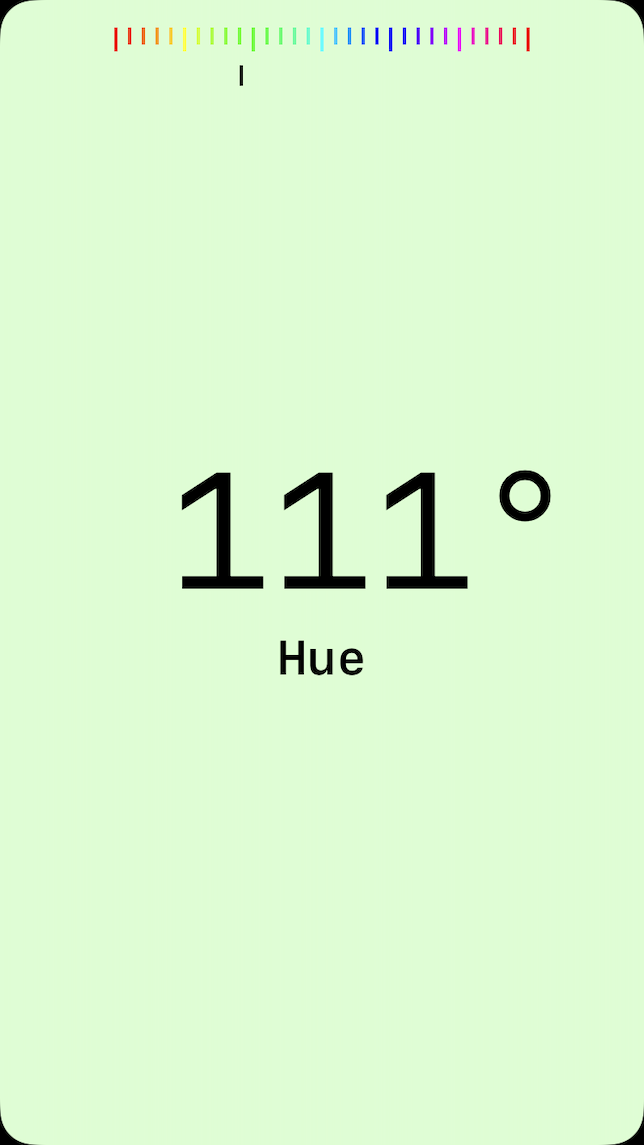
Screen Light Color is a simple iOS app that turns your iPhone into a simple light panel with no on-screen distractions. Here’s how easy it is to make a small, portable softbox with your iPhone. You can also use this app with an iPad, so you can use your phone to take the photo.
- Download Screen Light Color from the App Store and open it on your iPhone.
- Hold your finger on the screen and pull it up and to the left for soft, white light. You can also drag your finger around on the screen to change the color and intensity of the light.
- Mount your iPhone softbox on a tripod and direct the light onto your subject — this may require some experimentation to see what works best.
- Take your photo.
How to build a DIY softbox
You can also build a DIY softbox from a cardboard box and a light source — either a hot shoe flash or a portable light fixture. Here’s what you’ll need:
- A cardboard box
- Box cutters or scissors
- Duct tape
- Aluminum foil
- White fabric, a white garbage bag, or a large piece of white paper
- A hot shoe flash or portable light source (do not use a light that becomes hot to the touch)
Here are the steps to creating your DIY softbox:
- Use scissors or a box cutter to remove the flaps from the top of your box.
- Cut an X in the side of the box big enough for the cord of the portable light or the hot shoe flash to fit through. The flaps of your X will help hold the light in place.
- Insert the light into the hole. You can use tape to stabilize the light where it enters the box.
- Cover the inside of the box with aluminum foil and hold it in place with tape.
- Cover the front of the panel with white fabric and hold it in place with tape.
- You’re now ready to use your DIY softbox for your photography projects. Have fun!
Softbox lights are great all-around lights for all kinds of indoor photography projects. And if you are new to using artificial lights in photography, using a softbox is a great place to begin. But if you’re mostly using your iPhone for selfies and a softbox sounds like overkill, try a selfie ring light for a similar effect.
