Are you looking for a way to streamline your video management on your iPhone? If you take a lot of videos, you already know how challenging it can be — not just keeping them organized but also managing them so you don’t run out of storage space on your iPhone or in iCloud.
iPhone 15 series is the first generation of iPhones to use the universal USB-C port, which means so much more than having one less cable for charging to worry about. You can use a USB-C cable to connect to another iPhone, to charge your AirPods and Apple Watch, and if you have iPhone 15 Pro or iPhone 15 Pro Max, you can use a USB-C cable to download your videos directly to an external hard drive.
This is a game changer for content creators or anyone who takes a lot of iPhone videos. In this article, we’ll provide step-by-step instructions for recording videos from your iPhone directly to an external hard drive.
How to use an external hard drive with your iPhone
As awesome as this new feature is, it doesn’t work with every phone or every external hard drive. You’ll need to have iPhone 15 Pro or 15 Pro Max and be shooting videos using the Apple ProRes video format.
According to Apple, external hard drives with a USB-C port can be used, but they must be formatted with APFS or exFAT and use a USB 3 cable with speeds of at least 10 GB per second. The external hard drive must write at speeds of at least 220 MB per second.
Before you begin recording to an external drive
Here are a few things to keep in mind before recording video to an external hard drive.
Be sure you are using Apple ProRes video format. ProRes records lossless video at up to 4K/60 frames per second. This high-resolution format is a great choice for videographers, but it takes up a lot of storage space, which is why an external drive makes sense.
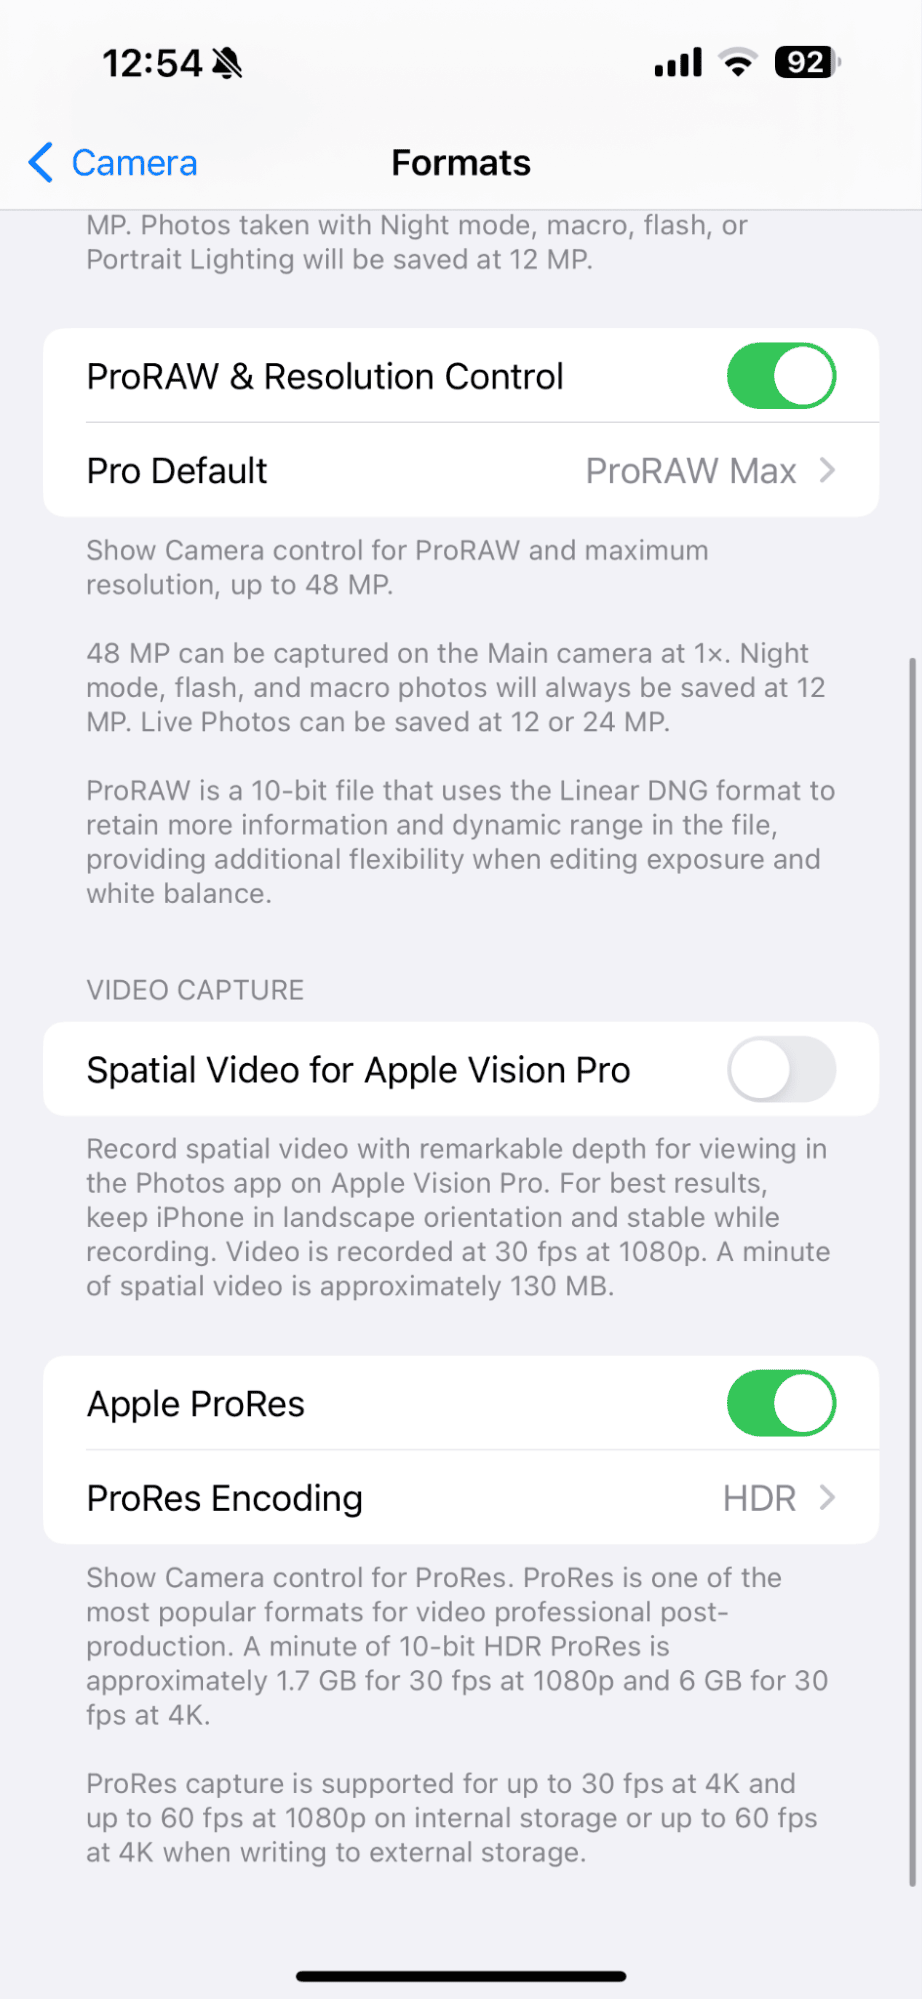
Here’s how to turn on Apple ProRes on your iPhone:
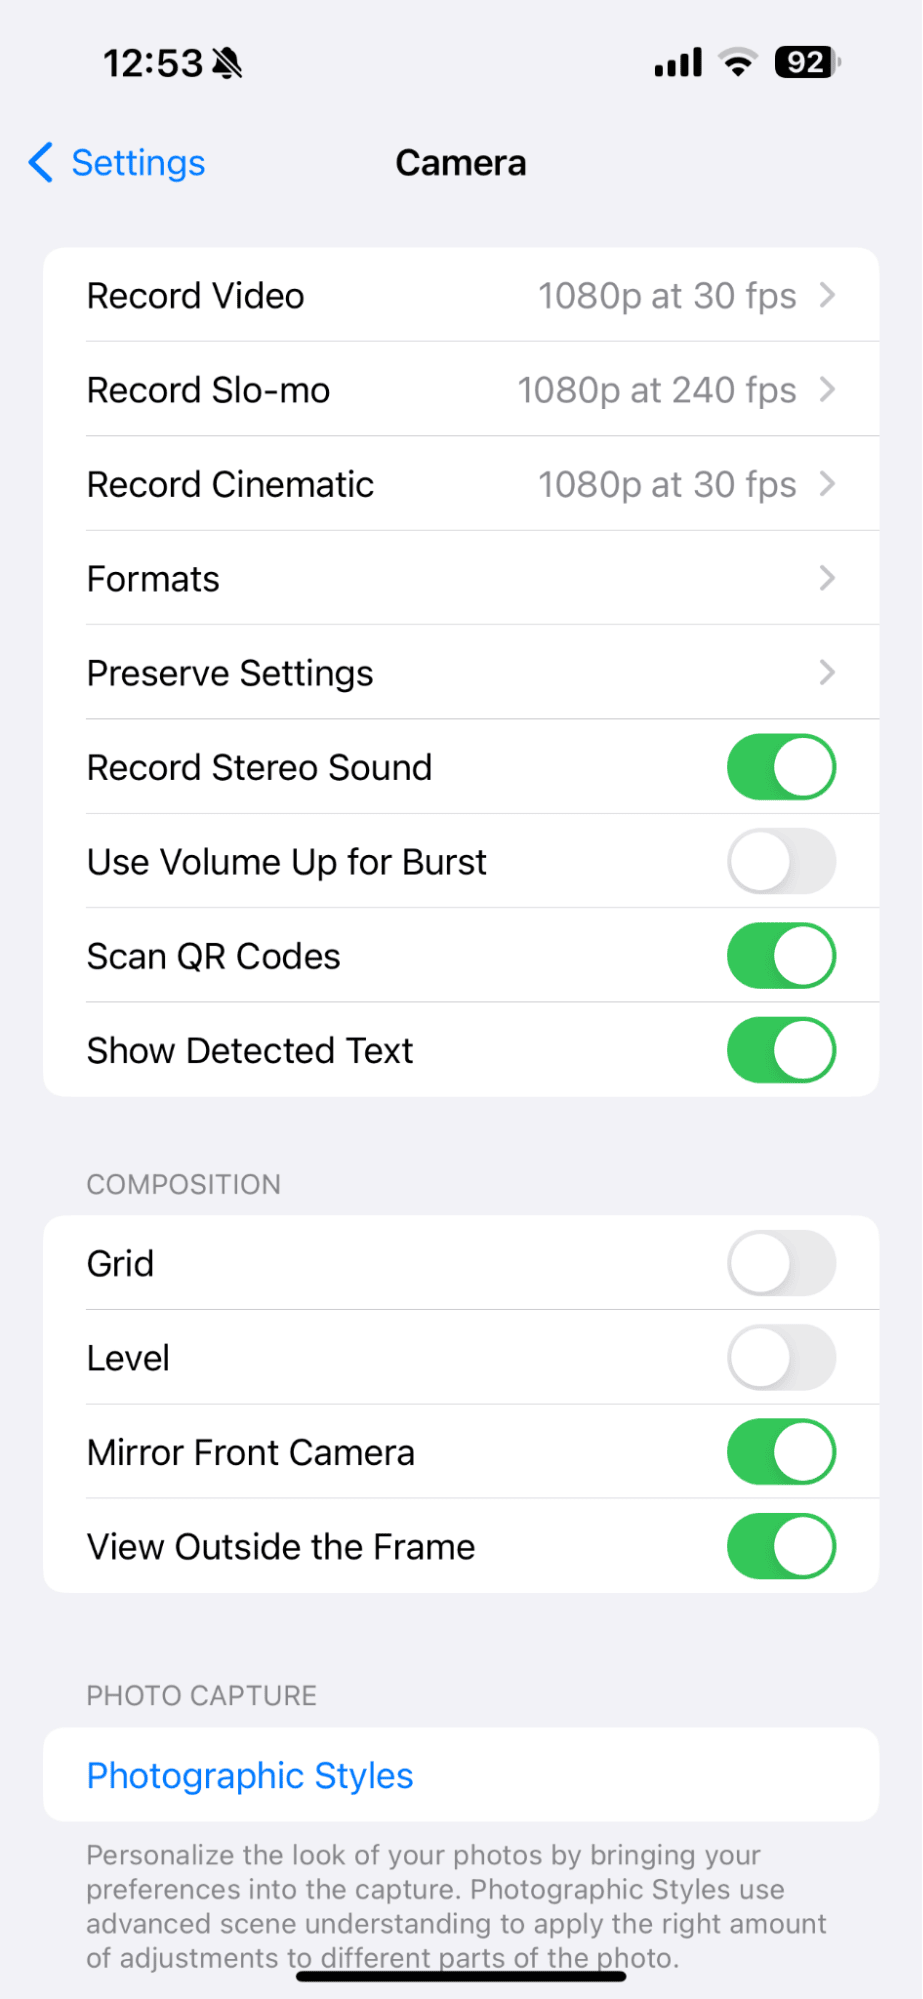
- Navigate to Settings on your iPhone.
- Tap ‘Camera’.
- Tap ‘Formats’.
- Scroll down and toggle on Apple ProRes.
- When you open your Camera app to take a video, you will have to tap ProRes at the top of the screen to turn it on.
Use CleanMy®Phone to reduce clutter in your photo library
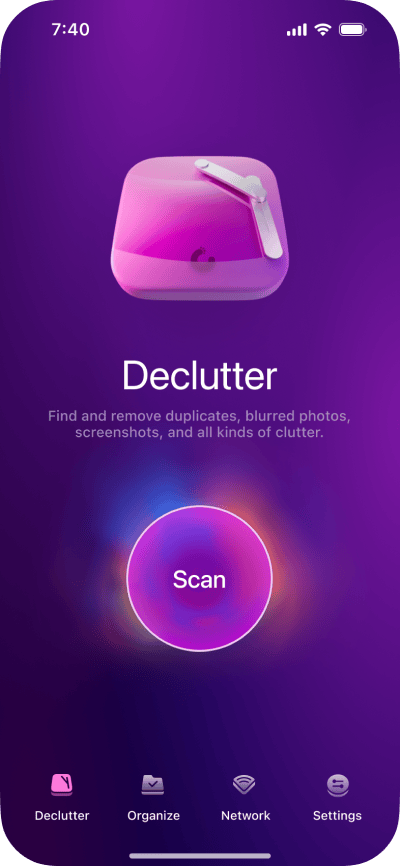
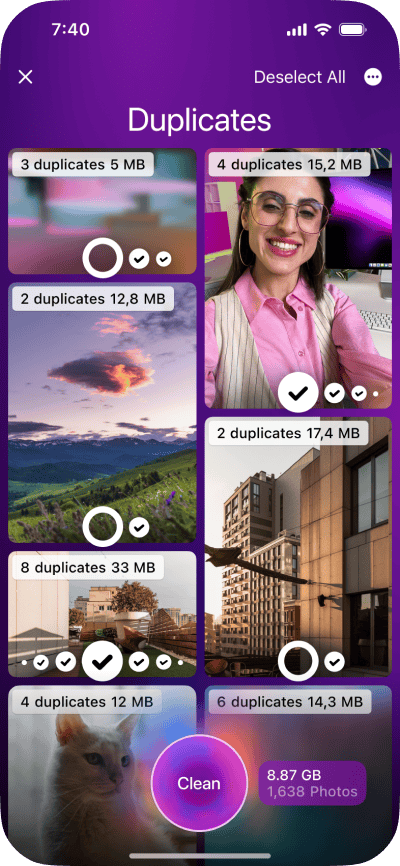
As of right now, you can only record ProRes video directly to an external hard drive. External storage won’t work for photos or other video formats, so it’s up to you to keep your photo library clutter-free. CleanMy®Phone makes cleaning up duplicate and similar shots so easy. Simply download and open the app and tap Declutter > Scan — it will find duplicates, screenshots, and all sorts of clutter. Next, use the Organize feature to find similar shots you don’t want. Once you tap Clean, all selected photos are sent to the Recently Deleted album in your Photos app, so you can recover anything you’ve deleted by mistake or delete everything once and for all.
Instructions for recording iPhone video directly to an external hard drive
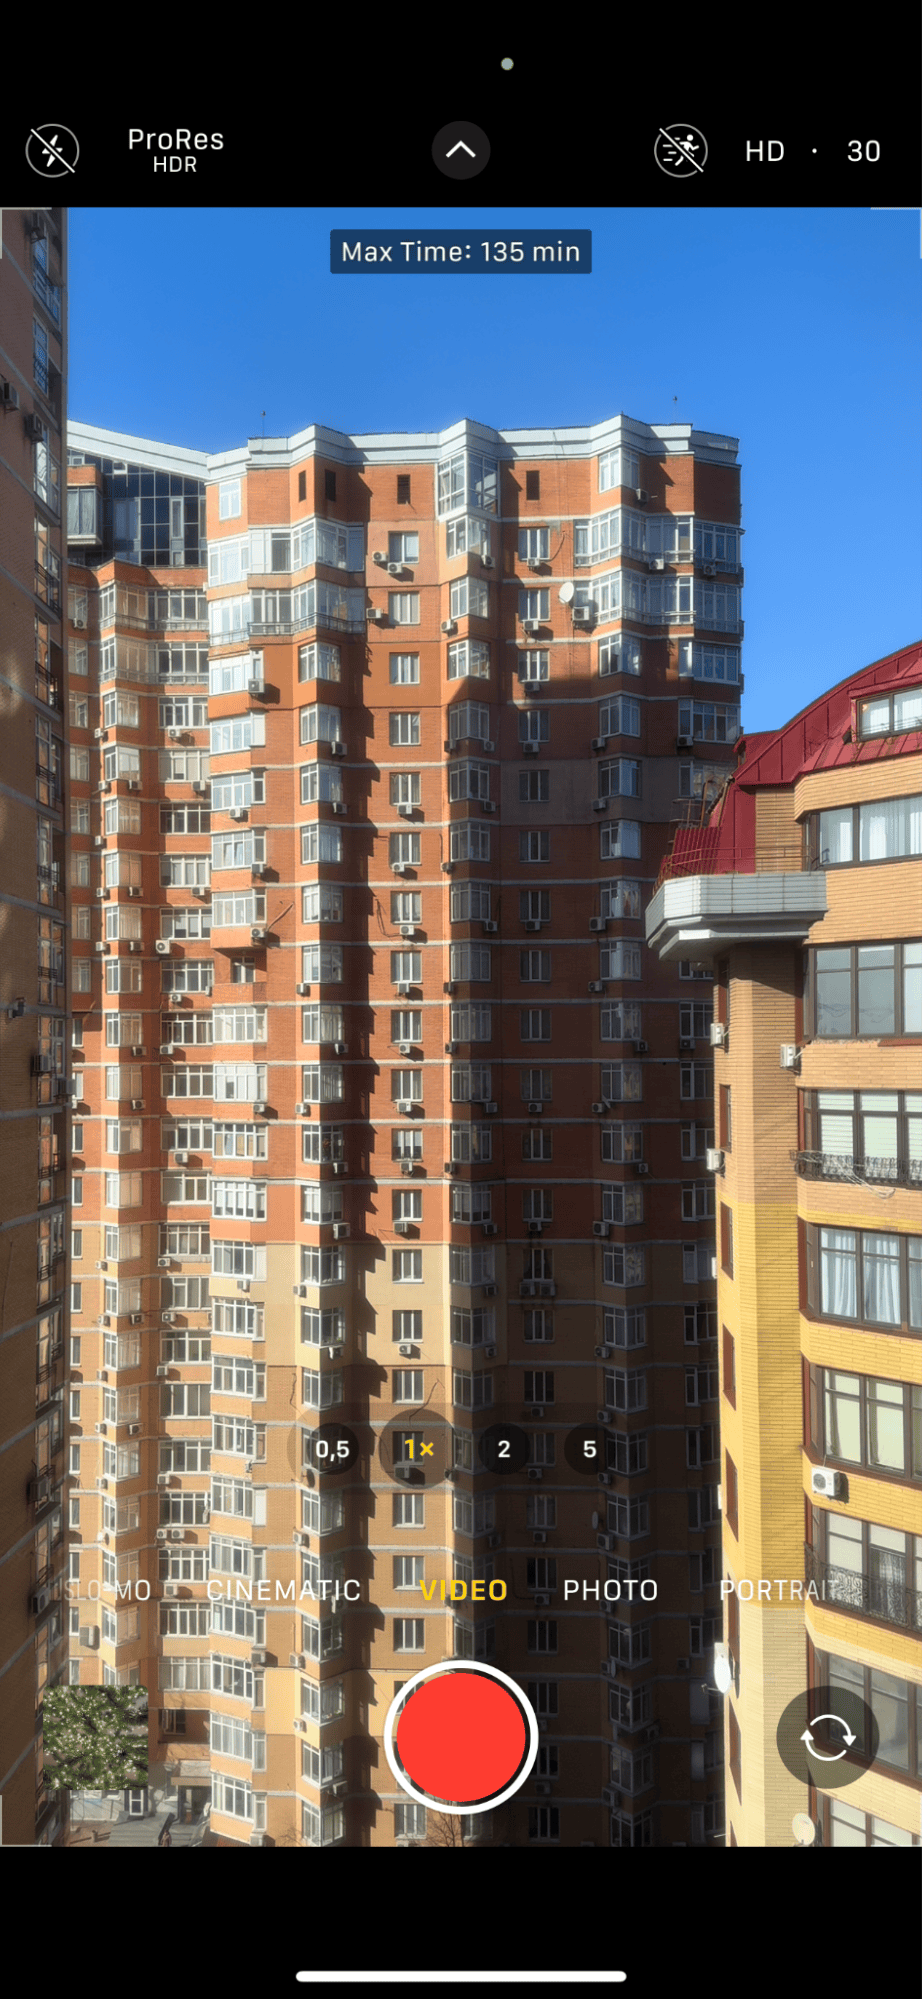
Once you’ve formatted your external hard drive and turned on Apple ProRes on your iPhone, you’re ready to start filming. Here’s how to record video from your iPhone to an external hard drive:
- Open your Camera app and plug your iPhone into the external hard drive.
- Ensure that you tap ProRes at the top of the screen.
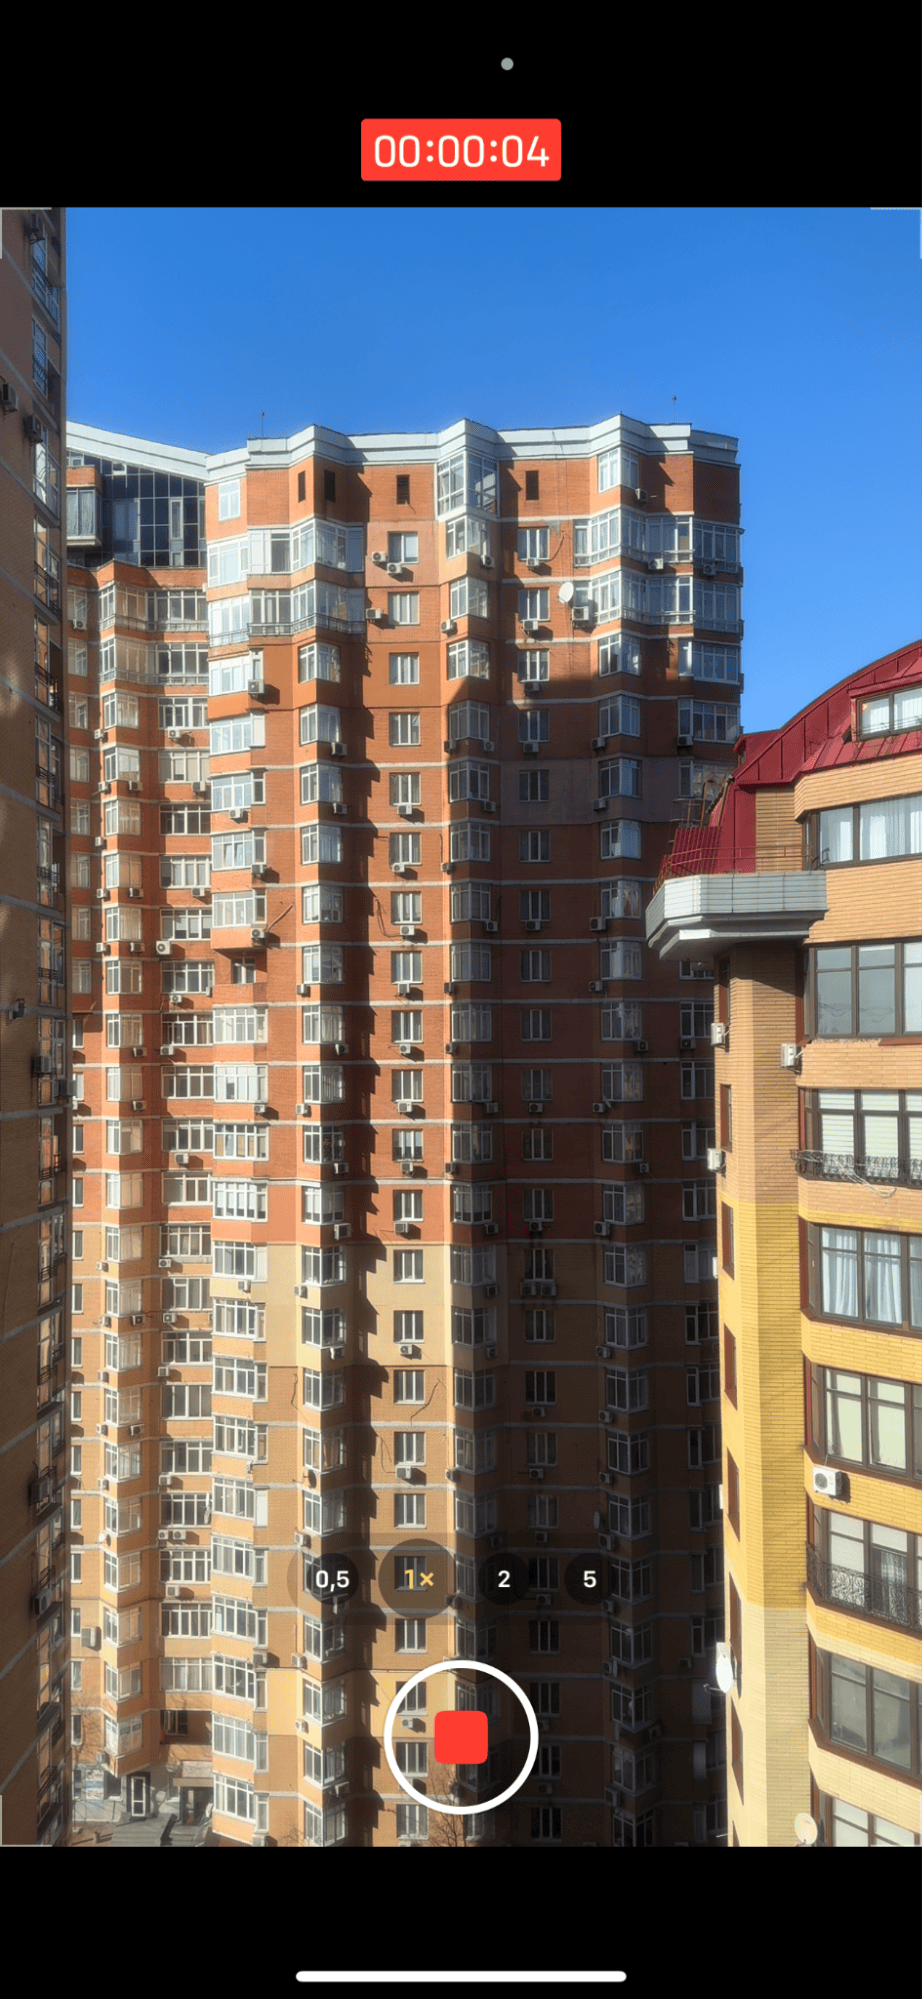
- Tap the record button to start recording.
- That’s it! Your iPhone will show an estimate of how much recording time you have left for recording to the connected drive. Be sure to stop recording before your time is up.
How to view your video on the external drive
Once you’ve finished recording, you can disconnect your drive and connect it to a Mac or PC for easy viewing or editing later.
If you want to see it on your iPhone, just leave the hard drive connected and go to Files. Select the drive where the video is located, tap on the DCIM file, and then the video to watch it.
With iPhone 15 Pro and Pro Max, it’s never been easier to record high-resolution videos. Using a high-capacity external hard drive to store videos is a game changer and will likely change the way iPhone users shoot videos on their phones.
