Ready to elevate your photography game without investing in a fancy DSLR or mirrorless camera? Believe it or not, your iPhone can hold its own in the world of photography, provided that you take the time to learn the settings and practice lighting and composition techniques to help you excel as a photographer.
Shoot like a pro: How to take professional photos with iPhone
If the goal is to improve your photography and take professional-quality photos, you’ll be pleased to know that your iPhone is more than capable, especially if you’re shooting with one of the newer Pro or Pro Max models. With every new iPhone model, the camera just gets better.
Here are some easy tips to start taking pro-level photos with your iPhone.
Shoot to your iPhone camera’s strengths
Some types of photography will require a pro-level camera, including telephoto wildlife shots, wedding photography, night photography, and some types of portraiture. However, there are still lots of great opportunities to shoot professional-level photography using your iPhone.
One of the keys to success with iPhone photography is knowing the limits of your iPhone’s camera.
Your iPhone camera takes excellent photos in natural light, especially if there is not a huge dynamic range between the lightest and darkest part of the photo. Stay away from scenes with very bright and very dark areas, like a snow-covered field on a sunny day.
iPhones also take great portraits, provided that you are not too far away from the subject and don’t use artificial lighting.
Other areas where iPhone cameras excel? Detail shots, landscapes, flat lays, candid street photography, cityscapes, flowers, silhouettes, and reflections.

Use AE/AF Lock for crisp bright photos
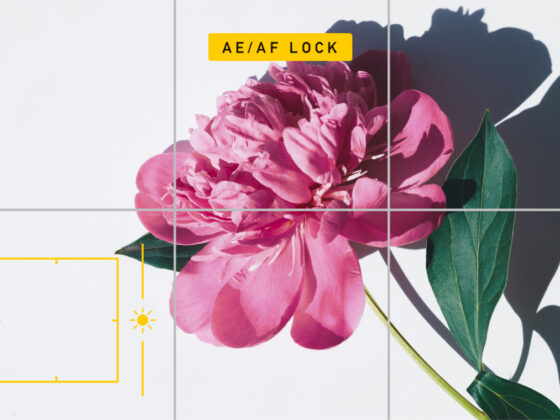
AE/AF stands for auto lock and auto exposure — two very important settings for good photography. This is such an important feature that you can quickly access it when framing every shot on your camera.
To use it when taking a photo, frame your shot as usual. Once you have a composition that you like, hold your finger down on the screen over the area that you want to be in perfect focus. Once the focus is locked, you can drag the small sunshine slider up or down to adjust the exposure level before pressing the shutter to take a photo.
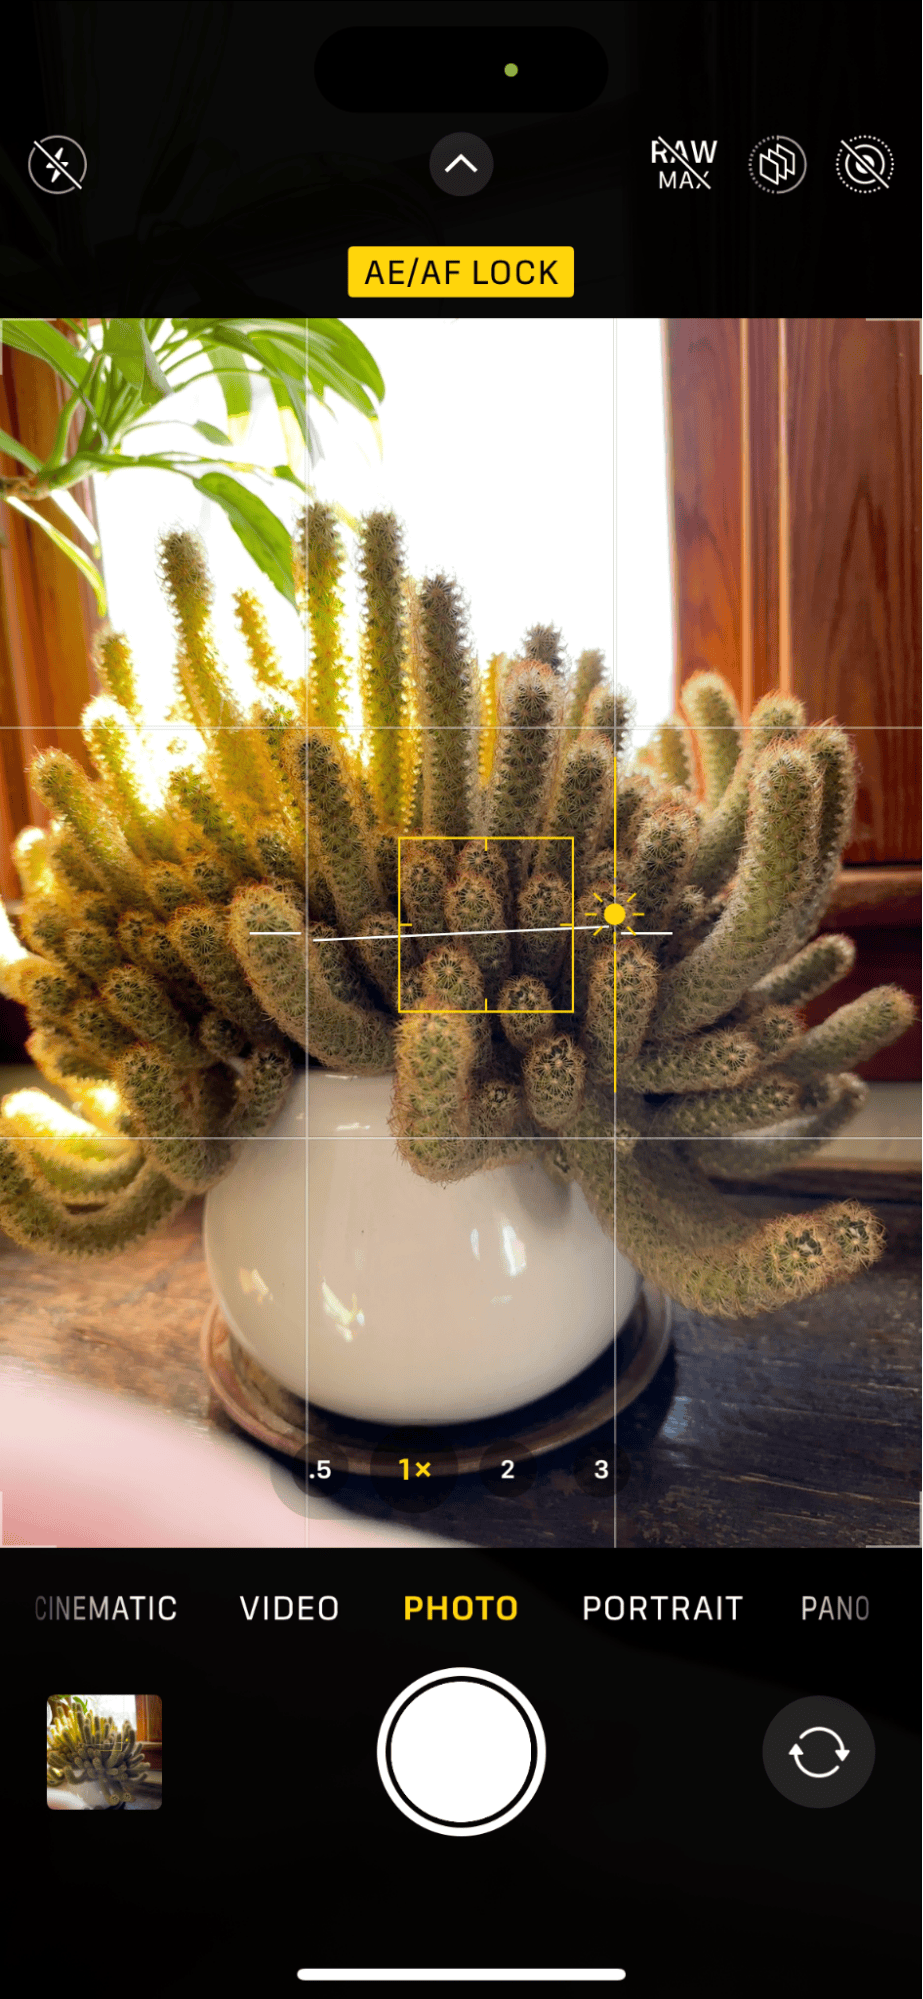
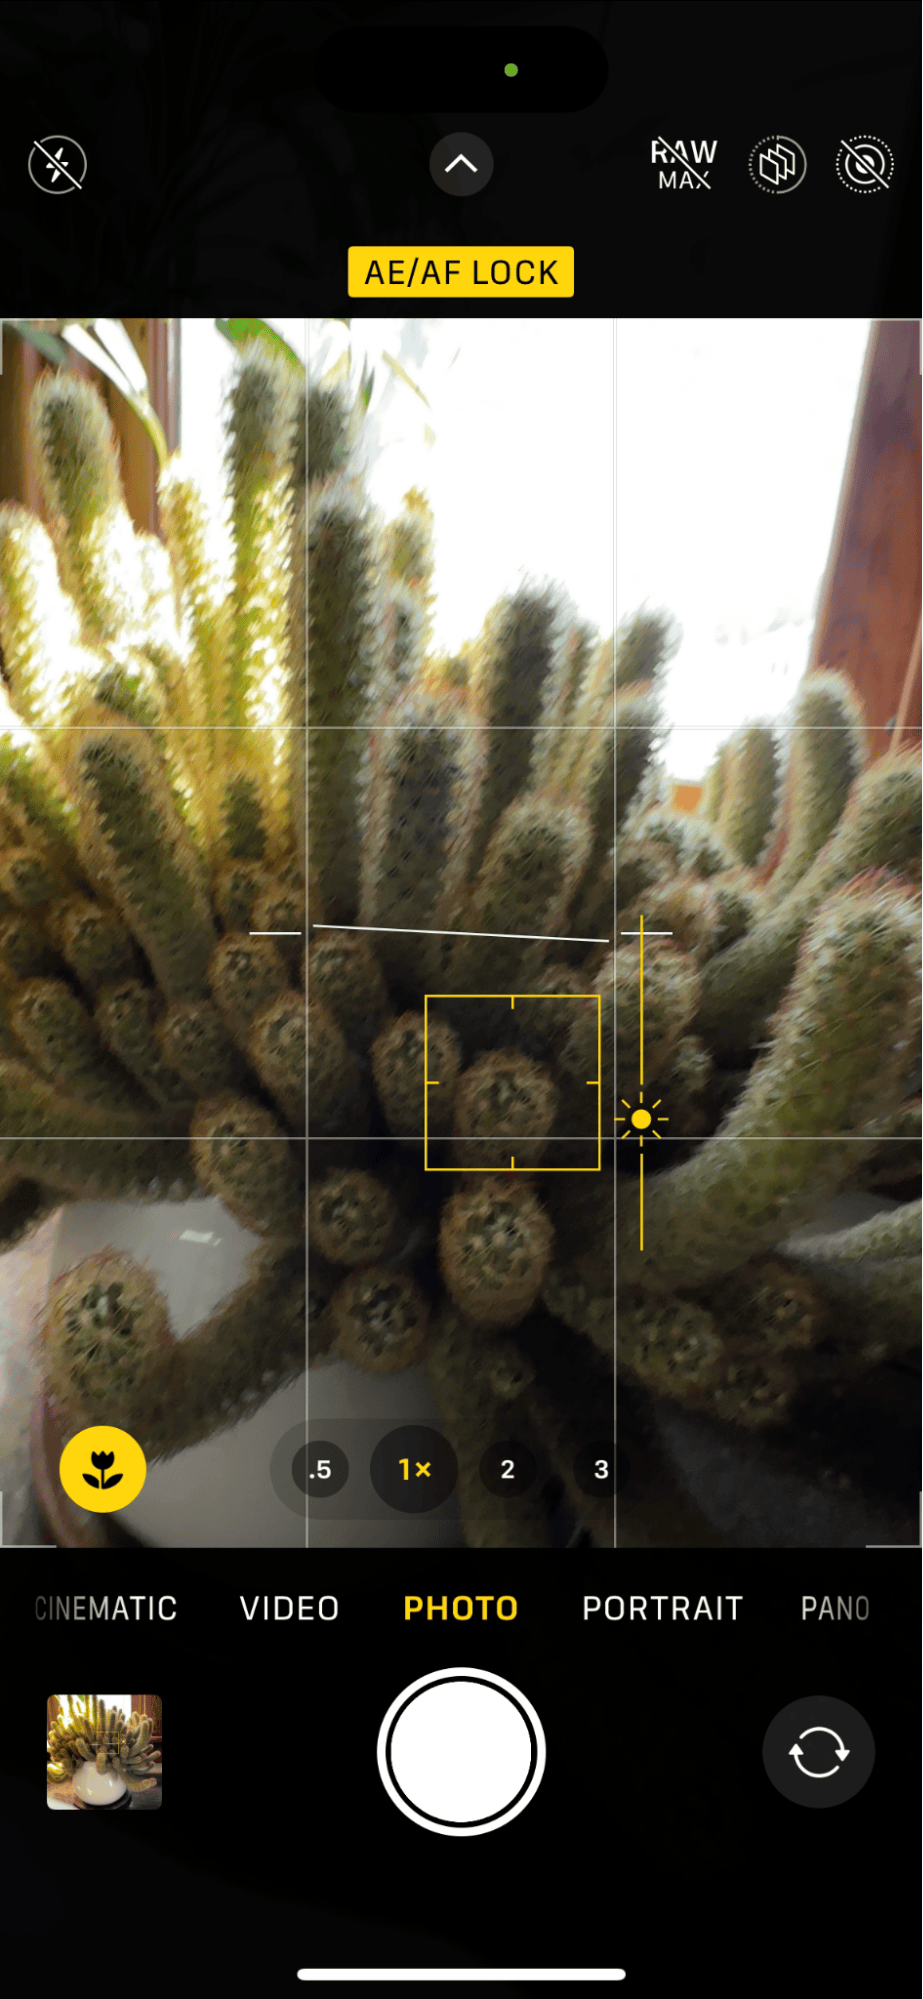
If you find that using the slider makes some parts of your photo underexposed or overexposed, aim for underexposure (sliding the sun icon downward). It is much easier to fix an underexposed photo during the editing process.
Make use of natural light for your iPhone photography
As with most on-camera flashes, the flash on your iPhone camera will likely ruin most photos and should only be used as a last resort. By the same token, shooting in artificial light is not the iPhone’s strong suit. Sure, you’ll be able to take passable photos indoors under artificial lights, but they won’t likely be the pro-level shots that you will want to print and frame.
Outdoor shots in natural light are the best way to achieve fantastic photos with your iPhone. For indoor photography, aim for natural lighting from a bright window.
The best time to take advantage of natural light is shooting during the golden hour, which is the period a few hours after sunrise and before sunset, and on a cloudy day, any time is great for photography.

Learn the shooting modes on the iPhone camera
Depending on the model you’re using, your iPhone comes with a few different shooting modes that you can take advantage of. The best way to learn how to use them is to practice so that when it comes time to take a photo, you can quickly choose the camera mode that will work best in any situation.
Here are a few useful shooting modes on your iPhone and what you can use them for:
- Apple ProRAW: This feature can be used to retain more information about your photos so that you can bring out more details when you are editing your photo later. If you have the option to shoot using ProRAW, use it, as your edited photos will almost always come out better when you do. You will see the option to turn on ‘RAW’ or RAW Max’ at the top of your screen when you’re in shooting mode.
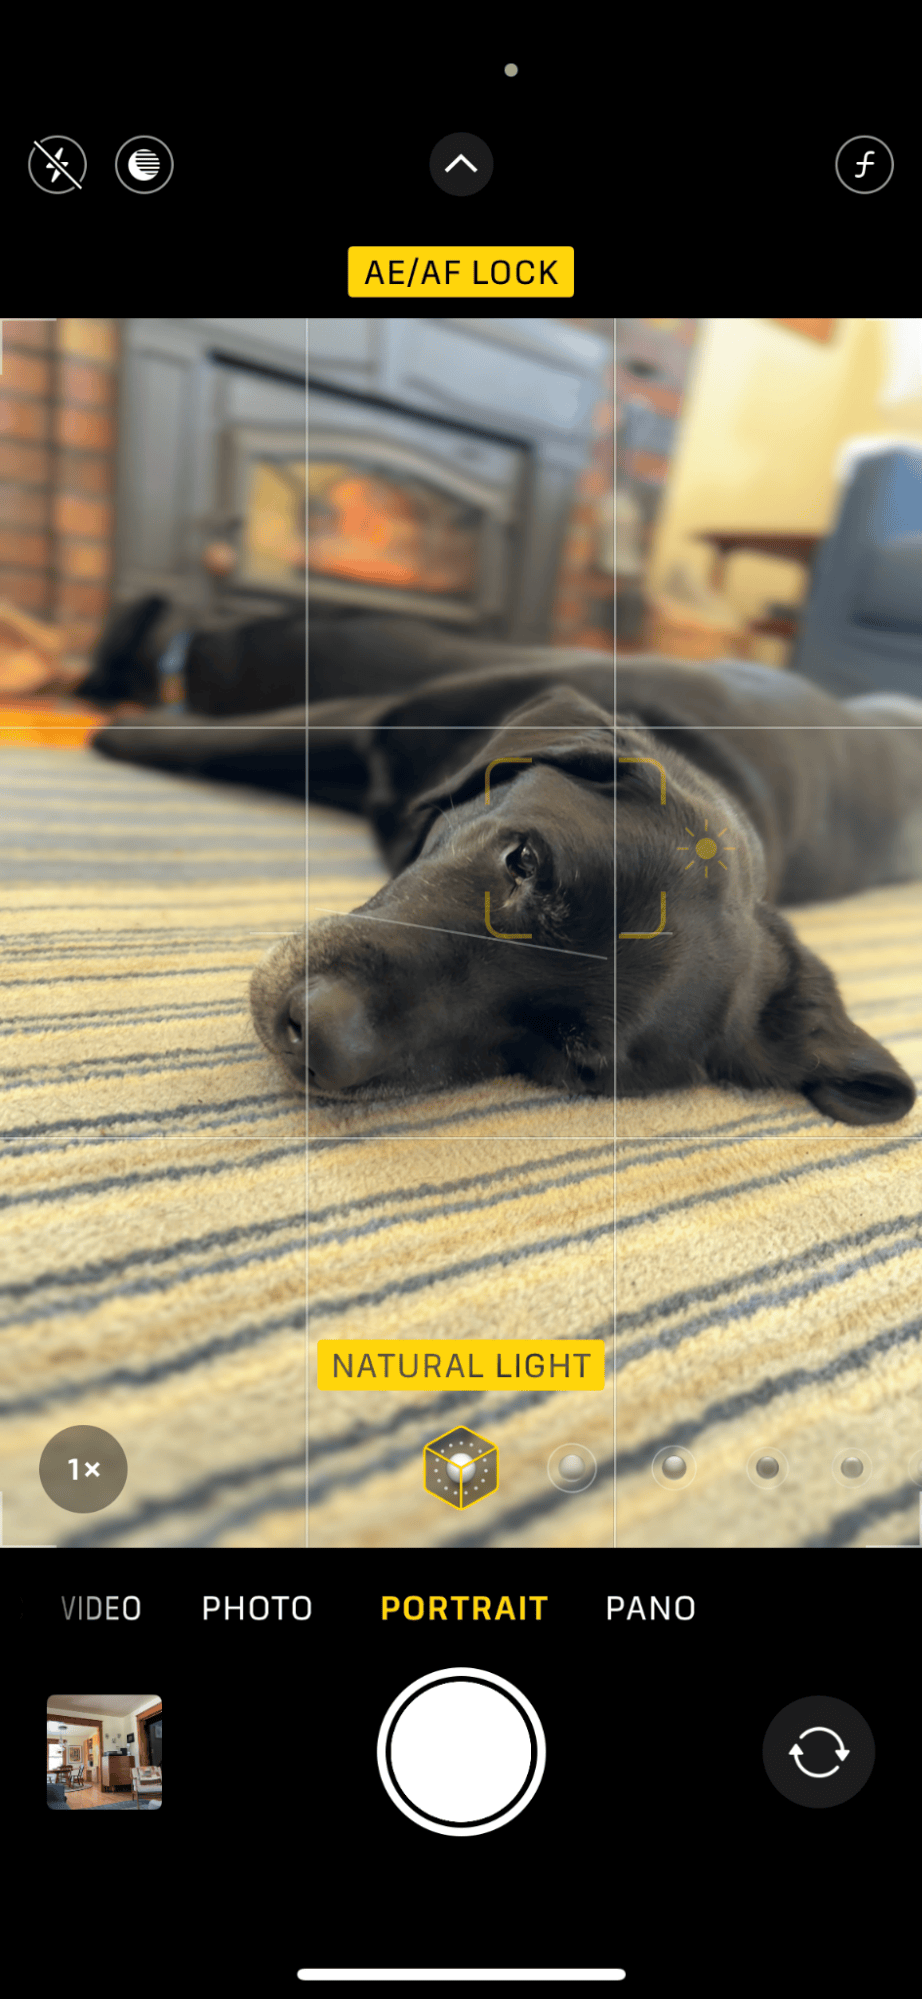
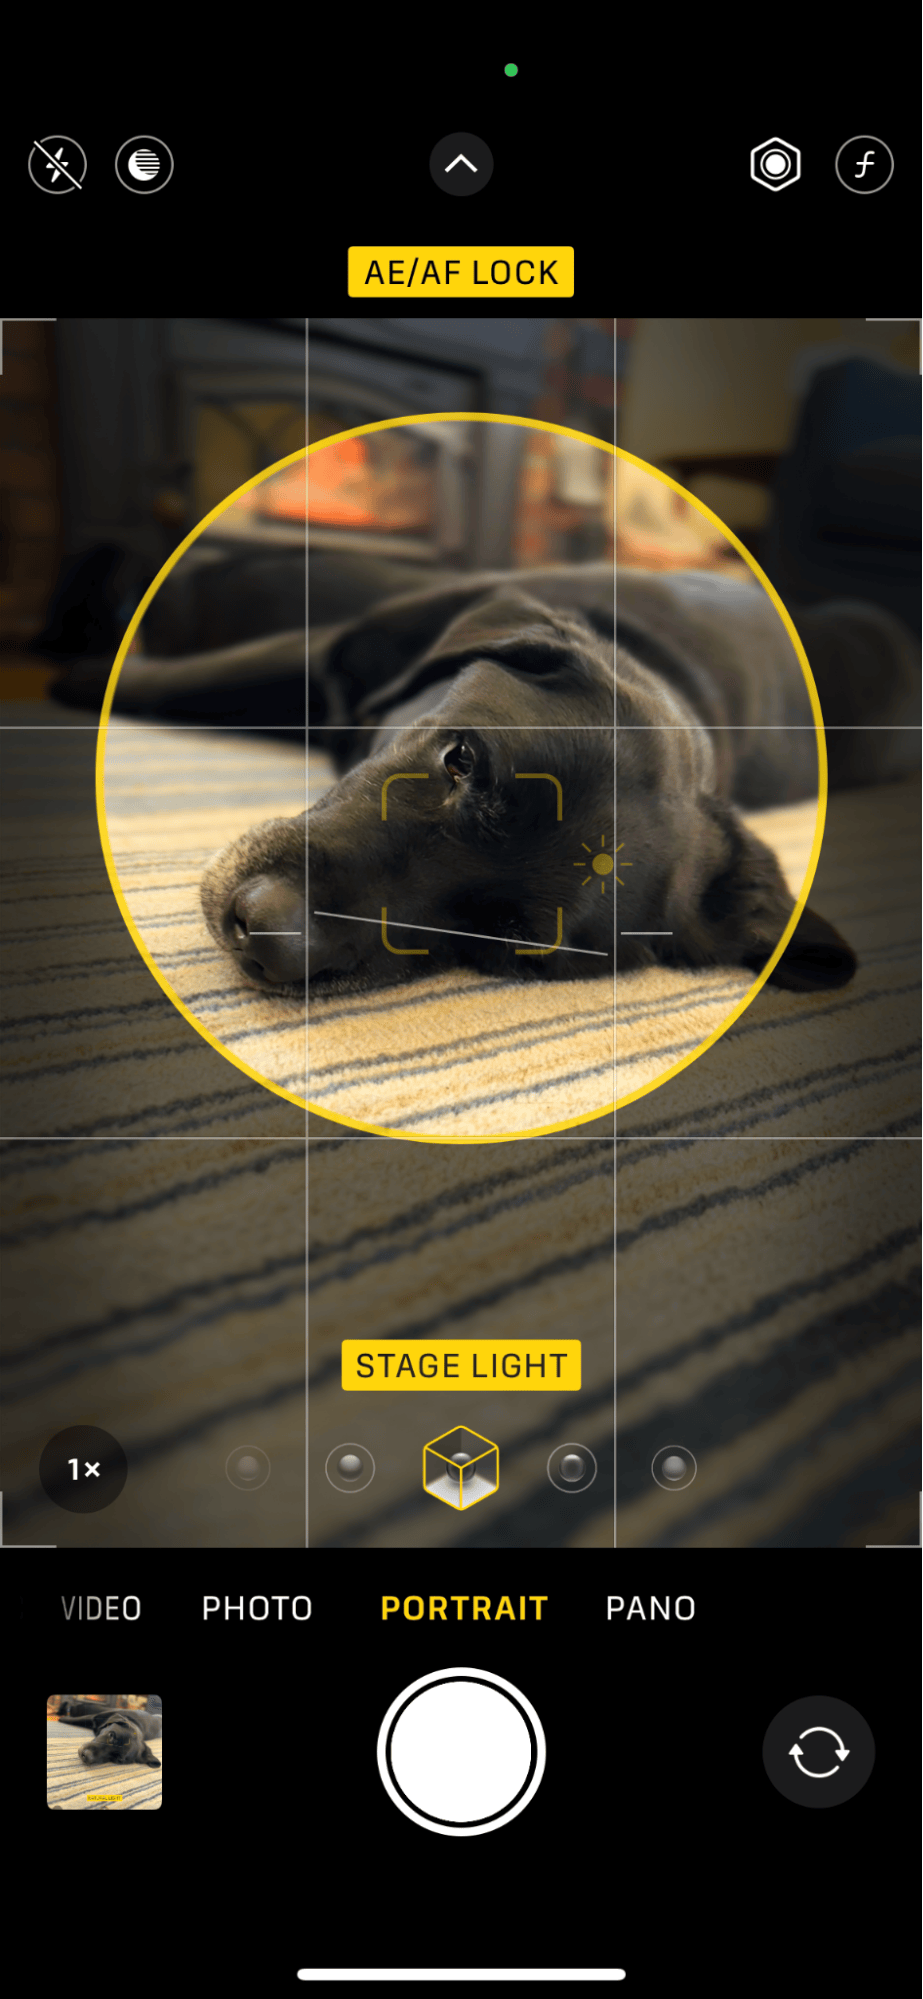
- Portrait mode: Portrait mode is meant to duplicate the look of a DSLR portrait using a shallow depth of field. When you shoot in portrait mode, your subject will stand out from a slightly blurry background. Portrait mode can be found in the settings just above the shutter button. Portrait mode is great for taking portraits, but also for doing product photography.
- Live: When shooting in Live, your iPhone captures about 1.5 seconds before and after you tap the shutter. My favorite way to use Live photos is when shooting kids and pets. Since they tend to move quickly, you can shoot a Live photo and then tap on the photo to choose the frame that you like best.
Look for unique angles and perspectives
When we talk about perspective in photography, we are talking about the spatial relationship between objects. Perspective can be used to create an illusion of depth or to add a creative element to an otherwise stagnant scene.
To find a unique perspective when taking photos, you can simply change the angle of your camera or your body to find the most compelling shot.
Sounds complicated? It’s not really. When most people take a photo, they hold their phone in front of them and tap the shutter. To find new angles, look beyond eye-level shots. Climb a boulder and shoot down towards the ground or get down on your knees and point the camera toward the sky.
These unique perspectives will make for a more interesting shot while telling a different story about the places and people you are photographing.
Add a foreground to your images
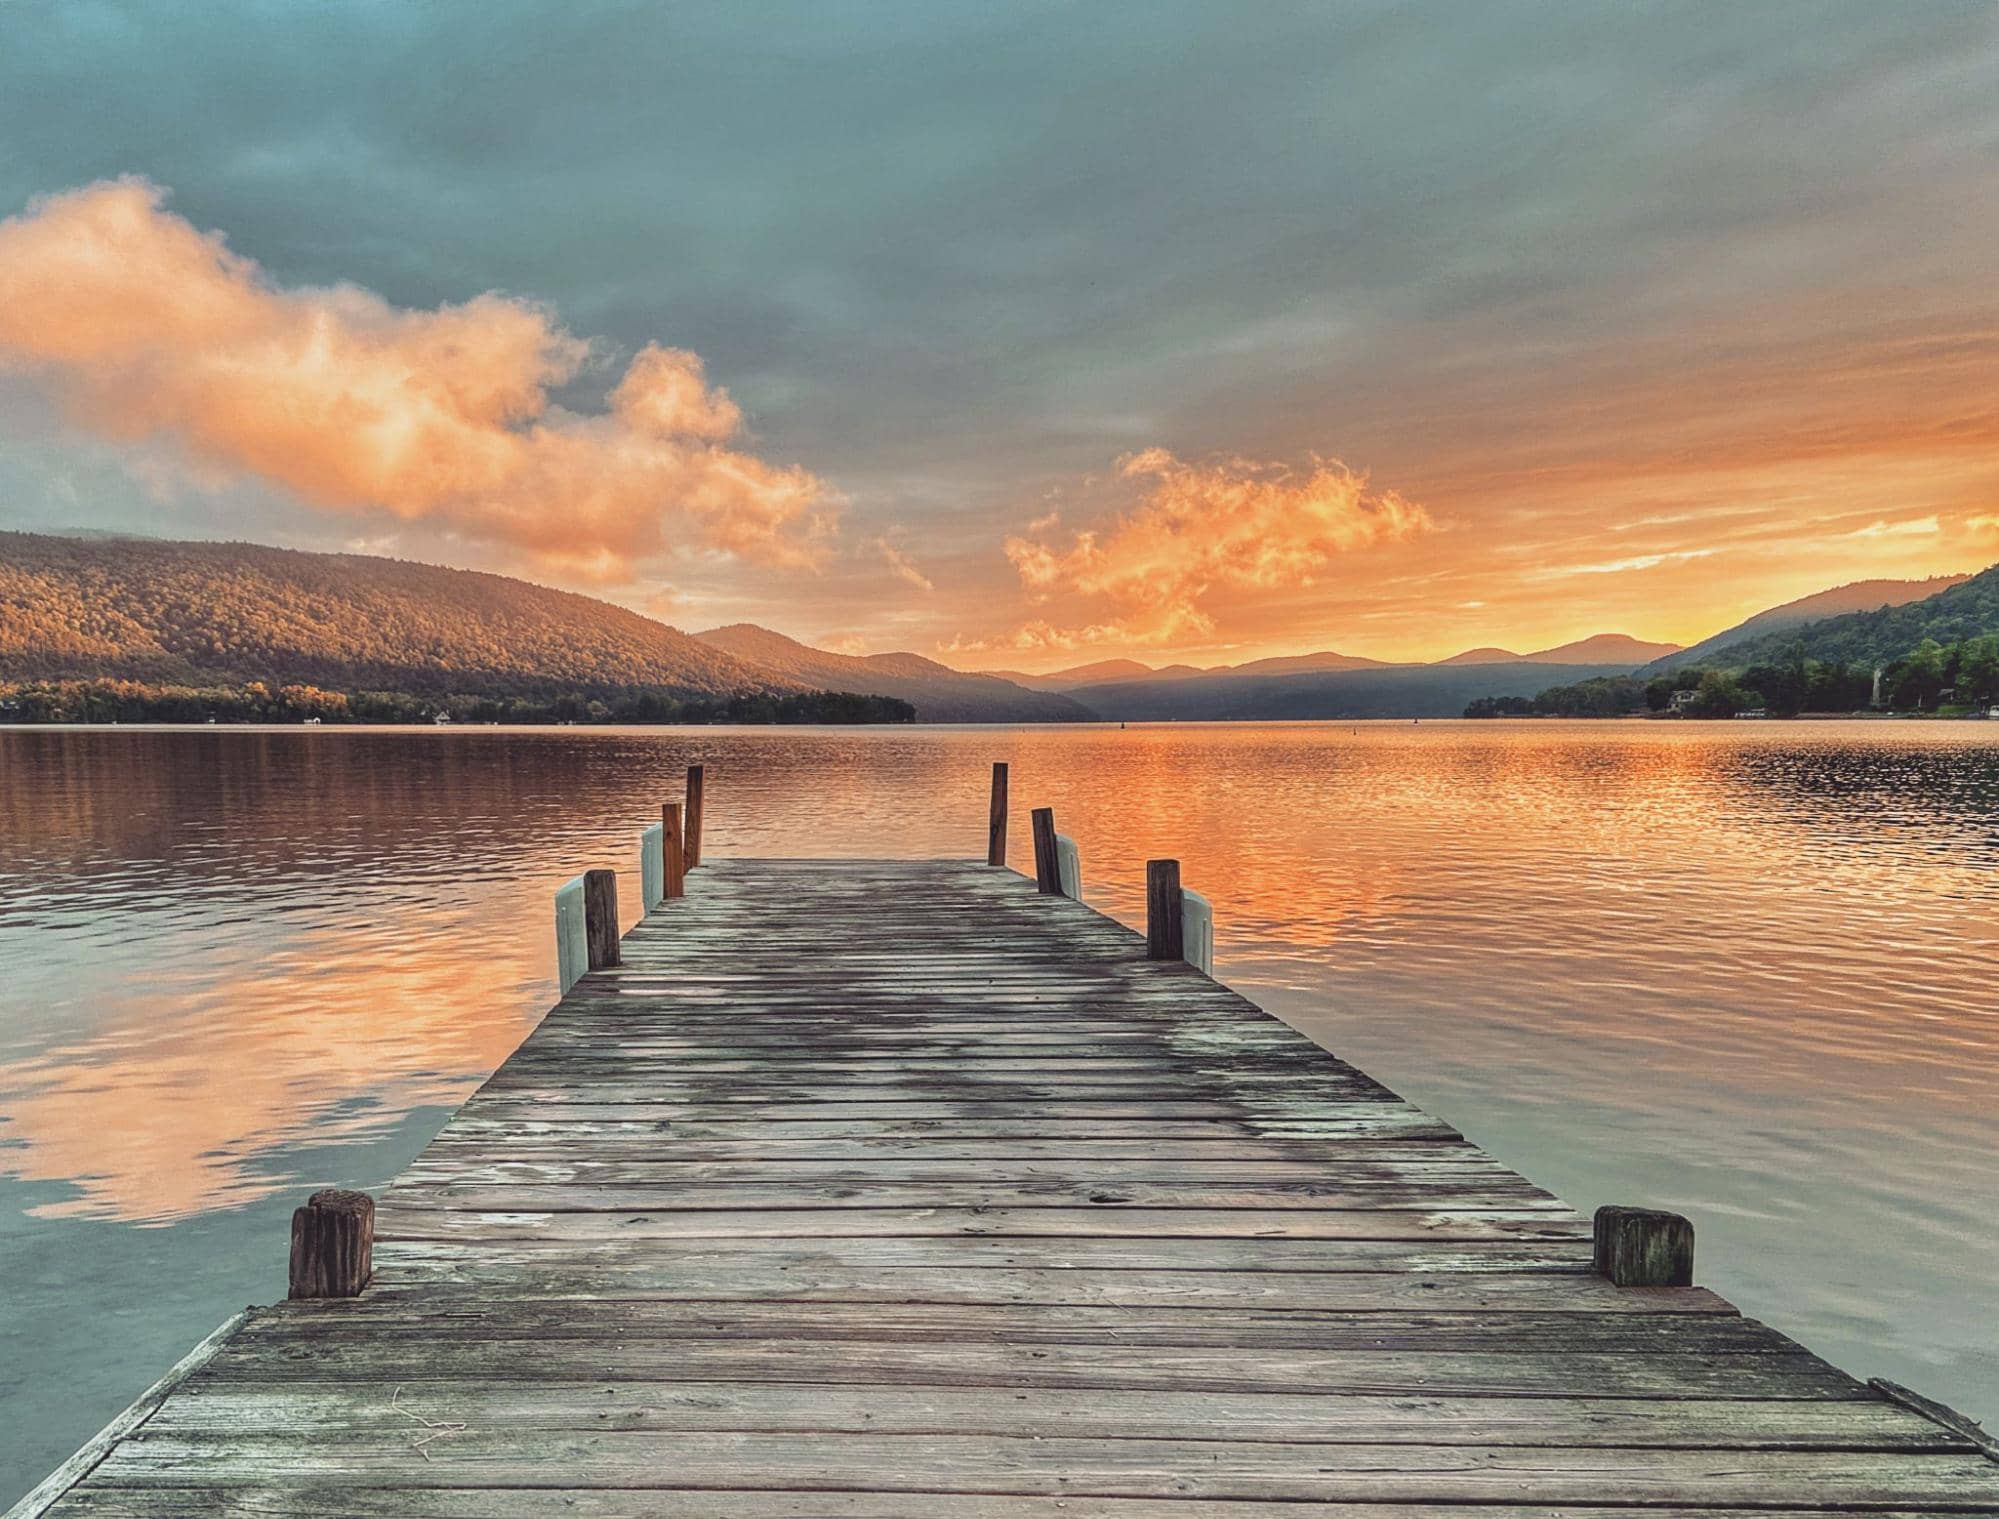
You can easily add depth and scale to your images by ensuring that you compose photos with distinct objects of interest in the foreground.
The foreground element can be particularly eye-popping, especially when you are trying to create more depth and interest. Look for objects that you can incorporate into the foreground of your composition, like flowers, rocks, or a long pier as in the photo example.
With a bit of practice, adding an element to the foreground will become second nature and will add an interesting element to your composition.
Use the rule of thirds in your photography
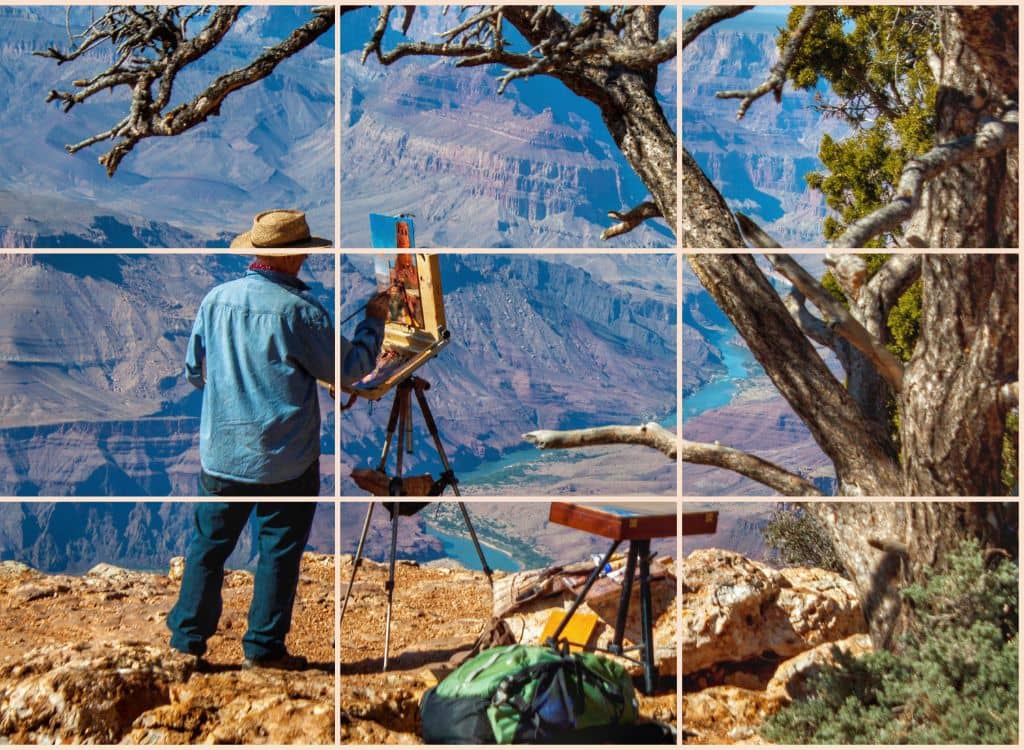
The most well-known ‘rule’ in photography is the rule of thirds, which aims to divide your photo into thirds, both vertically and horizontally, so you can add the most interesting objects in the most prominent parts of your photo.
To use the rule of thirds, picture two intersecting lines running vertically and horizontally across your photo. When framing a new shot or editing a photo you’ve already taken, try to place the most interesting features on those intersection lines.
To help you compose photos using the rule of thirds, you can turn on the grid overlay on your Camera app. Simply head to Settings > Camera > Grid to toggle it on.
Accessorize like a pro
While you don’t need much more than your iPhone to start taking fantastic photos, there are a few pieces of additional equipment that will help you on your journey. Here are some iPhone accessories that you can use to up your photography game:
- A portable tripod: Use a tripod to reduce camera shake when capturing action shots, waterfalls, or photos in low light. You can also use it when you want to take natural-looking self-portraits that don’t look like selfies.
- A remote shutter: With a remote shutter, you can set up your iPhone on a tripod and take photos using a little contraption in your pocket. This is useful for group shots, self-portraits, or any time you want to reduce camera shake.
- A selfie stick: Selfie sticks aren’t just for selfies! Remember all that talk about finding unique angles and perspectives? A selfie stick can help you photograph from up high or down low for all kinds of unique shots.
Edit your photos like a pro
Snapping a great composition is only the beginning. Once you start taking photos you’re happy with, you’ll want to use editing techniques to make them shine. The ‘Edit’ feature in the Photos app is a good place to start, but for advanced editing techniques, you may eventually want to use something more robust like Adobe Lightroom.
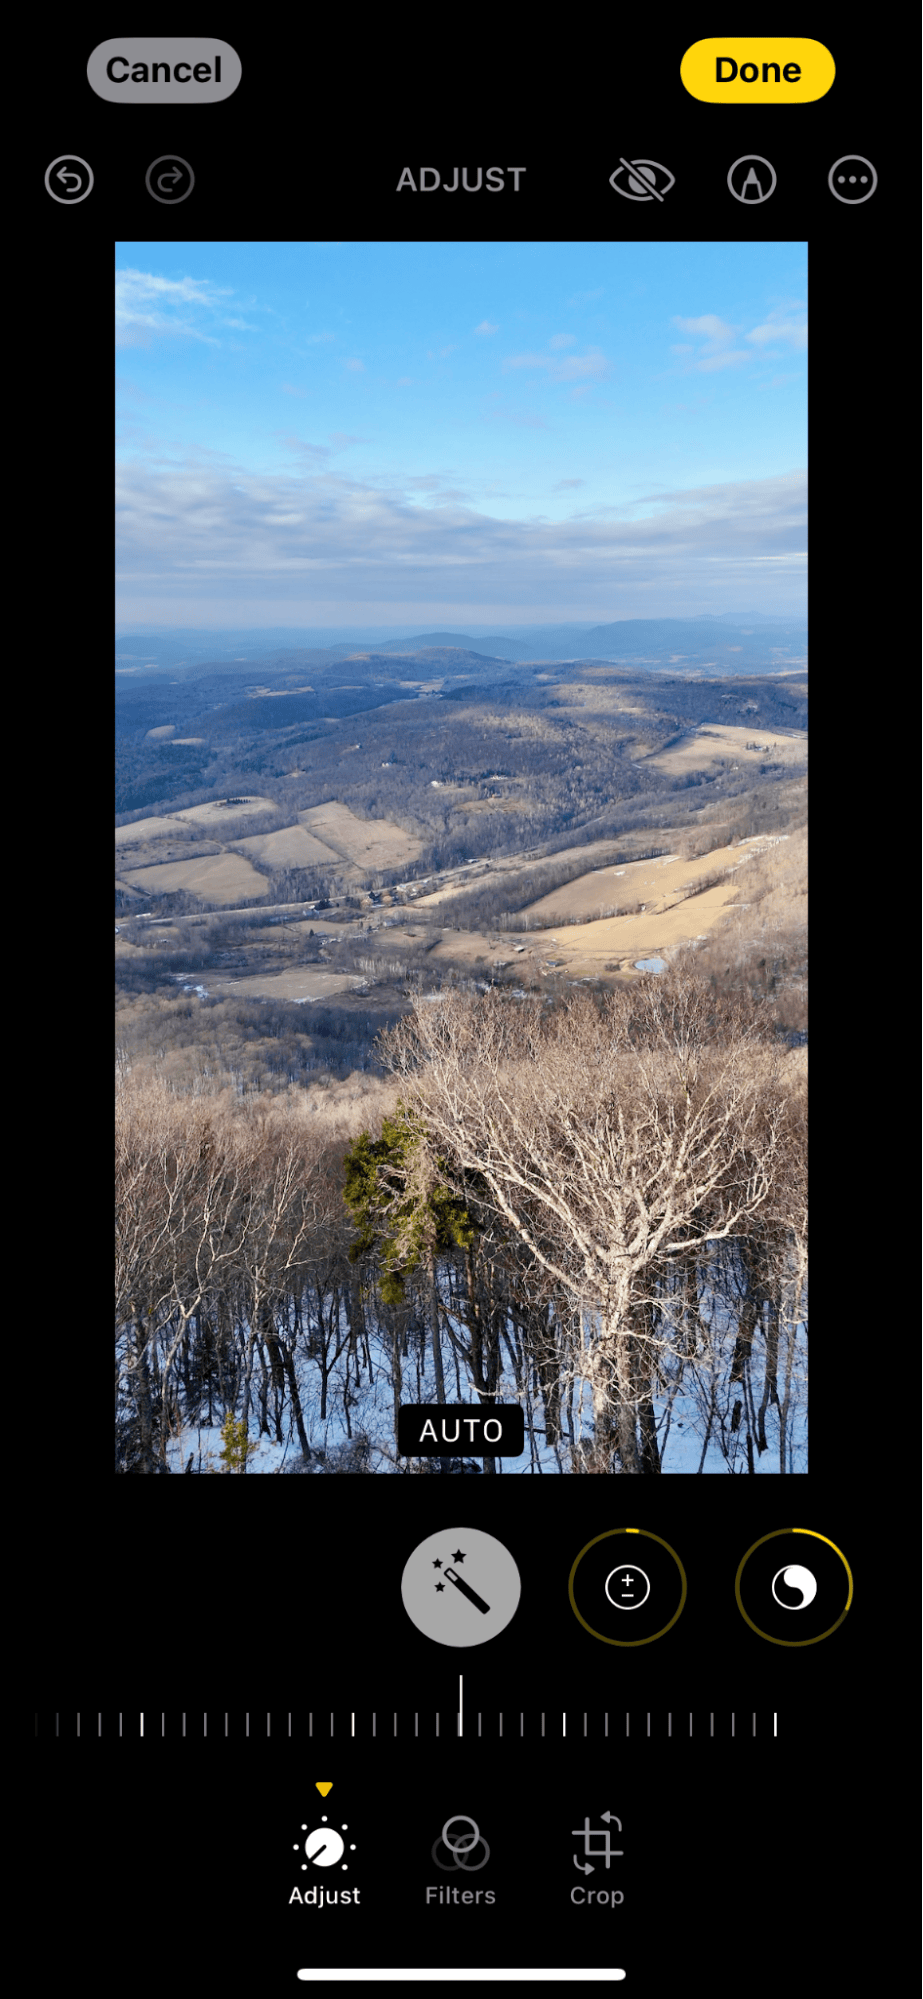
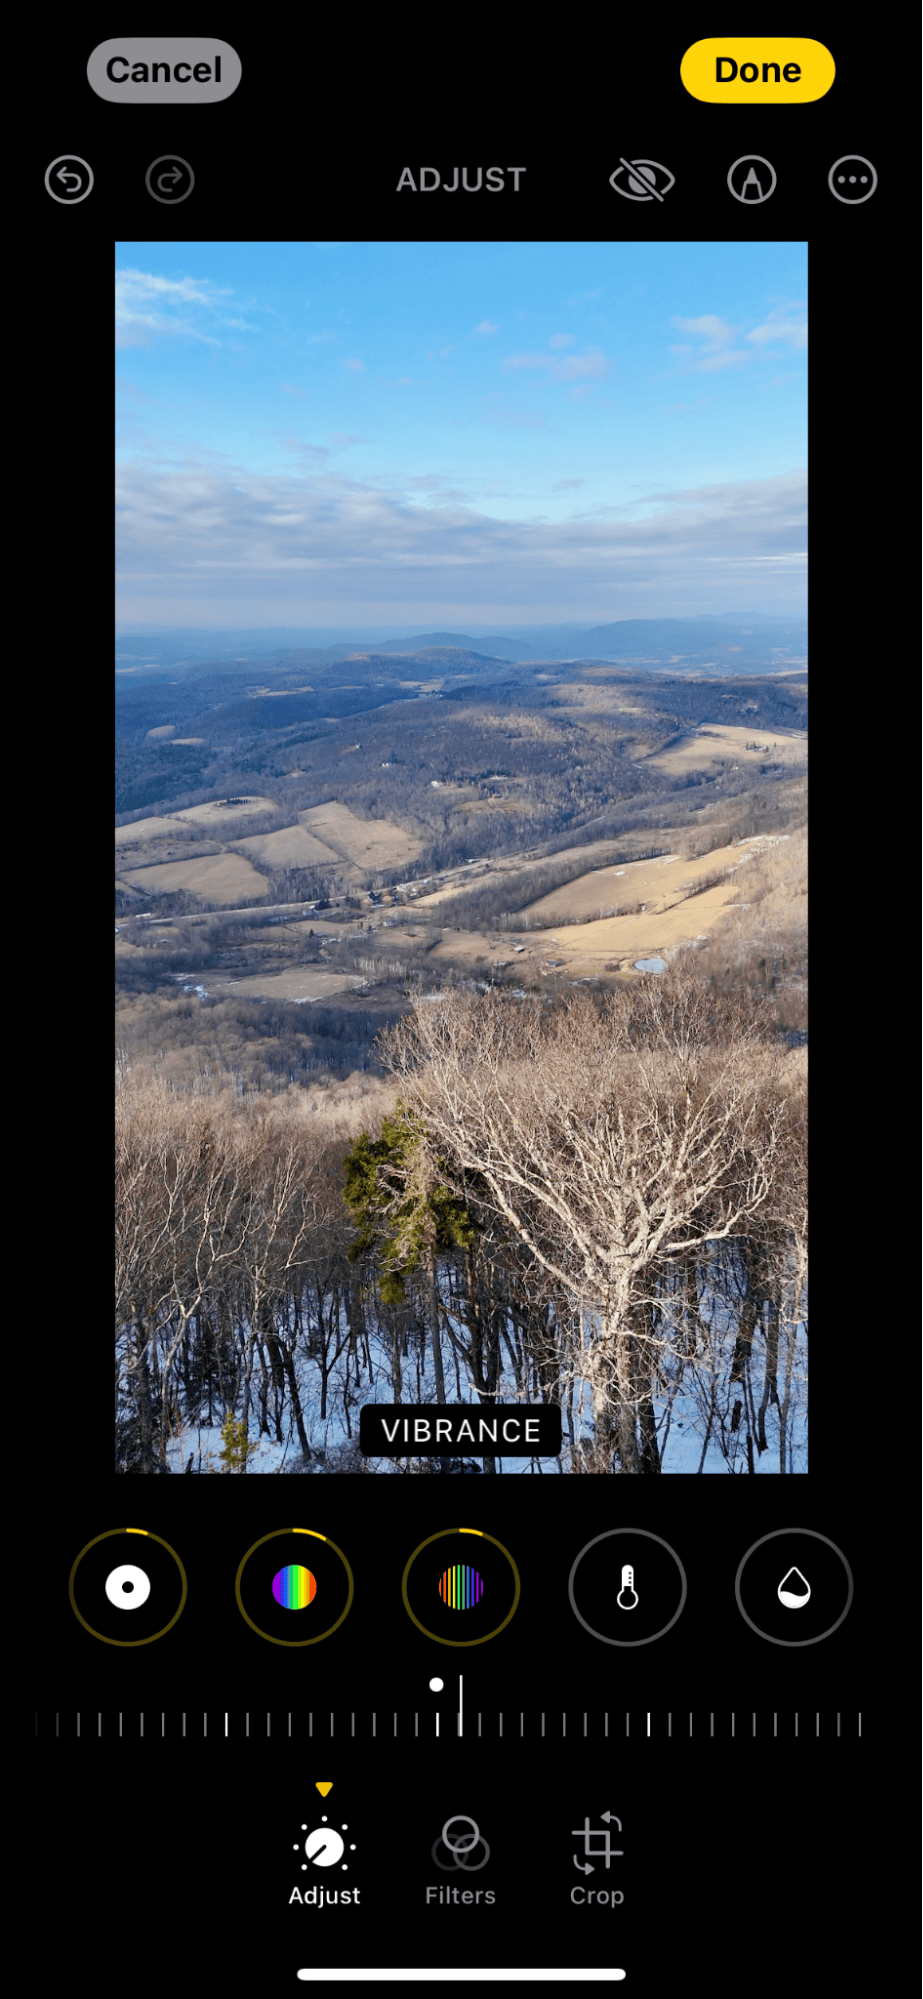
When you are just starting, try using the ‘Auto’ feature to make sweeping adjustments to your photos with a single tap. From there, you can make smaller adjustments to exposure, saturation, highlights, and shadows.
In the Photos app, choose a photo you want to edit, then follow these steps to make adjustments.
- Tap ‘Edit’ in the upper right corner.
- Tap ‘Adjust’.
- Tap the magic wand icon to use the auto-edit feature.
- Now, you can scroll through the editing features and make more adjustments to your photo by using the slider.
- To go back to the beginning — simply tap ‘Cancel’ and all of your changes will disappear.
- From the Edit dashboard, you can also add filters or crop your image.
Organize your photos like a pro
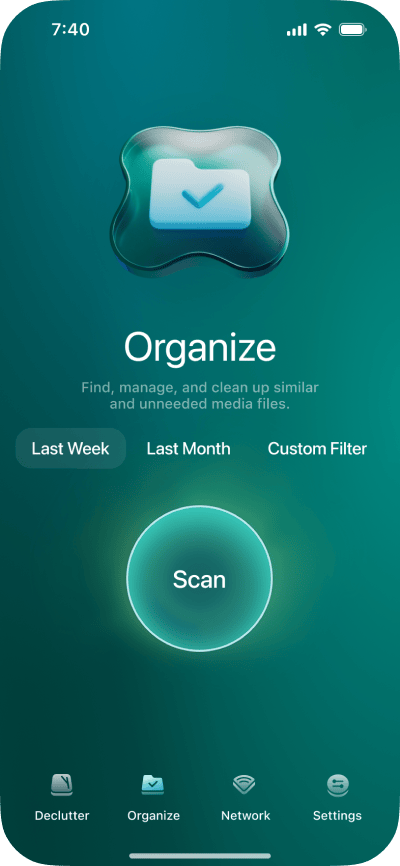
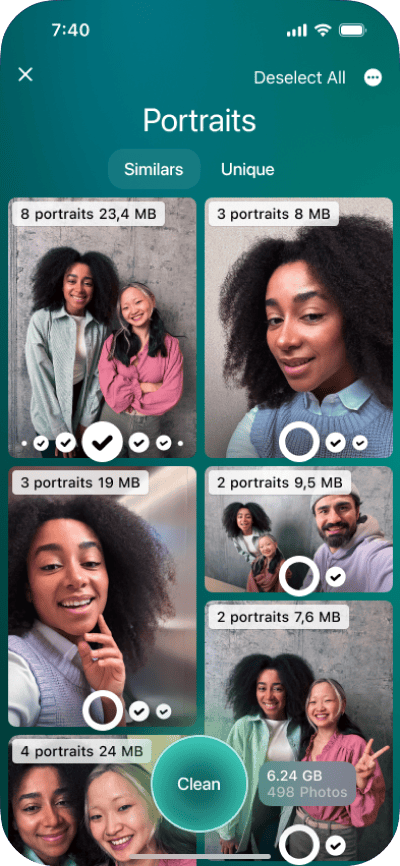
As fantastic as the iPhone cameras have become, you won’t become a pro overnight, and your photography journey will include lots of practice and plenty of sub-par images. To avoid filling up your iPhone and iCloud with images you’d rather not see again, download CleanMy®Phone and use its Organize feature — it will sort your photos into categories so you can easily delete the ones you don’t want.
Ready to take the next steps to take professional photos with your iPhone? Follow our expert tips, and don’t forget to practice composing, shooting, editing, and organizing your images.
