For far too long, high-quality photos were only available to professionals — and the people with enough money to pay for them. But the rise of Instagram has resulted in hundreds of tools and apps that allow amateur photographers to take pictures just as good as the pros.
Editing software, artistic filters, and retouching apps can help elevate any photo you capture. But there’s one simple, free tool that’s often overlooked in the Instagram photography community — the self-timer.
Built directly into your iPhone, this simple feature can help you create stunning photos that will level up your profile and put your content in the same bracket as the pros. In this guide, we’ll go over everything you need to know about using your camera’s self-timer — no additional downloads required.


How to set a timer on iPhone camera
Whether you’re jumping last-minute into a group photo or trying to capture the perfect picture of your outfit before heading out, the self-timer feature on your iPhone’s camera is a great tool to understand how to use. And the first step in doing that is to figure out how to set it up.
Here’s how to set up your iPhone camera’s self-timer on iPhone X and earlier:
- Open your Camera app.
- Press the clock button at the top of the screen.
- Select the timer option you wish to use. Your options are 3 seconds, 10 seconds, or to turn the timer off.
- Take your photo by pressing the release button at the bottom-center of the screen.
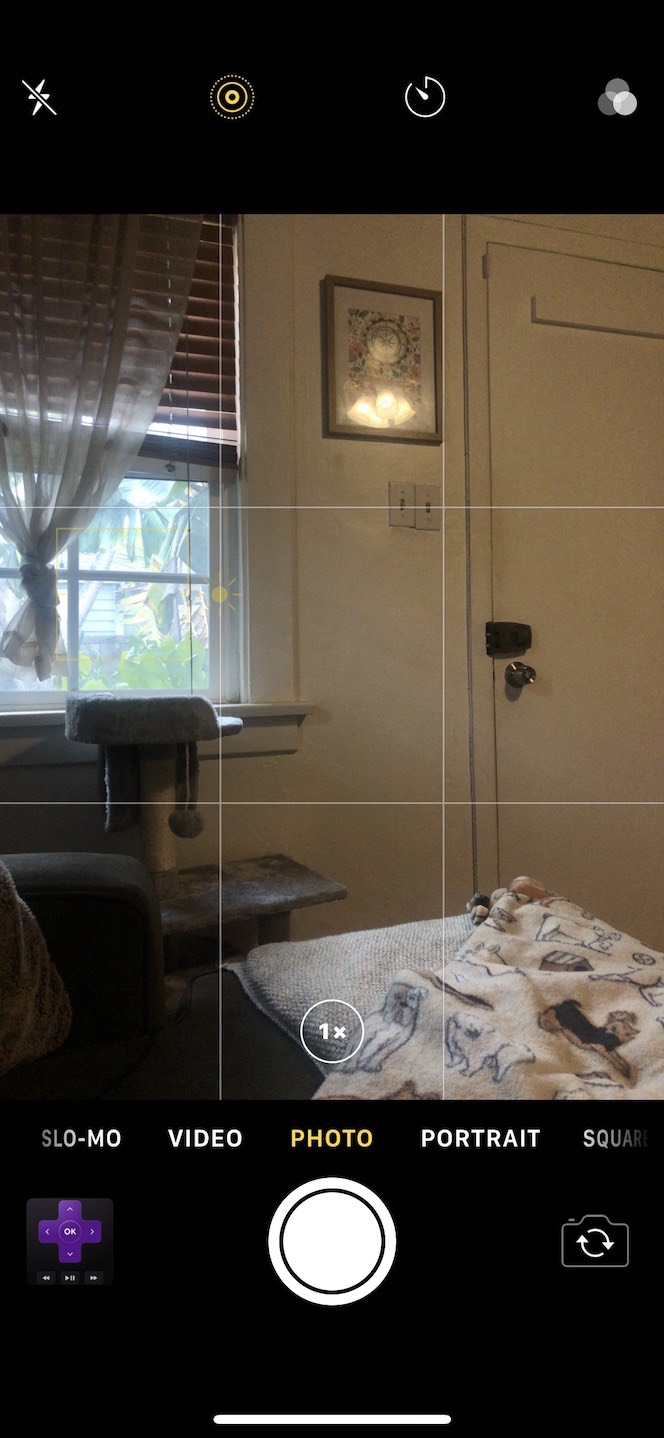
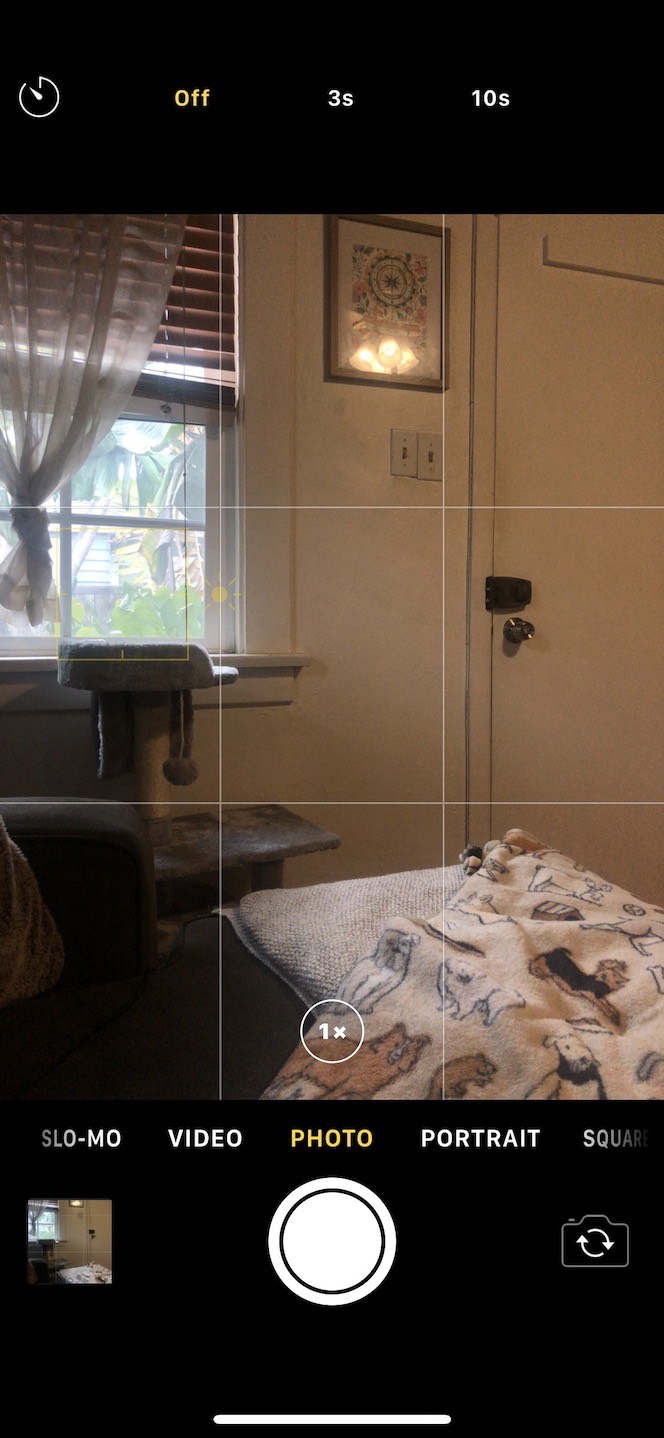
On iPhone XR, XS, or newer, in the Camera app, tap the up arrow and select the timer icon from there. The options will be the same: 3s, 10s, and turning off the timer.
Following these simple steps will help you set up your self-timer for all of your future photos. It’s also good to note that the self-timer is available for both the front and rear cameras.
Can I turn off burst mode when using the self-timer on iPhone?
The default setting for using the self-timer is for the camera to take photos in burst mode, which means that multiple photos are captured in quick succession. But you can turn off burst mode when using the self-timer on your iPhone.
Some people like having burst photos to choose from, and some people don’t. Either way, it’s useful to know how to turn burst mode on and off while using your self-timer. If you want to turn it off, you must turn on the Live photo option or Portrait mode.
Here’s how to turn on Live photos:
- Open your Camera app.
- Press the clock button.
- Select the timer option you wish to use.
- Press the Live option button — three concentric circles — to turn it on or off.
- Take your photo.
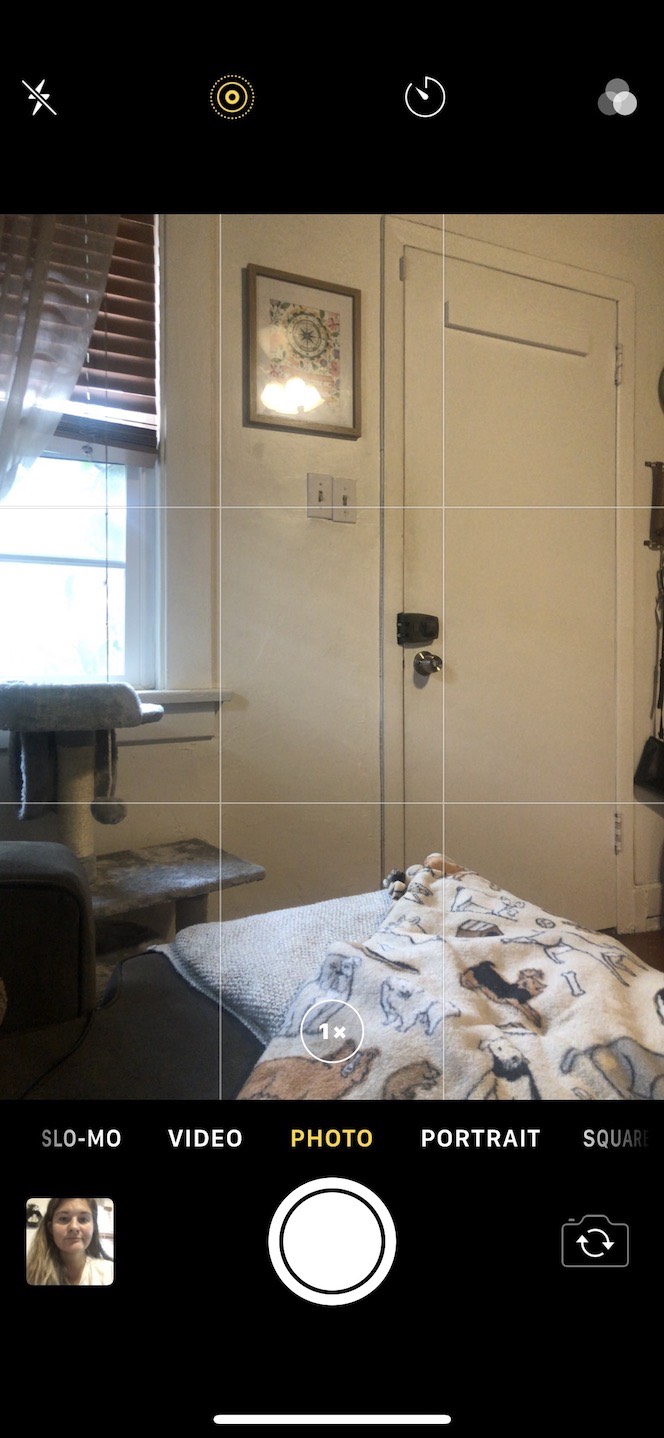
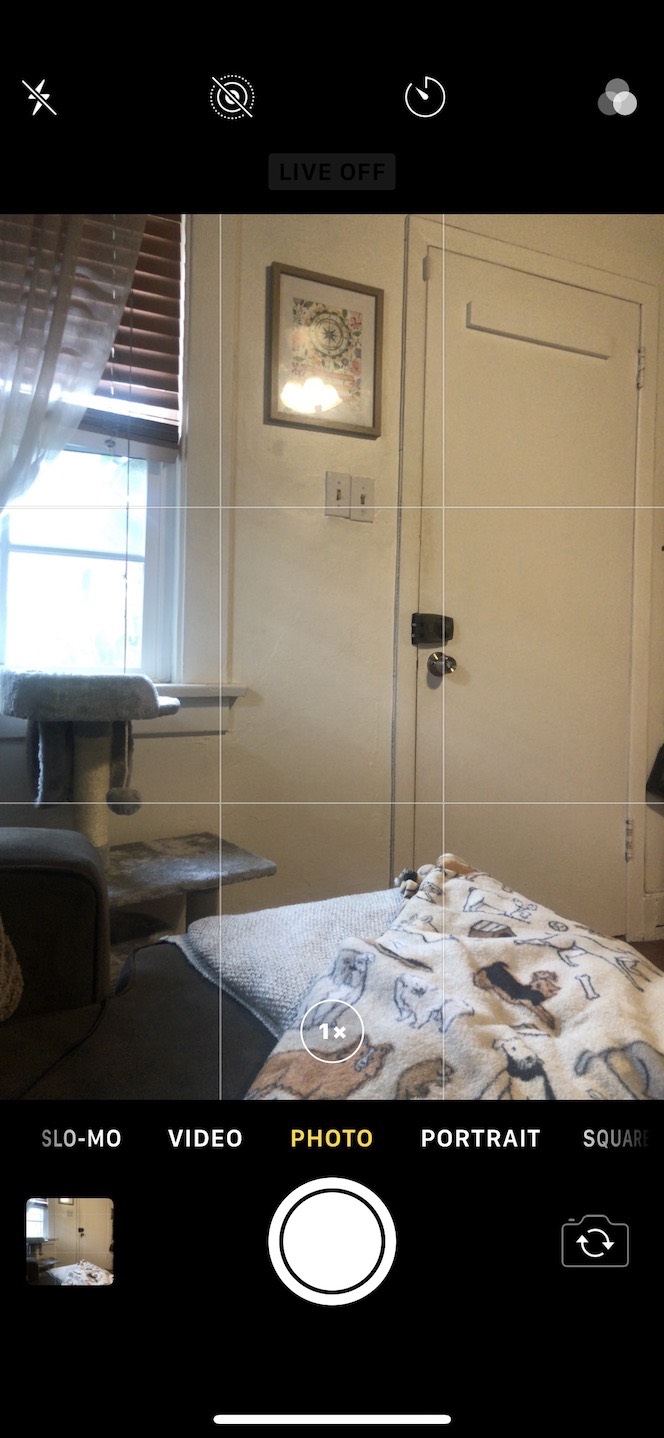
To turn on Portrait mode, just scroll to Portrait at the bottom of your screen and then take the photo like you normally would.
How you can improve your photos with iPhone camera timer
Now that you know the ins and outs of your iPhone camera’s self-timer, it’s time to learn how to use it to take incredible, professionally polished photos for your Instagram. While there are tons of tips and tricks out there, we’ve rounded up our favorites for you to try today.
Take selfies without your arm in the frame
Perhaps one of the easiest and most effective ways to use your self-timer is to capture a classic selfie — without the classic selfie arm. Thousands of photographers and Instagram influencers have mastered this art, and now it’s your turn.
Ideally, you want to have something to set your camera up with. While you could lean it against a wall or some books, the best way to get self-portraits like a pro is to use a stand or tripod. The Lamicall Phone Stand is adjustable so you can capture your best angles, and the UBeesize 51″ Extendable Tripod Stand comes with a Bluetooth remote.
Once you have your iPhone secure, do the following:
- Open the Camera app.
- Position your iPhone to face a neutral background and position yourself toward your light source.
- Select the 10-second timer so you can give yourself enough time to get into position.
- Turn Live mode off so burst mode is activated, and you get more photo options.
- Press the shutter button.

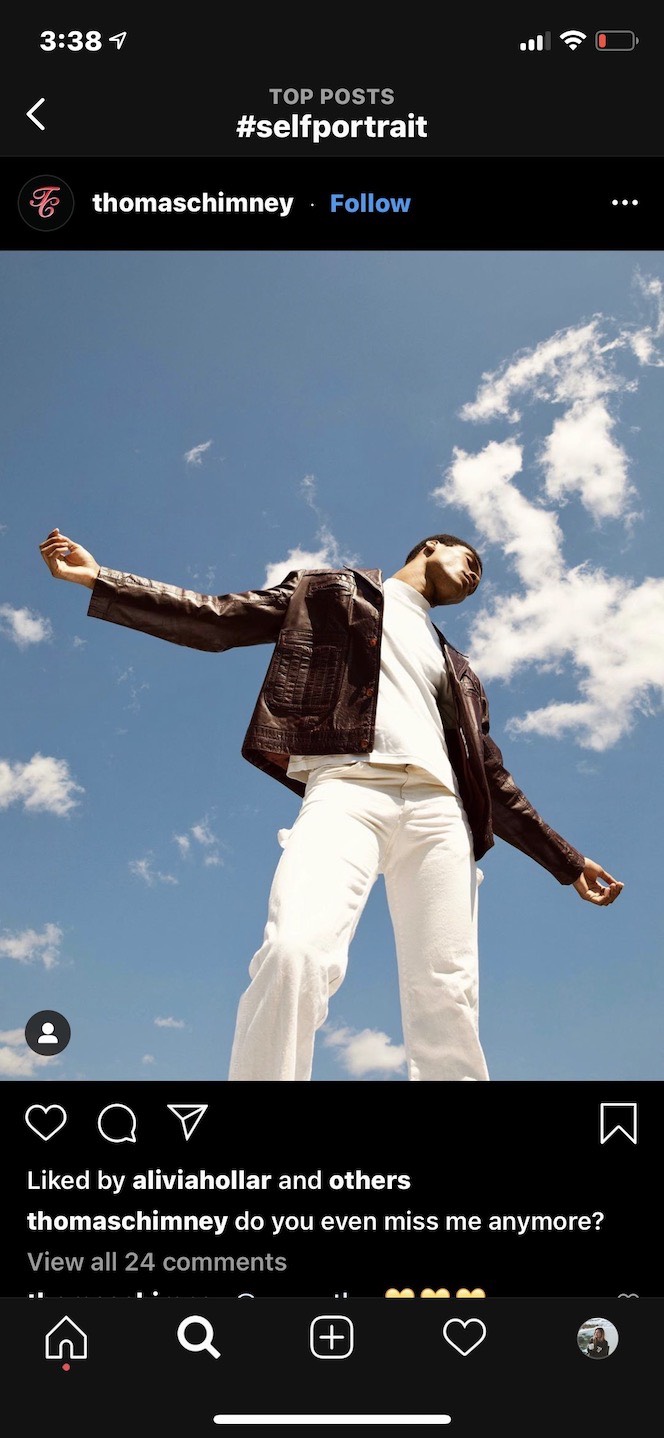
There are tons of positions, angles, and poses you can experiment with to take creative self-portraits, so play around and have fun with it.
Reduce blur in Night mode photos
If you’ve ever tried to take a photo in the dark, you know how difficult that can be. Blurry, shaky photos are often the result because there isn’t enough light to stabilize the frame, even with iPhone’s Night mode feature.
However, your self-timer can help reduce the blur of your nighttime photoshoots because you won’t be holding the camera. Once again, so long as you have a way to secure your iPhone, your nighttime photos should come out just as crisp and clear as your daytime shots.
Luckily, iPhone’s Night mode turns on automatically, so all you have to do is set up your iPhone, turn on your self-timer, and make sure to follow these other tips:
- Only shoot still subjects. People or objects that are moving are already hard enough to capture during the day. At night, they’re even harder to capture and will likely result in a blurry image.
- Reduce the exposure on your camera before you take a picture. To avoid that grainy overlay on your photos, tap the part of the image you want to remain dark and crisp. When the set focus box comes up, swipe down to make the area of the image darker.
- Choose a well-lit area. Night mode doesn’t work in the total pitch black. The best evening photos are taken in places that have at least one available source of light. Another good trick is to surround the well-lit area you’re placing your subject in with very dark negative space.
- Shoot in black and white. If you have bright lights and dark shadows in your picture but not a lot of vibrant colors, shooting in black and white can make the image look clearer and more professional.
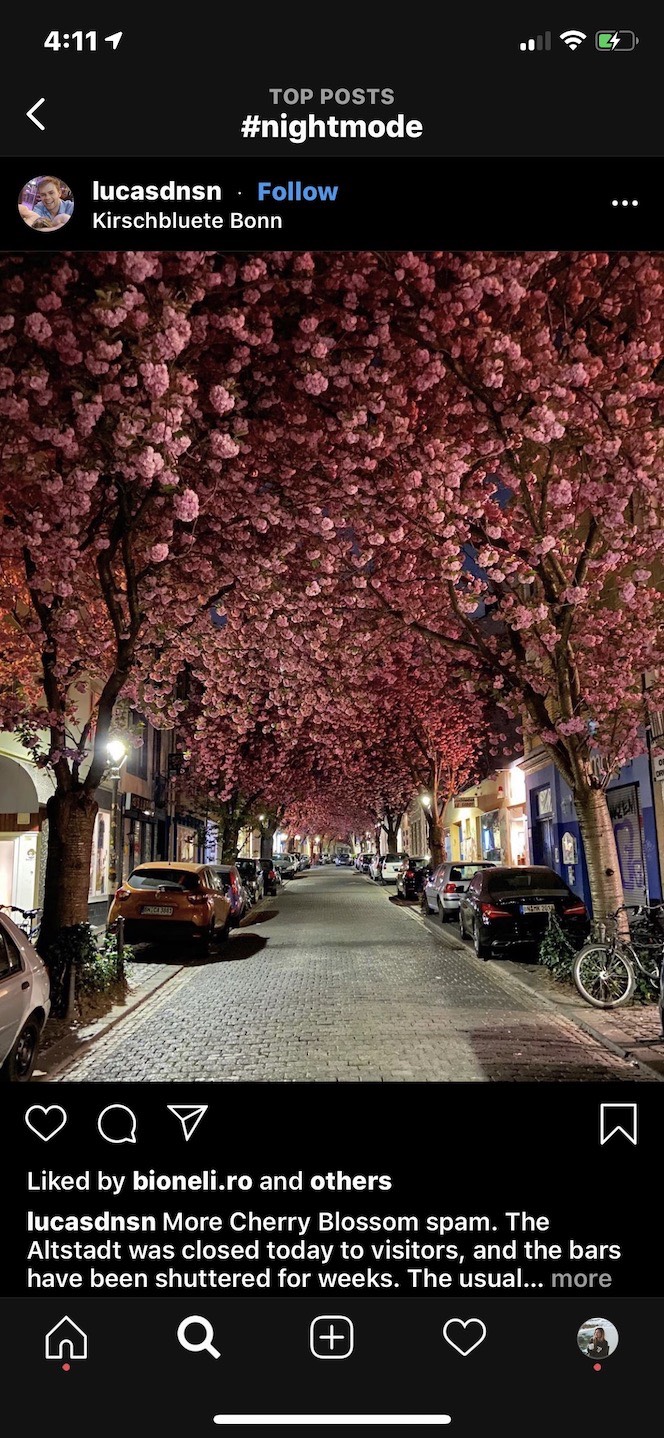
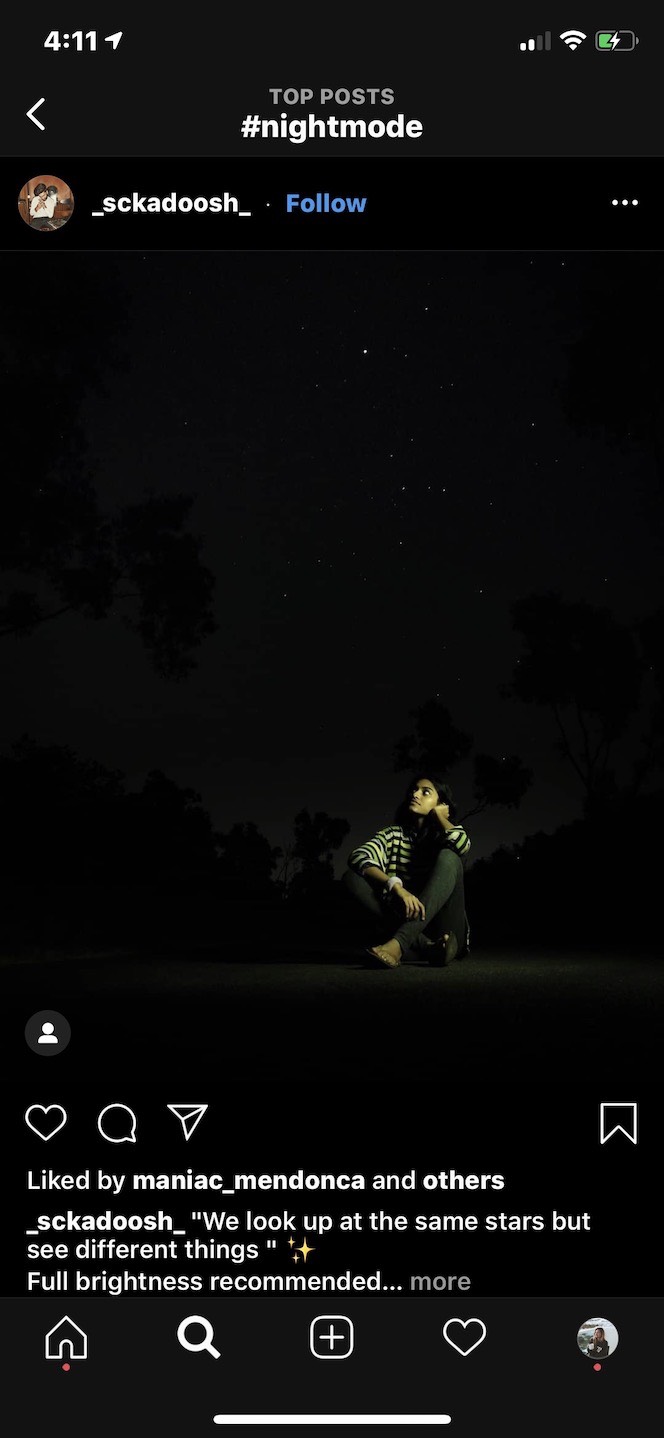
Whether you’re capturing your entire extended family after a holiday meal or shooting a creative nighttime portrait, we hope these self-timer tips will help you upgrade and improve your iPhone photography skills.
