Do you love taking photos of your latest culinary creations? Are you longing to start a recipe blog or a cooking account on Instagram? It’s time to up your food photography game! With a few extras and your iPhone camera, your food can look as good as it tastes. Let’s explore the world of creative food photography with a helpful guide for beginners.
The setup you need for food photography with an iPhone
At the basic level, you don’t need much to get started with iPhone food photography — just your iPhone and whatever you’re dishing up. If, however, you want to kick it up a notch, there are a few pieces of equipment that will make your food photography even better:
- A tripod with a rotatable center column: Any tripod will work for taking crisp food photos, but if you get a tripod with a rotatable center column, you can use it for hands-free photos and videos from above.
- A clamp for shooting from above: This clamp from Manfrotto attaches to the center column of your tripod to hold your iPhone securely in place for food photography. If you’ve ever had to fish your phone out of a bowl of soup, you’ll know how important that is!
- A remote shutter: Remote shutters are inexpensive and necessary to reduce camera shake. As an alternative, you can use the timer in your Camera app.
- A light source: You can use natural light from a window or artificial light. We’ll talk more about lighting in the next section.
- A great photo editing app: Even the best photos could use a little post-processing. Scroll down to see our favorite apps for food photography.
What light is best for food photography?
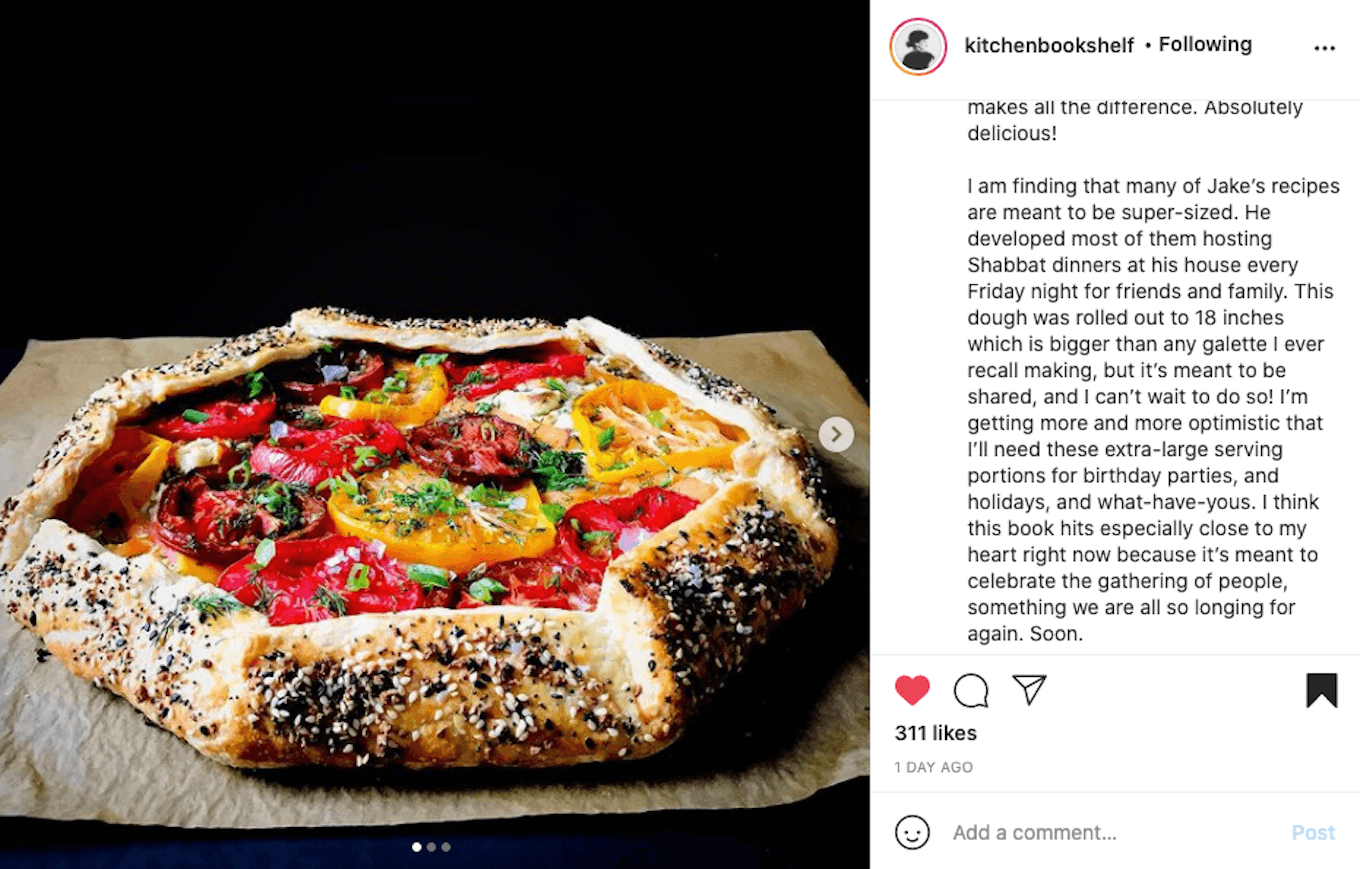
You can use natural or artificial light for your food photography. The secret is to diffuse the light a bit so that it appears soft but bright. One option is to buy a light diffuser to place between the food you are photographing and your light source. Or you can use a sheer curtain or a piece of parchment paper to elicit the same effect.
As for artificial light, you’re looking for something that provides continuous light from the side and possibly from above, depending on the look you’re after. Adjustable, portable lights are great for food photography, and the level of brightness and angle can be easily tweaked. If you aren’t ready to invest in a lighting setup, using a desk light and diffuser will work almost as well.
How to make a lightbox for food photography
While natural light is fabulous for food photography, it does have its limitations. With natural light, you have to plan your shots (and your meals) based on the time of day when the sun is at the right angle. Using a lightbox for food photography means you will be able to take photos whenever the mood strikes using diffused artificial light. Here’s what you need to create your lightbox, as well as instructions for creating it.
You’ll need:
- A large cardboard box
- A large piece of poster board
- A piece of light white fabric or white parchment paper
- Packing tape
Instructions:
- Reinforce the bottom of your box with packing tape.
- Cut off the front flaps from the top of your box.
- Cut large rectangular squares out of three sides of your box.
- Secure the light fabric or parchment paper over each of the three holes, taping the edges.
- Cut your poster board to fit along the bottom and remaining side of the box. You want to position it over the bottom and side so that there is a slight curve to it. A sharp fold will add unattractive shadows to your food photo.
- Use portable lights or a desk lamp behind the homemade diffusers to emulate naturally diffused light.
- Place your meal inside the box and photograph it.
Are ring lights any good for food photography?
A ring light is actually a great choice for providing bright, even light to your plated food. Ring lights are better than traditional lights for filling in the shadows on your food before you snap a photo. Ring lights are designed so that your camera can shoot through the hole in the ring for a smooth, luminous effect on your food photography.
The downside to using a ring light is that using a bright overhead light will sometimes make your subject matter look flat and dull. But with practice, a ring light is a great tool to have in your iPhone photography kit for indoor shots.
How to take photos of food in the dark
If you’ve ever encountered a beautiful plate of food in a dimly lit restaurant, you understand how difficult it can be to get a good photo. Perhaps you’ve figured it’s not even worth taking out your iPhone to make an attempt.
While low-light food photography can be difficult to pull off, we’ve got a few tips to help improve your images. Here are some tried-and-true tips for taking photos of food in the dark:
- Use iPhone’s Night mode. If you are shooting with a new iPhone, including iPhone 11 or later, you should definitely use the dedicated Night mode, which will brighten your food photos using a combination of the phone’s sensor and software.
- Use a tripod. Whether or not you’re using Night mode to take your food shots, you will want to keep your phone steady. A small, adjustable tripod is perfect for impromptu restaurant shoots so that you can reduce blur while taking photos.
- Use a portable flashlight. While it may be tempting to use the flash on your iPhone for low-light situations, the results are usually not flattering. Instead, carry a small pocket flashlight to give your low-light meals a little boost of light. You can diffuse the light with a piece of paper if you have to.
Our top 5 tips for creative food photography
Now that you have the basics down, let’s go over a few tips for composition, lighting, and settings so that your food photography really stands out.
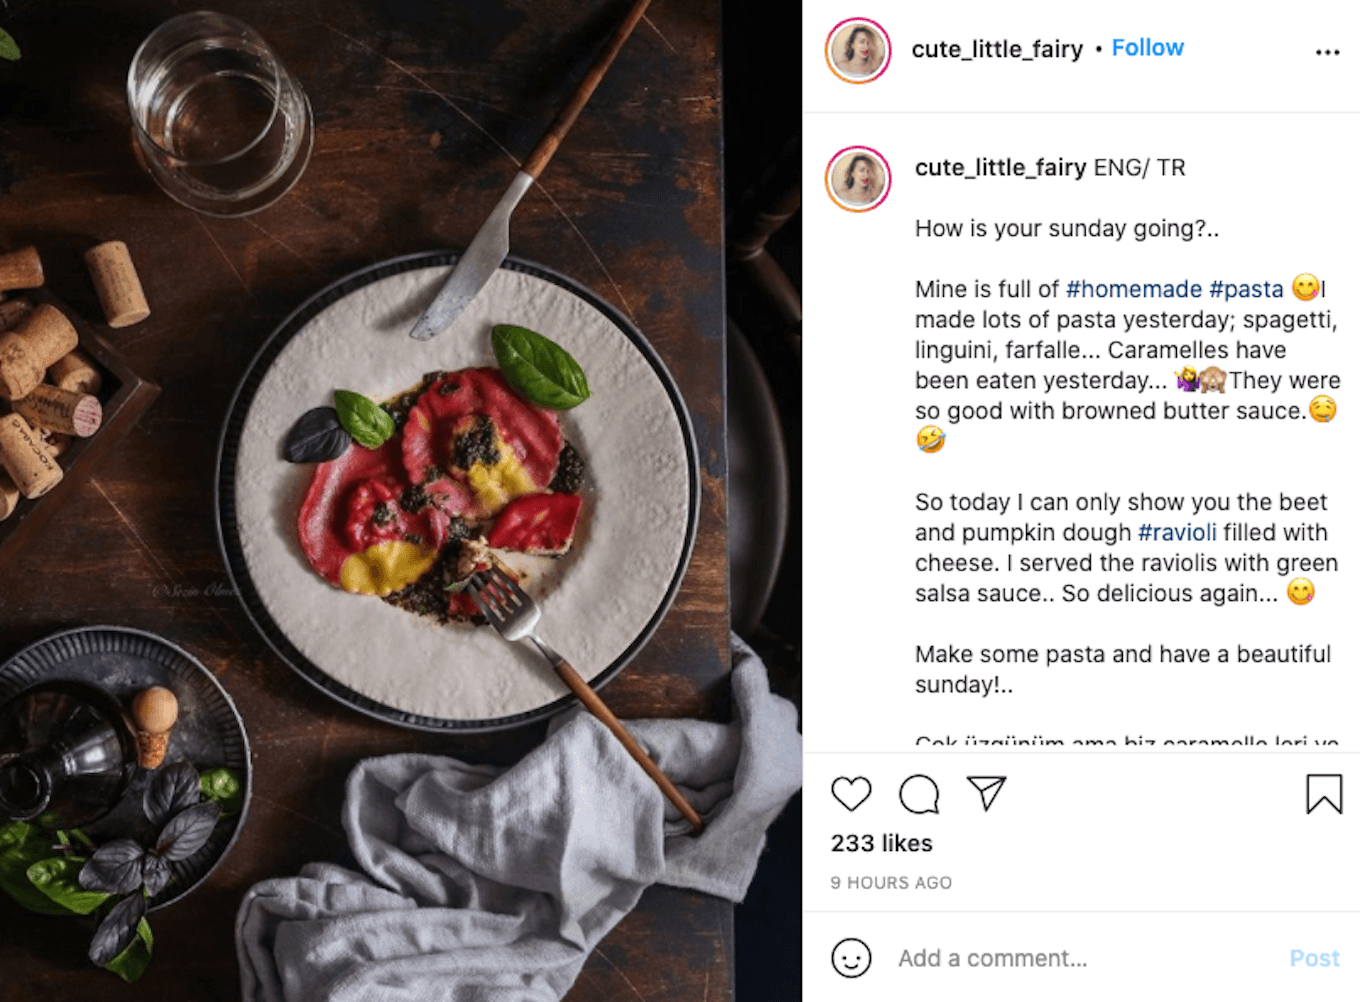
Tip 1: Shoot at a 45-degree angle from your food
While it may be tempting to shoot from unique angles when capturing your meals, shooting from the classic 45-degree angle will provide a natural look that shows off your food’s best side. It also allows you to capture a bit of the foreground and background for better context.
In some situations, a 90-degree angle shot from straight above your plated food may be more pleasing. It depends on your subject matter, so you will have to experiment a bit with what works best for each shot.
Tip 2: Use props creatively
Use a variety of props and ingredients to create compositions that have different layers. This works best when you have added layers in the foreground and background and your main dish in the middle. Glasses, silverware, food ingredients, and fabric all work well to style your subject. As long as your props and ingredients are related to your main subject, they will help tell your story instead of detracting from it.
Tip 3: Use a neutral background
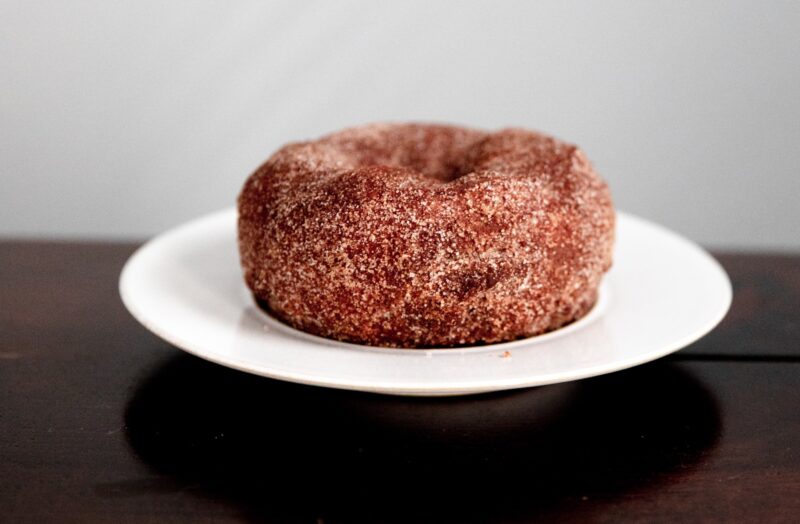
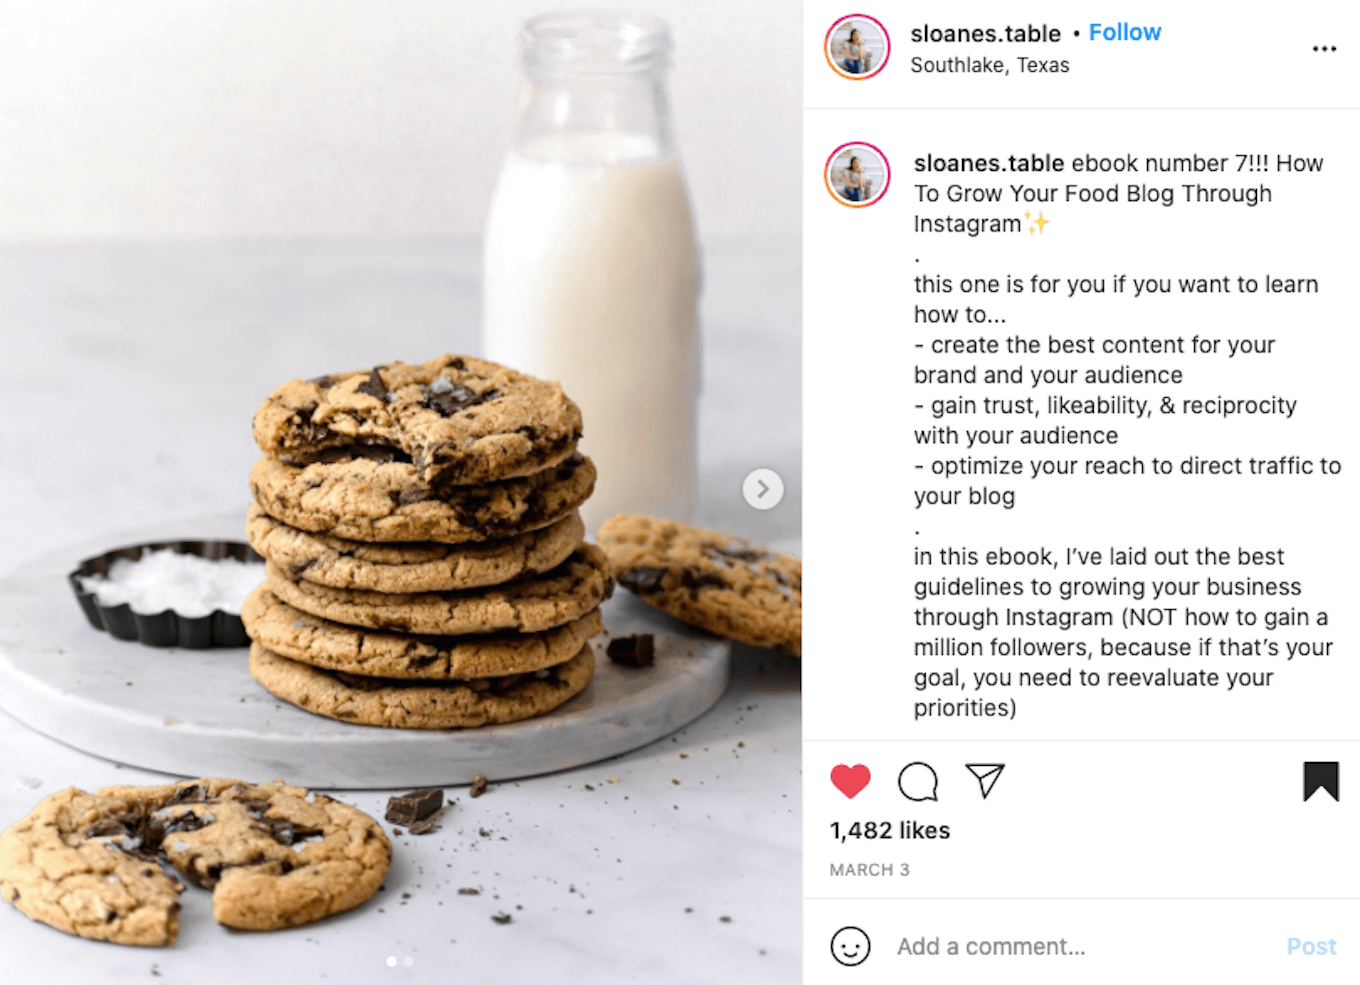
When we say “neutral,” we don’t mean a plain white table or wall, but you should look for backgrounds that won’t overpower your subject. Try out different backgrounds to see what works well with your subject — light, dark, or even a warm wood background. Stay away from bright colors and patterns so that the meal you’re photographing can really shine.
Tip 4: Photograph repeating patterns
Beginning food photographers will often frame their shot around a single plate of beautifully arranged food, and while there’s nothing wrong with this method, it isn’t always the most interesting way to go. Instead, try using repeating patterns to add a stronger graphic element to your food. Try photographing multiple smaller plates of food, a collection of cookies, or several cocktails in a row.
Tip 5: Use negative space to your advantage
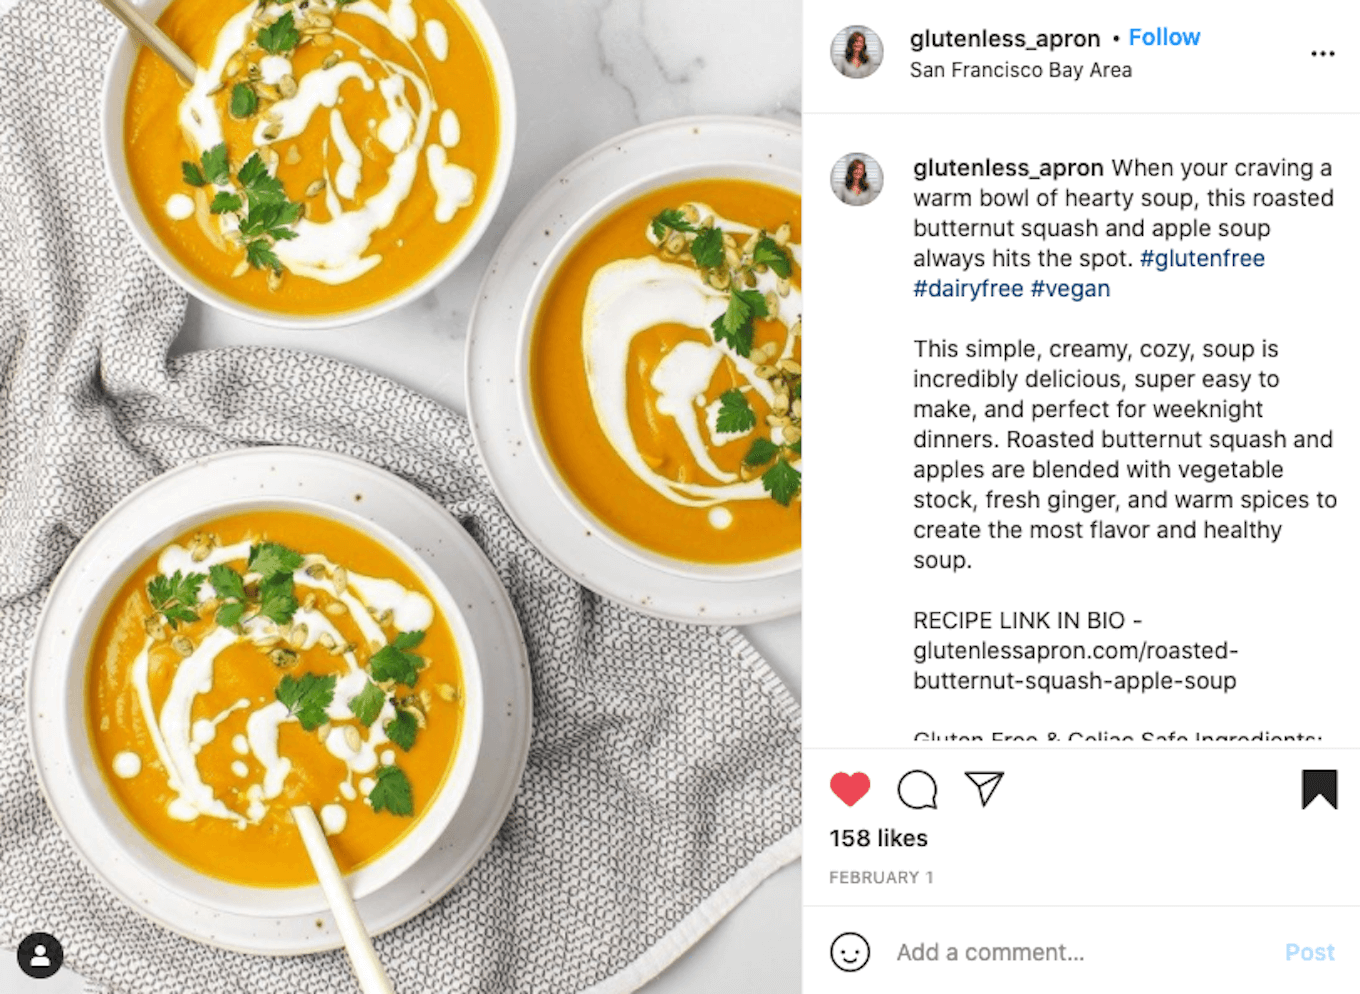
When composing your shot, try to leave some negative space around your main subject. This creates a bit of breathing room that will keep your viewer’s eye within the frame. Use your props to frame your subject, but leave room around the edges for the neutral background you’ve chosen.
The 3 best food photography apps
Post-processing will enhance your food compositions, making them more vibrant, sharper, and more refined. There are a variety of great iPhone apps for food photography. Here’s an overview of our favorites.
Google Snapseed
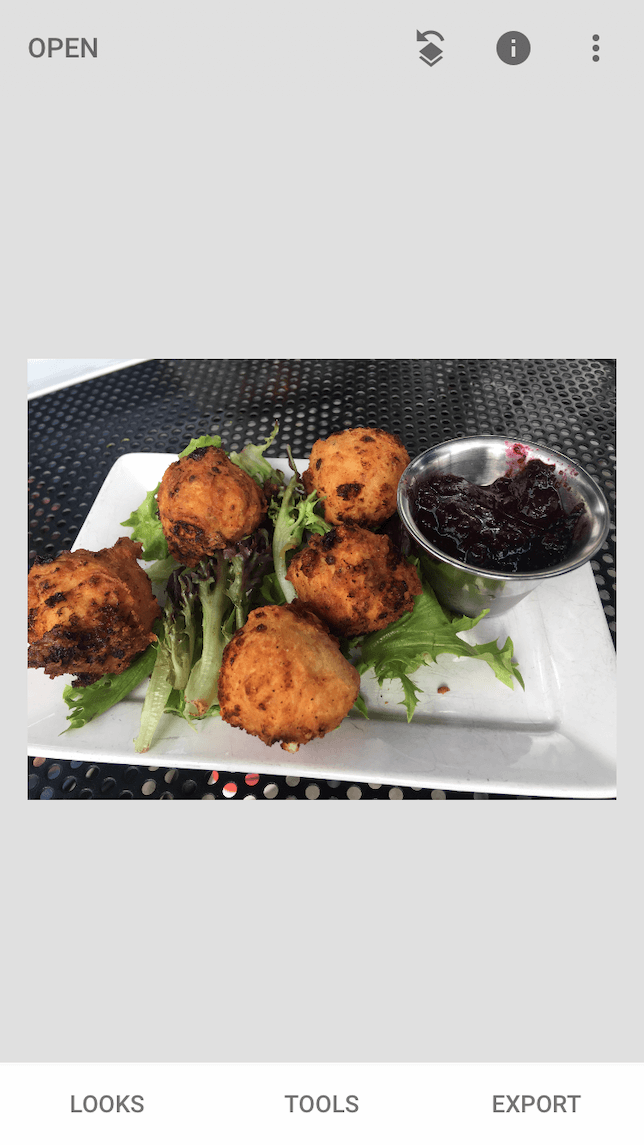

Snapseed is a popular photo editing app that is great for food photography. One of our favorite tools within Snapseed is the selective brightness tool. With it, you can brighten up dark parts of your photo. And if you want to clean up rogue crumbs or spills, the healing tool can get rid of them with the press of a button. Snapseed is 100% free to download and use.
Download Snapseed on the App Store
Lightroom Mobile
If you’ve ever used Adobe Lightroom on your computer, you’ll be pleased to know that the mobile app includes many of the same powerful editing tools for your iPhone.
If you’re experimenting with food photography, you will want to try the Camera app in Lightroom, as it includes many additional tools that go above and beyond what is available on the iPhone. With Lightroom, you can change your shutter speed, exposure, white balance, and ISO, so you have more control of the photo from the very beginning. Once you’ve snapped your photo, you’ll find that the editing tools in Lightroom mobile are powerful and easy to use.
Download Lightroom on the App Store
VSCO
VSCO is best known for its incredible array of easy-to-apply filters that quickly take your photos from dull to dramatic, and that’s exactly why we’re recommending it. You can access 10 filters for free or invest in the premium package that includes more than 100 filters. Using VSCO filters is a great way to streamline the editing process and develop a cohesive theme for your social media account. Whether you’re trying out the new trends in dark food photography or want a light, airy look, there’s a VSCO filter with your name on it.
Download VSCO on the App Store
Ready to up your food photography game? Start experimenting with lighting, composition, and post-processing, and you’ll develop your own beautiful style that will make your viewers hungry! And if you want to experiment with your food photography even more, try shooting with a macro lens for iPhone.
