There’s something magical about photographs shot during the blue hour, when lines and shapes are familiar but dark and a blue cast gives the world a bit of a surreal aura. Blue hour photography can be tricky to master, mainly because the light is barely there and has a way of playing tricks on your camera’s sensor. Fortunately, with a bit of practice and some technical tips, you can take dreamy blue hour photos with your iPhone.
Understanding the blue hour in photography
So, what exactly is the blue hour in photography, and what makes it so special? Let’s find out!
What time is the blue hour?
The blue hour is the period just before sunrise or just after sunset. While the sun itself isn’t visible during the blue hour, the diffused sunlight is in a constant state of change, getting darker or lighter depending on whether you are shooting in the morning or the evening. To really capture the blue hour magic in your images, you should ideally start shooting about 45 minutes before the sun rises or about 45 minutes after the sun sets.
One little caveat about blue hour photography: The blue hour happens twice a day for about 90% of the world. The exception is if you are shooting in locations close to the Earth’s poles. In these locations, you may only get one blue hour or none at all, depending on the time of year.
What happens during the blue hour?
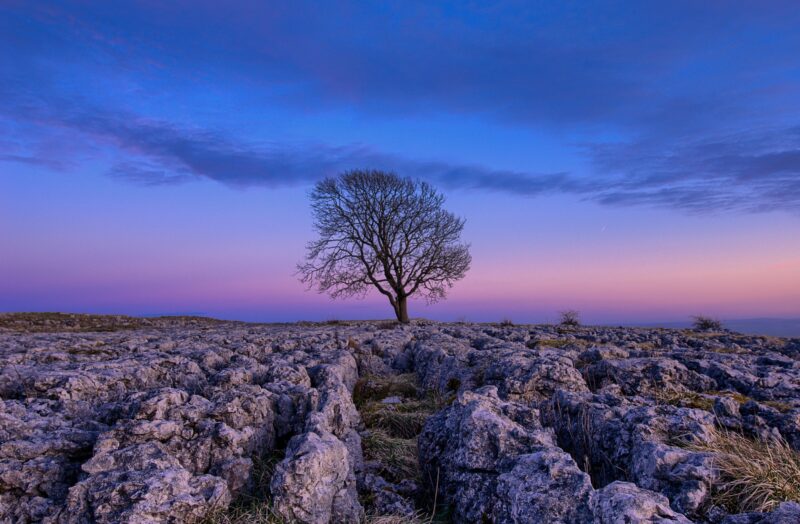
Images taken during the blue hour have a tell-tale blue cast. This is true for virtually all blue hour photos, including portraits, cityscapes, wildlife shots, and landscapes. Those beautiful blue tones are what make blue hour photography so special. It’s certainly possible to create fake blue hour photographs using editing software, but if you want the real deal, you will have to get out there before the birds start singing in the morning or before the stars come out in the evening. It’s a photographic adventure of the best kind.
Is blue hour good for photography?
A subjective question deserves a subjective answer. Blue hour photos can be dark, dreamy, and moody, but they can also be blurry, underexposed, and grainy. The blue hour is an ideal time to practice your photography and snap some unique, impactful images, but it is often cursed by constantly changing light, making it tricky to get the shot you’re after.
So, is blue hour good for photography? Sure, if you don’t mind working a little harder to get your shot!
Blue hour photography tips
Ready to delve into the world of blue hour photography? Here are some tips for taking magical blue hour photos with your iPhone.
1. Use a tripod and remote shutter for blue hour photos
Because you are working in a low-light situation when shooting during the blue hour, it’s almost essential to use a tripod. Keeping your iPhone steady is the key to creating sharp photos. And honestly, a small, flexible tripod is worth the investment for all types of iPhone photography anyway. The Joby GripTight tripod is suitable for all smartphones and will easily fit in the smallest camera bag. And using a remote shutter is an inexpensive way to further reduce camera shake so that your blue hour photos are as sharp as possible.
2. Shoot toward the brightest part of the sky
When taking blue hour photos, you are working in very low-light conditions, so the more light that hits your camera’s sensor, the better. If you can compose your shot to take advantage of that light, you will see a dramatic improvement in the clarity of your image. During the blue hour, the brightest part of the sky is the point where the sun is going to rise in the morning or where it has just set in the evening.
3. Keep track of the blue hour with a dedicated app
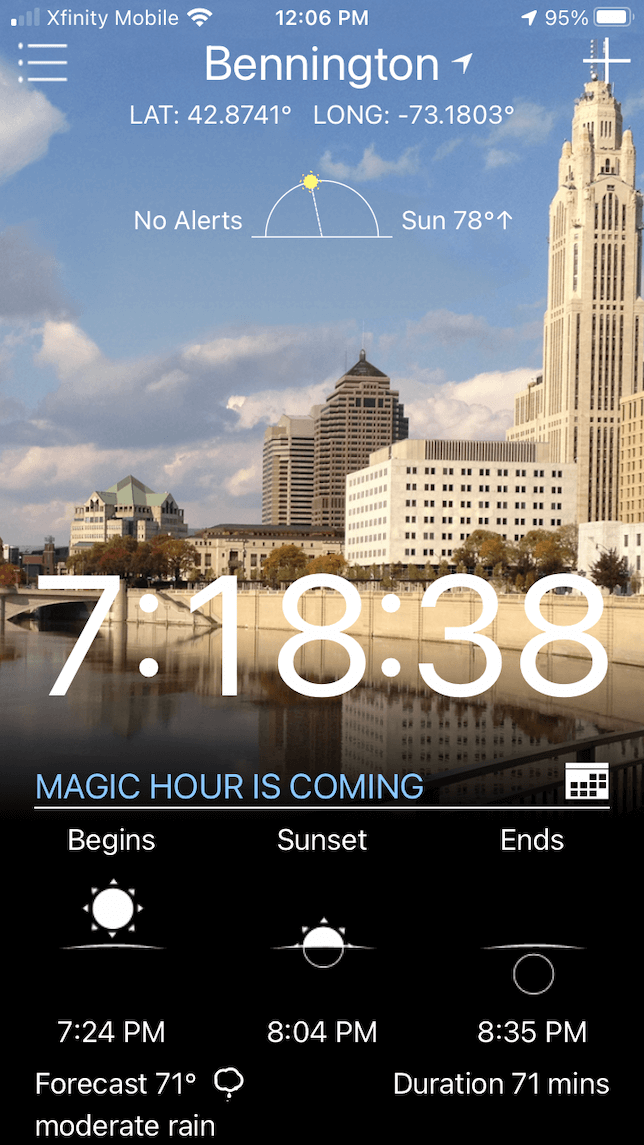
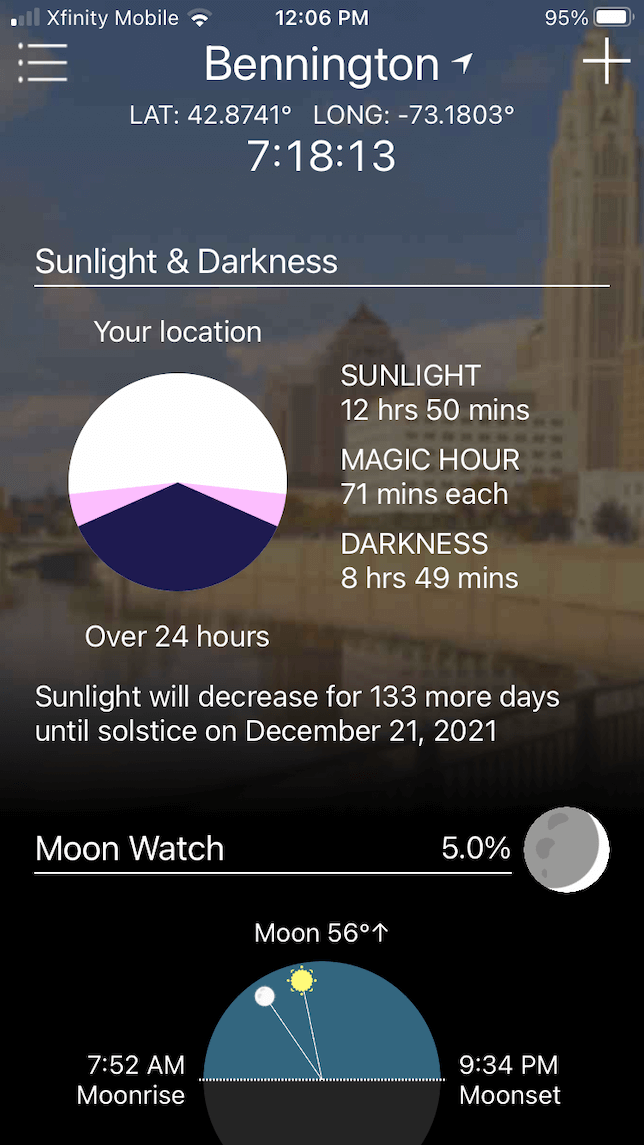
Naturally, there’s an app that helps you determine the best time to take blue hour photos. Magic Hour lets you know the times of sunrise and sunset, moonrise and moonset, and the so-called magic hour — which includes both the blue hour and the golden hour for great photography opportunities. You can even set up notifications so you never miss another blue hour. The Magic Hour app uses GPS, so it’s always accurate wherever you happen to be shooting. Oh, and it’s free, too!
4. Use Night mode to create long-exposure shots
If you’re shooting with an iPhone 11 or a newer model, you have access to Night mode, which is useful for capturing all the available light with your camera. Night mode switches on automatically and is useful without any adjustments. If you are shooting landscapes or cityscapes, you may want to adjust your Night mode settings for a longer shutter speed. When Night mode is activated on your phone, the moon in the upper left corner of your screen will turn yellow. Next to the moon, you will see a time in seconds. If you tap the moon, a slider will appear that allows you to adjust the shutter speed. Move the slider to the right to let more light in, but only use this option if your phone is on a tripod.
5. Shoot in RAW for more editing capabilities
iPhone 12 Pro, iPhone 12 Pro Max, and newer iPhone Pro and Pro Max lineup have the ability to shoot in RAW. Known as ProRAW, this new Apple format gives you more options when editing and customizing your photos. A RAW file retains more information in a digital file, so you have more flexibility when editing for exposure and white balance. The RAW format is not enabled by default because the file size is huge (more than 20 MB for each photo). To turn it on, go to Settings > Camera > Formats and toggle on ProRAW.
How to edit a blue hour photo
Editing your blue hour photos is just as important as what you do out in the field. There are very few blue hour images that don’t require at least a bit of editing to help bring out those fantastic blue tones. Here are some easy editing tips for your blue hour photos.
1. Try the HDR Scape tool in Snapseed
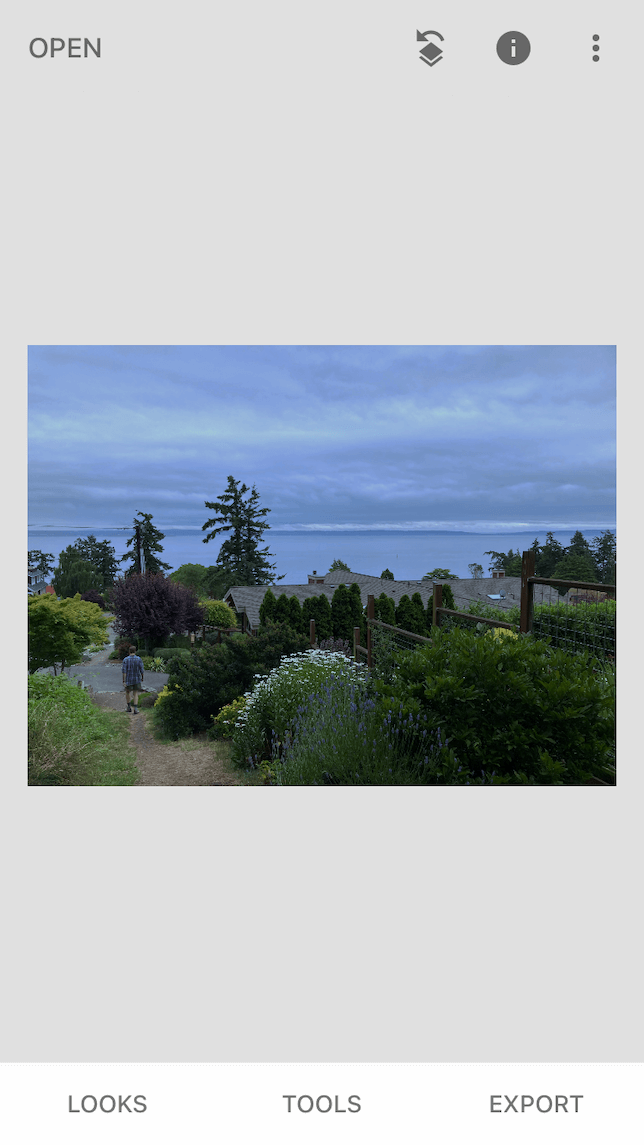
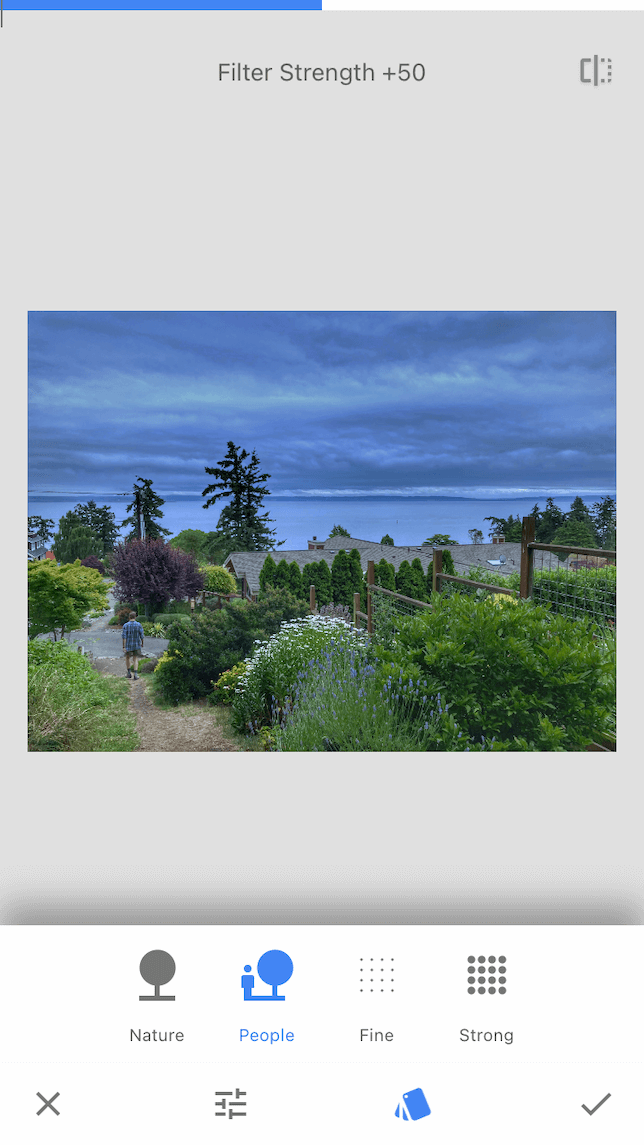
Snapseed is a powerful free photo editing app created by Google. The HDR Scape tool is useful for photos that are too dark, but be careful — sometimes, the app goes overboard, and your photos will come out with unnatural brightness and saturation levels. Here’s how to make adjustments to a blue hour photo using the HDR Scape tool in Snapseed:
- Download the Snapseed app and open it on your iPhone.
- Tap the + to upload the photo you want to edit.
- Tap Tools and choose HDR Scape.
- You will see four filter options: Nature, People, Fine, and Strong. Play around with them to see which works best, but we find that the People filter is the most natural.
- After you choose the HDR filter, use the slider to lower the intensity of your photo.
- Tap the checkmark when you are happy with the results.
2. Increase the brightness to bring out the colors in the sky
Whether you choose to use the HDR Scape tool in Snapseed or not, you may still want to increase the brightness or exposure a bit to bring out the colors in the sky. How much you increase the exposure will depend entirely on your photo, so don’t be afraid to experiment. Just about any editing app will work for this step, even Photos.
3. Tone down the highlights
When you brighten up your photo using the Exposure slider, you brighten all aspects of your photo — highlights, mid-tones, and shadows. This is great for introducing a bit more light into your photo, but sometimes, it will actually brighten the sky too much and take away from that magical blue-hour feel. To counteract this, simply use the Highlights slider to tone down the brightness of the sky just a bit.
4. Bump up the saturation, but not too much
One of the most beautiful things about blue light photography is the blue hue that gives your image a dark and magical feel. Blue hour images do tend to look quite monochromatic, though, which is where the Saturation slider comes in. Too much saturation looks very unnatural, but a little bit goes a long way toward adding some color to your shot.
5. Adjust the white balance to accentuate the mood of your photo
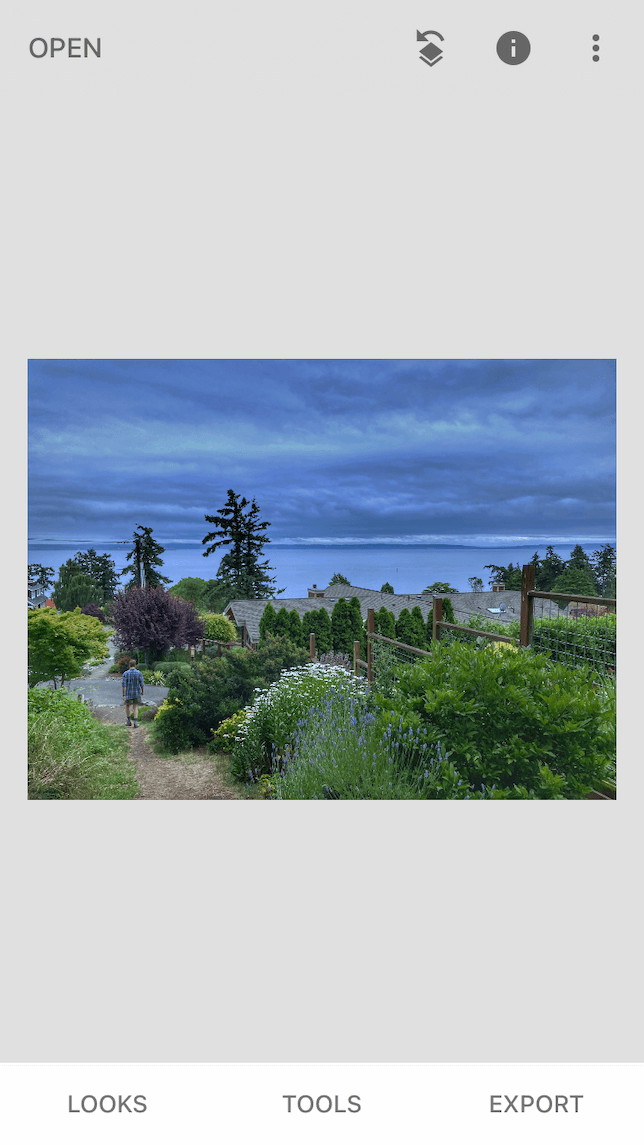
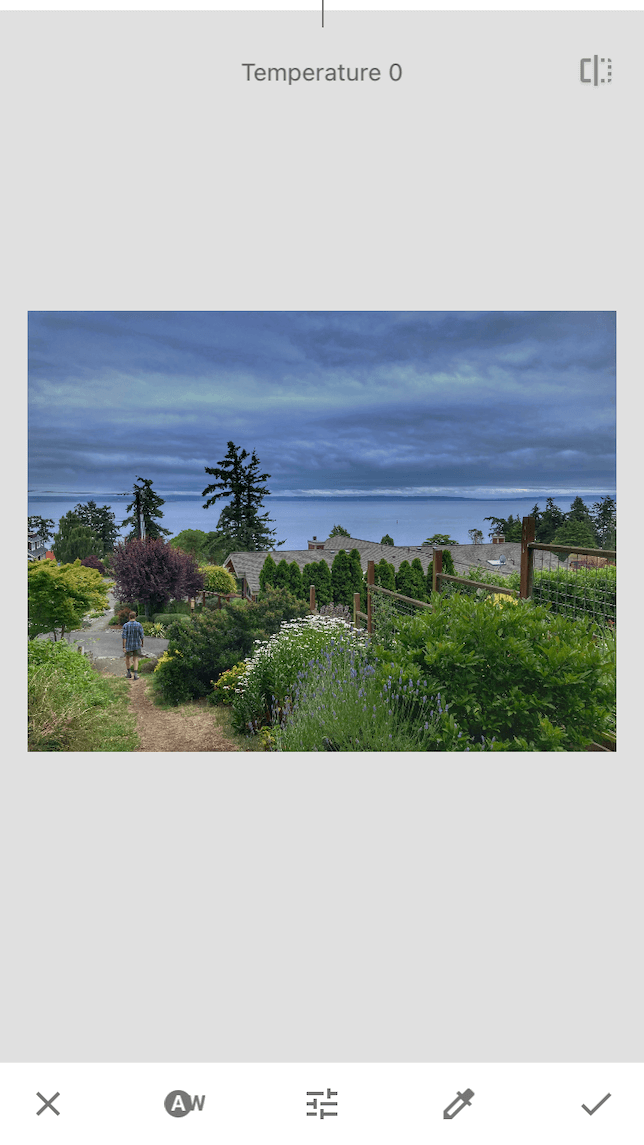
When it comes to white balance, take a minimalistic approach so as not to lose that beautiful blue shade in your photo. Bumping up the warmth just a bit will help bring out any lingering oranges and yellows from the sun. Your favorite photo editor will have a white balance slider where you can adjust the temperature. You can also introduce a warm or cool tint to your photo. In the photo above, the temperature was warmed up a tiny bit to bring out the colors in the landscape without taking away from the deep blue of the evening sky.
Ready to make the most of the blue hour to take moody and magical photos? Once you start experimenting with the shooting and editing techniques of blue hour photography, you’ll be amazed at what your iPhone can do.
