Using negative space in photography is a simple way to create dramatic photos with a minimalistic flair. The secret is to capture large spans of empty space to draw your viewer into the image. By creatively using both negative and positive space, photographers can take three-dimensional scenes and make compelling two-dimensional images. Here’s an overview of negative space photography and how to use it to take better photos.
Understanding negative space in photography
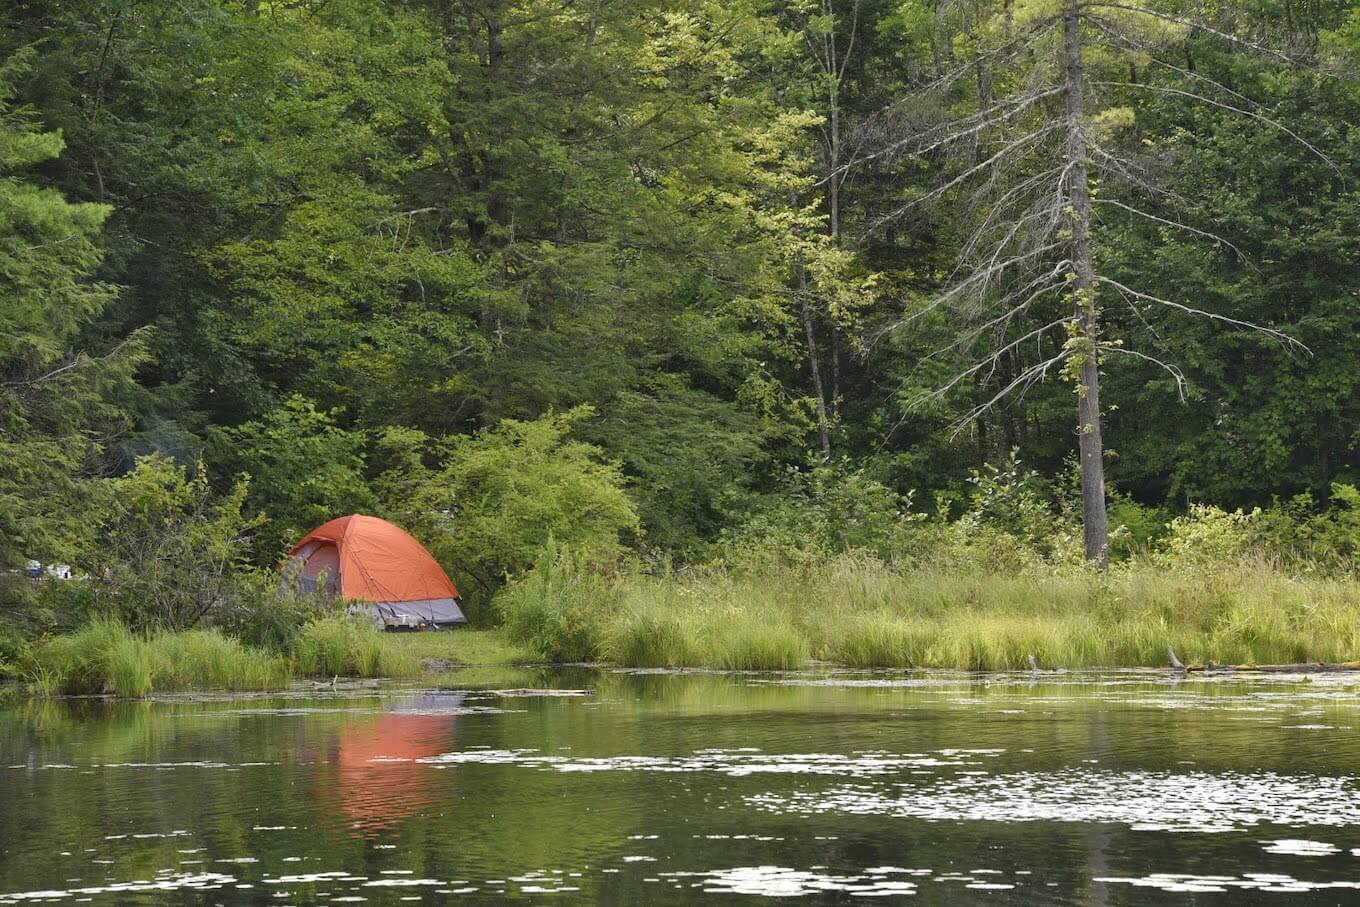
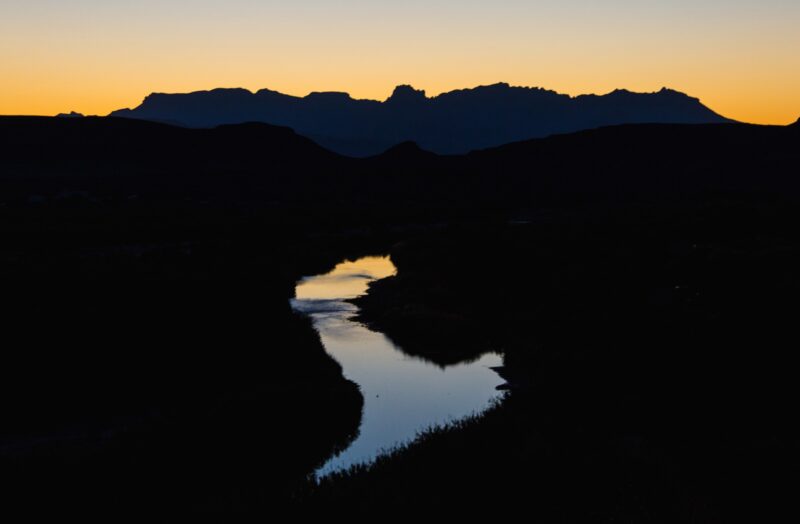
When you compose an image, you are primarily focused on the main subject you are trying to capture, whether it’s a snow-capped mountain, a flower, or a portrait. Negative space is the area that surrounds that main subject and helps to define it. The negative space isn’t entirely empty. It can be an expanse of grass, sky, or water, but it is usually devoid of distracting elements so that the focus can remain on the main subject in your image.


Positive and negative space: What’s the difference?
“Positive space” refers to the main subject of a photo — the thing that you want the viewer to notice immediately when they look at it. And negative space is the area that surrounds that main subject. Objects, colors, and patterns may be present in the negative space. But they aren’t interesting enough to draw the viewer’s attention. Instead, the negative space actually directs the viewer to the positive space within the photo.
The term “negative space” is used by photographers because it is the part of an image that isn’t drawing attention. More often than not, it consists of the background within your photo and is meant to support the positive space and make the composition more interesting.
Negative space is used as a buffer around your main subject or subjects. The results are often minimalistic and emotional. An example might be a single bird in a wide expanse of sky, a person standing on a secluded beach, or a dandelion in a sea of green grass. By contrast, a photo without much negative space will feel quite busy. Think of a crowd of people at a concert, a forest full of trees, or a portrait that entirely fills the frame. 
Negative space adds drama and intrigue while pushing the viewer’s eye toward the subject. Negative space can also create emotion within a photo, making the viewer feel calm, peaceful, or even isolated. The more negative space there is in a photo, the more intense the emotional reaction.
Negative space helps declutter your composition and make your subject stand out. Using it is a great way to experiment with the way that object placement evokes different emotions. A photo with lots of negative space tends to be more captivating than a photo shot against a busy background.
How to create negative space in your photos
The best way to create negative space in your photos is to carefully consider your composition. When shooting with an iPhone, it’s easy to snap photos without giving positive or negative space a second thought. Utilizing negative space requires that you slow down and really look at the scene you’re trying to capture before taking a photo. Here are a few tips for creating beautiful photos using negative space.
1. Use a cardboard frame to help you visualize the space
This technique is often used by artists to help them visualize or compose a scene, but it’s equally useful for photographers. Make a small cardboard frame with an opening that roughly matches the aspect ratio of a standard photograph. For most purposes, 3 inches by 5 inches will be great. Before taking a photo, you can use the frame to help translate any three-dimensional scene into two dimensions worth photographing. This makes it much easier to visualize the negative space around your subject and is an awesome tool for learning different composition techniques.
2. Create negative space in front of moving objects or people
Every image you create has a story to tell, and it’s up to you, the photographer, to compose your shot in a way that reveals that story. When shooting wildlife, people, or moving objects, it’s important to leave negative space in front of your subject so that the viewer can visualize the subject moving through the scene.
When photographing a car, you want to leave space in front of the vehicle so that the viewer can visualize the action in their mind. The same is true of animals and people. Give them space to emphasize the direction they are looking or moving toward.
3. Use Portrait mode to blur the background
If you’re shooting with a newer iPhone model, you are likely familiar with Portrait mode. This feature was designed to help iPhone photographers create the illusion of depth of field when capturing photos of people. Portrait mode blurs the background, allowing the main subject to stand out from its surroundings.
When composing a shot with negative space, you can use Portrait mode to blur a background that might otherwise distract the viewer. This allows you to create the illusion of negative space, even in cluttered environments.
4. Practice with more than one subject in a single scene
When you start experimenting with negative space, you will likely focus on a single object as the focal point. But as you become more comfortable with this concept, you can introduce more than one subject. It isn’t uncommon to have two or more subjects in a single photo. The secret is to find the right balance between the positive and negative space while still allowing the main subjects to take up more of the frame.
5. Find a balance between positive and negative space
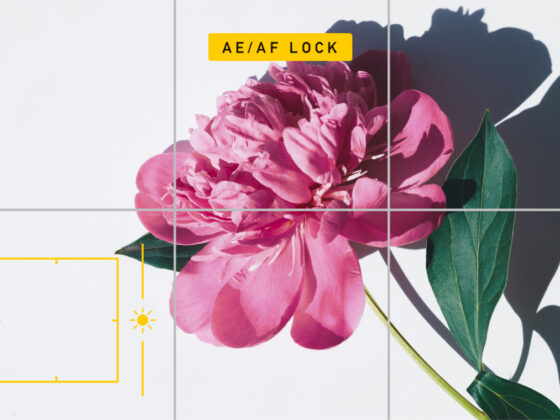
Because negative space tends to make your photography more minimalist, it’s even more important to find balance within the scene. There are many factors within a composition that can cause the balance to shift slightly, and a lot of the best results come with experimentation and practice.
To create more balance within your image, you may have to adjust the size of the focal point within the frame, the ratio of highlights to shadows, and the placement of positive space within the background. Sometimes you can simply add or subtract negative space to create a sense of balance within an image.
6. Try experimenting with black and white to accentuate negative space
Negative space photos can often be accentuated with monochromatic editing techniques. A black and white filter will reduce clutter within your image and put a lot of emphasis on your composition. You can shoot in black and white using a third-party camera app, or edit your photo with a black and white filter in post-processing.
7. Let your imagination rule the shot
The bottom line is to use your imagination and creativity to find the perfect shot. Anyone can snap a photo, but by paying careful attention to the positive and negative space in your scene and using it to tell a compelling story, you are creating art.
Does negative space have to be blank or white?
Absolutely not! In the world of design, the terms “negative space” and “white space” are used interchangeably. When it comes to photography, however, negative space is any space that doesn’t distract the viewer from the focal point of your composition. It can have color and texture, and it can even include shapes and objects. The goal is to create an image where the negative space supports the positive instead of distracting from it.
If you really want to practice composing compelling scenes, negative space photography is a great way to learn and grow. Ditching the clutter forces you to find the drama and emotion in how your subject interacts with the space left behind.


