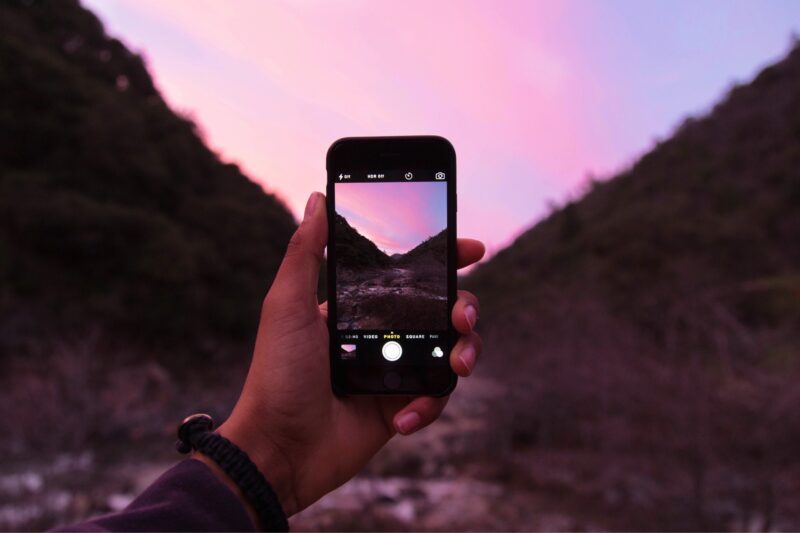
Prior to the launch of Instagram, photo editing was reserved for the pros. The most any amateur photographer could do was make a picture black and white or color it with that old-school Sepia tone.
Nowadays, professional photo editing skills are available to anyone with a smartphone and a couple of apps. For those of us who would rather not spend an extra 20 minutes perfecting an Instagram post, there are tons of one-click photo filter options to use, some of which can even be found directly on your iPhone.
In this guide, we’ll cover everything you need to know about iPhone Camera filters — no app downloads required.


Using iPhone Camera filters
In 2017, Apple released one very exciting addition to its iOS 11 update: filters you can use directly on your camera. While there were initially only a few simple built-in filters to use, iPhones have gotten even more advanced in their editing systems.
Read on to learn more about how to use the filters that are built directly into your iPhone Camera.
How to apply a filter in your iPhone Camera
As with the most recently updated features, applying an iPhone filter to your photos is very simple, and you can choose to do it before you take the photo or after. In this section, we’ll show you how to do both.
Here’s how to apply an iPhone filter before you take a photo:
- Open your Camera.
- Tap the up arrow at the top of the screen.
- Press the three overlapping circles button at the top-right of the screen.
- Swipe the square button through the filters until you locate the one you wish to use.
- Press the three overlapping circles button at the top-right of the screen again.
- Take a photo as you normally would.
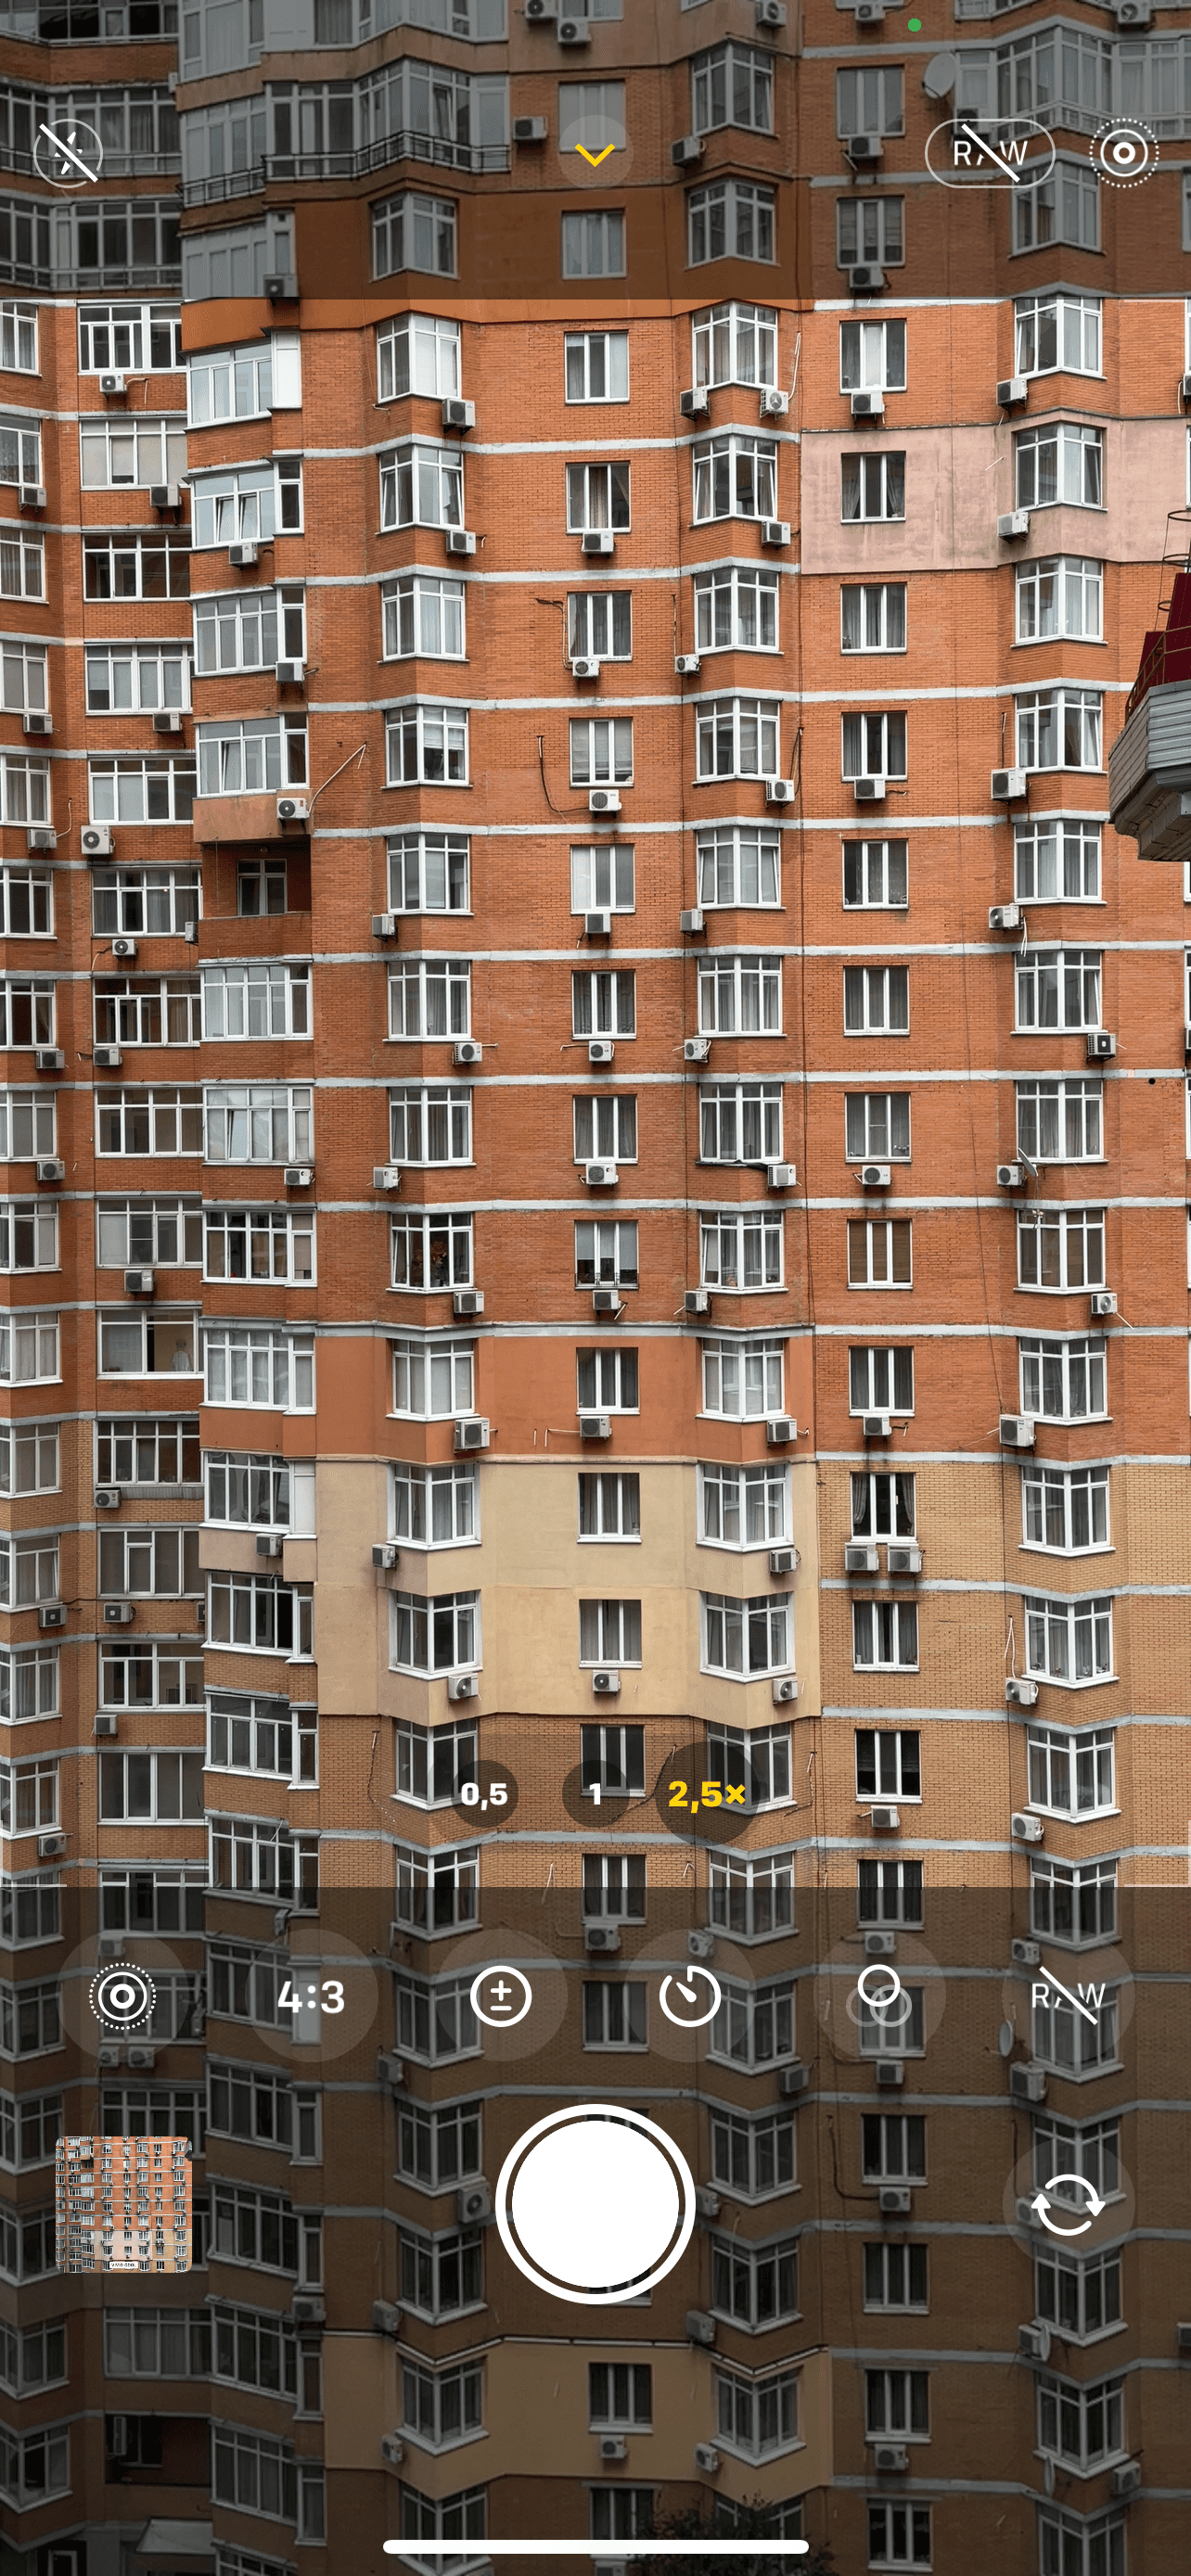
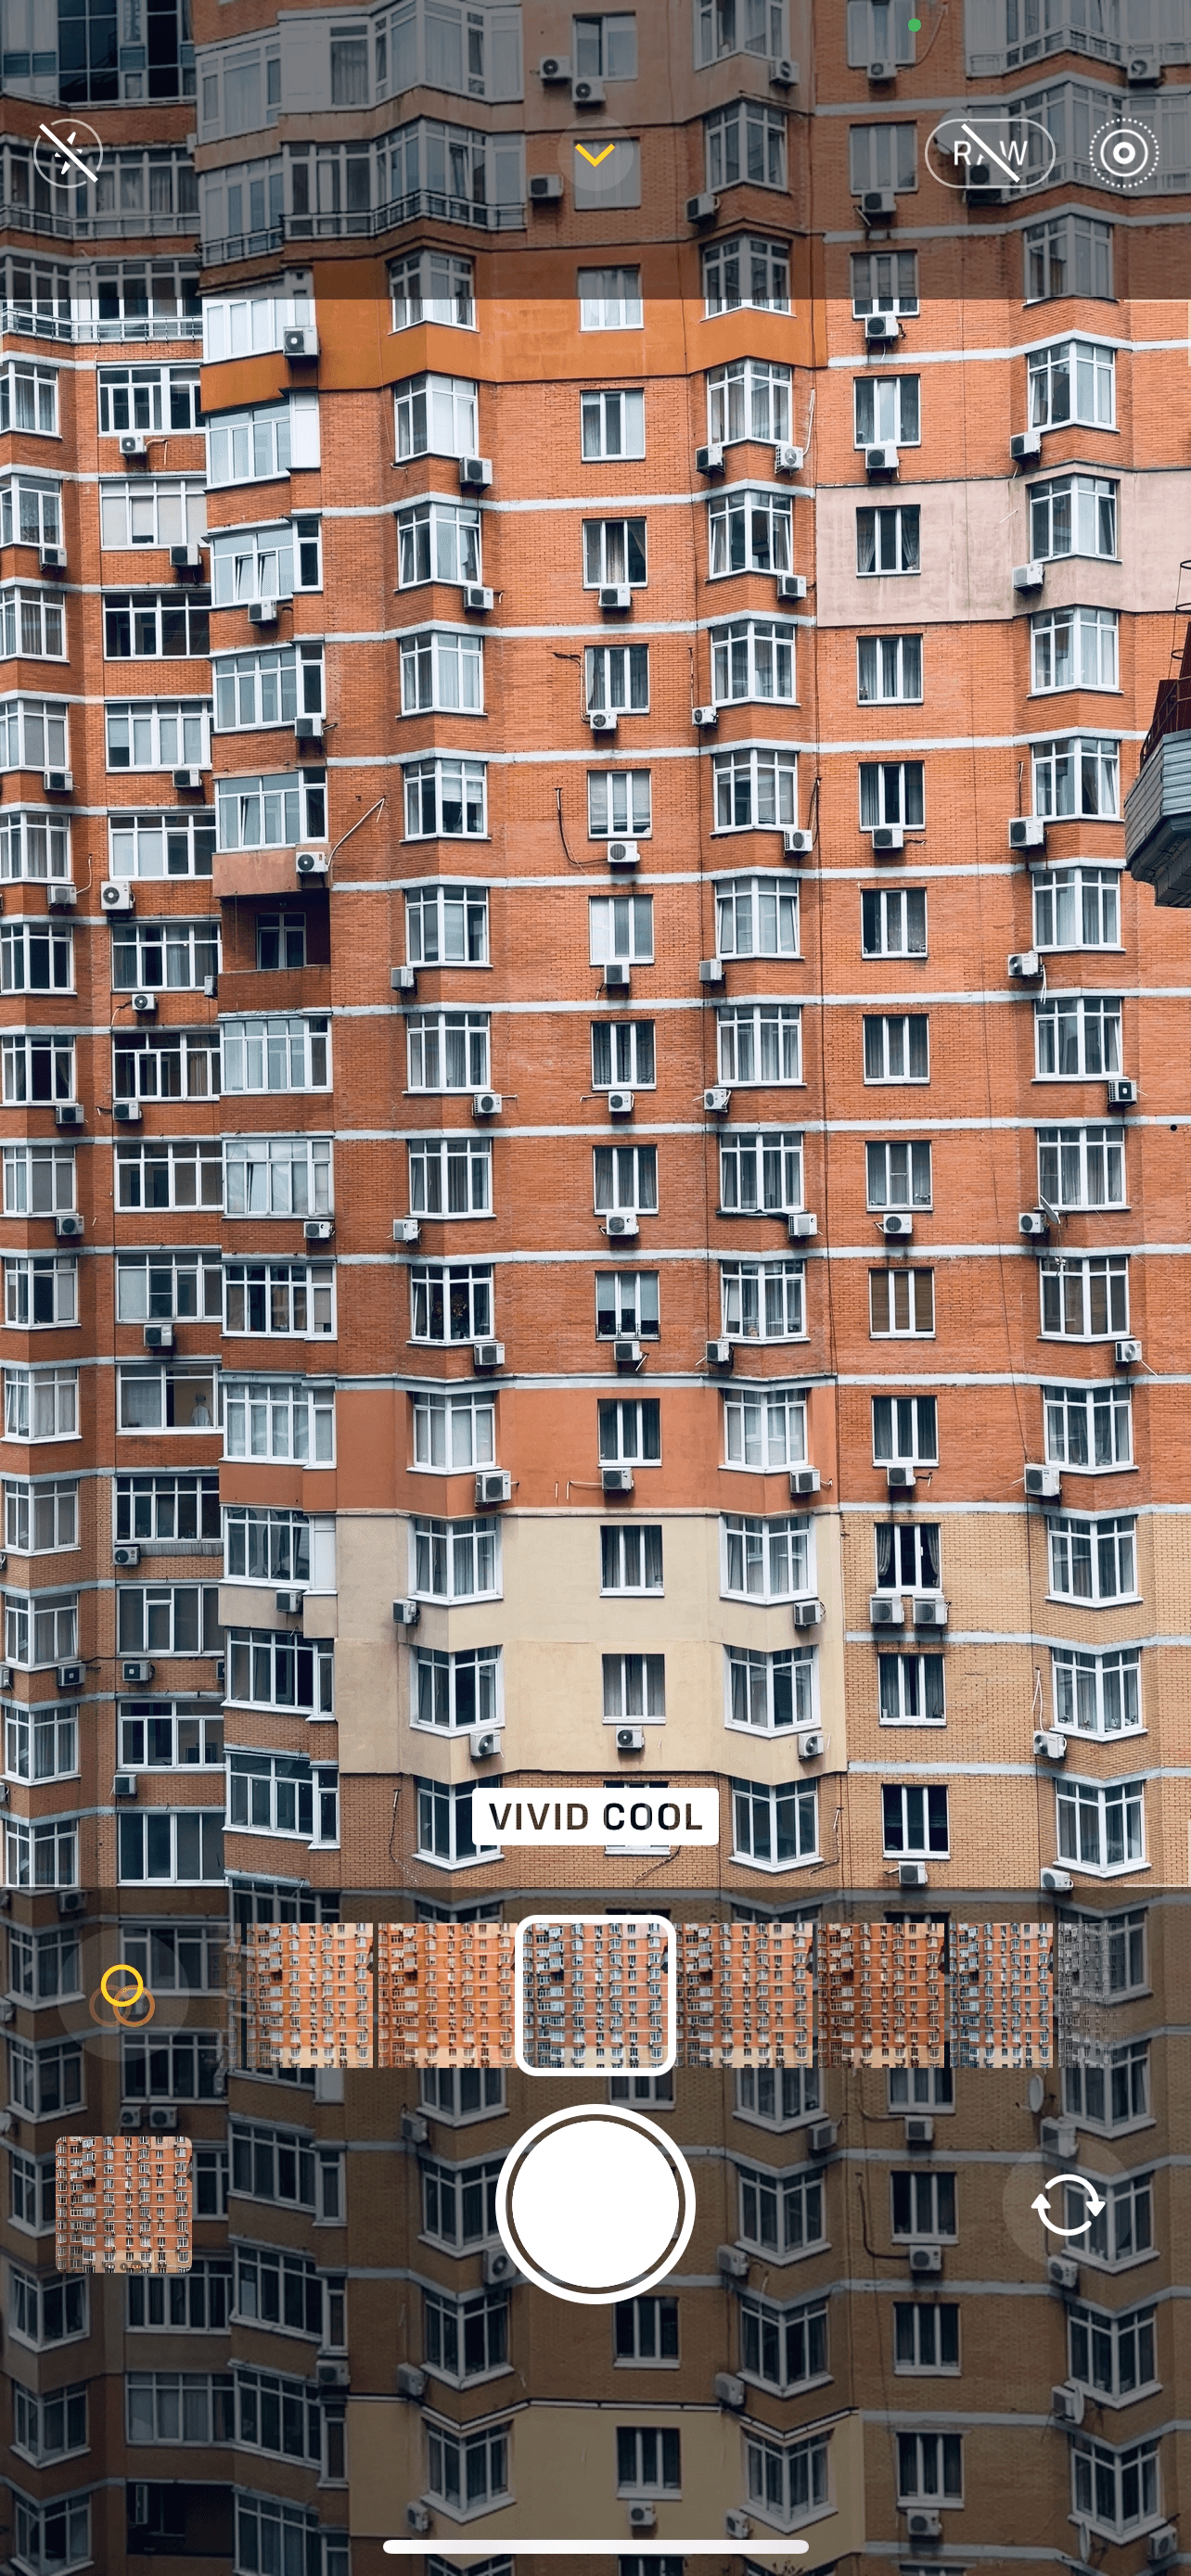
As mentioned before, you can also choose a filter after you’ve taken a photo. Here’s how to do that:
- Open your Camera Roll.
- Locate the photo you wish to edit.
- Tap the Edit button at the bottom-right of the screen.
- Press the three overlapping circles button at the bottom-center of the screen.
- Swipe the square button through the filters until you locate the one you wish to use.
- Then tap the three overlapping circles button at the bottom-center of the screen again.
- Finally, press Done at the bottom-right of the screen.
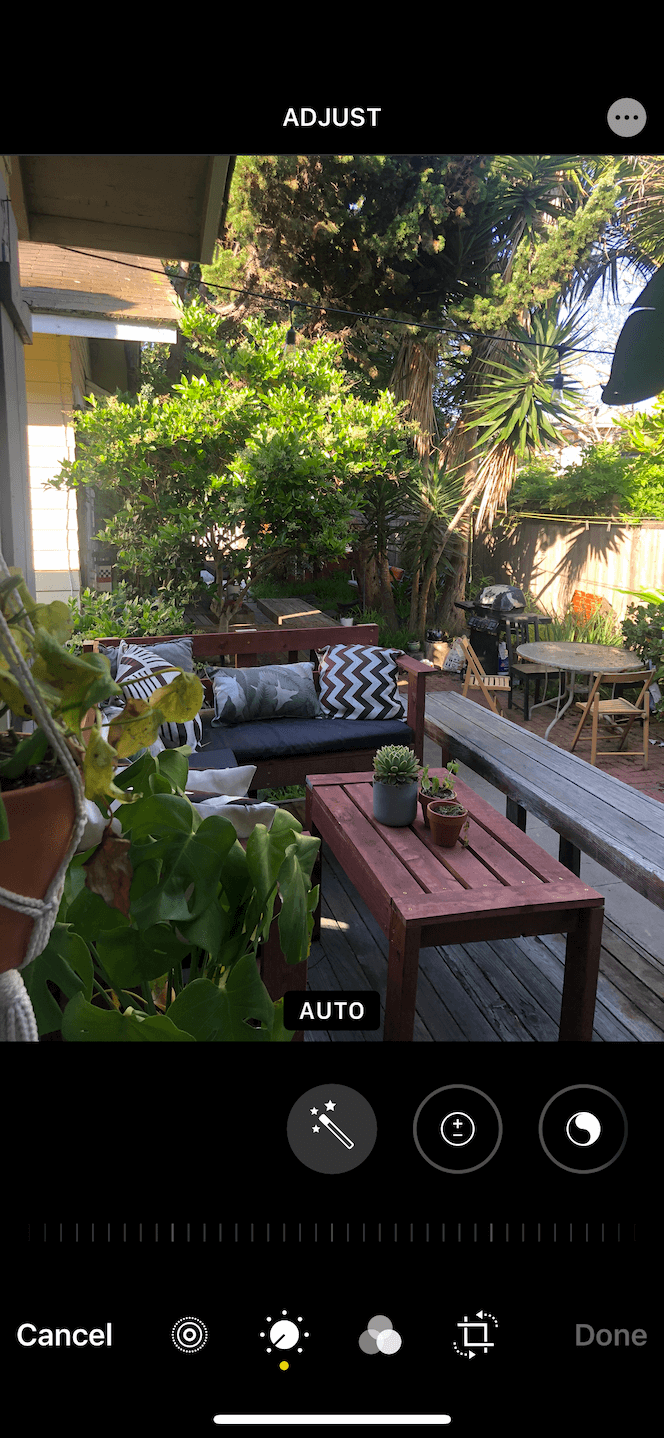
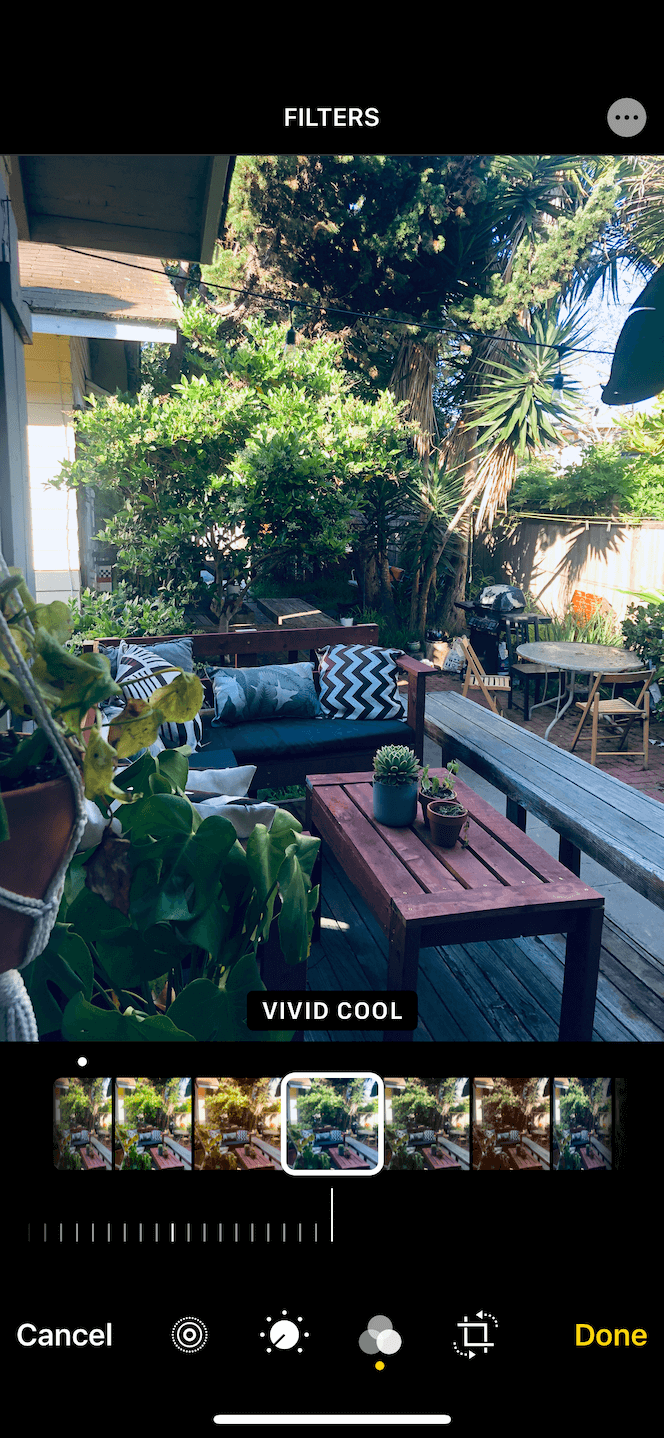
If you decide you no longer want to use that filter for your photo, you can always change it back. Here’s how to revert a filter on a photo:
- Open your Camera Roll.
- Locate the photo you wish to revert.
- Press the Edit button at the bottom-right of the screen.
- Tap the Revert button at the bottom-right of the screen.
- Finally, tap Revert to Original.
Filters in Photos and what to use them for
Now that you know the simple process of applying an iPhone filter to your photos, it’s time to go over exactly what those filters are — and what to use them for. Currently, the iPhone has 10 filters that you can apply to your photos.
Here’s what they are and what they do:
- Vivid increases the photo’s contrast, which can be great for capturing sunsets and other natural landscapes.
- Vivid Warm increases the photo’s contrast and overlays warm tones, which can be flattering for self-portraits and photos of other people.
- Vivid Cool increases the photo’s contrast and overlays cool tones, which works best for flat-lay photos and capturing darker scenery.
- Dramatic increases the photo’s shadows and decreases highlights, which adds a layer of intensity to portraits and up-close images of objects.
- Dramatic Warm increases the photo’s shadows, decreases the highlights, and overlays warm tones, which looks great in photos taken right after sunset or right before sunrise.
- Dramatic Cool increases the photo’s shadows, decreases the highlights, and overlays cool tones, which can be visually appealing for beach photos and foggy landscapes.
- Mono makes the photo black and white, which can add sharpness to a slightly out-of-focus image.
- Silvertone makes the photo black and white and increases the shadows, which is wonderful for city images and dramatic portraits.
- Noir makes the photo black and white and increases the contrast, which pairs well with cloudy sceneries and photos in low lighting.
The hidden iPhone photo filters
Outside of the iPhone Camera settings, there are other places where even more photo filters exist. These hidden pre-edits can only be found in one place on your smartphone: Messages.
Before you start frantically searching your inbox, note that not all iPhone models have these filters available. So if you have an older model, chances are, you won’t be able to access these.
How to access iPhone photo effects in Messages
Accessing these secretly placed photo filters is unfortunately not as easy as accessing the ones found on your Camera Roll. Still, it’s not that hard. You just need to know where to look.
Here’s how to find the photo filters in your messages:
- Open your Messages app.
- Start a new message or open an active message.
- Press the camera button at the left-center of the screen.
- Press the spirograph-star button at the bottom-left of the screen.
- Select the three overlapping circles button at the bottom-left of the screen. There, you’ll find seven new filters that aren’t available with the iPhone Camera filters.
- Swipe until you find the filter you like.
- Press the shutter button to take a picture with your chosen filter.
- Press the blue arrow button to send it in a message or the Done button to add it to your text message and return to the Messages app.
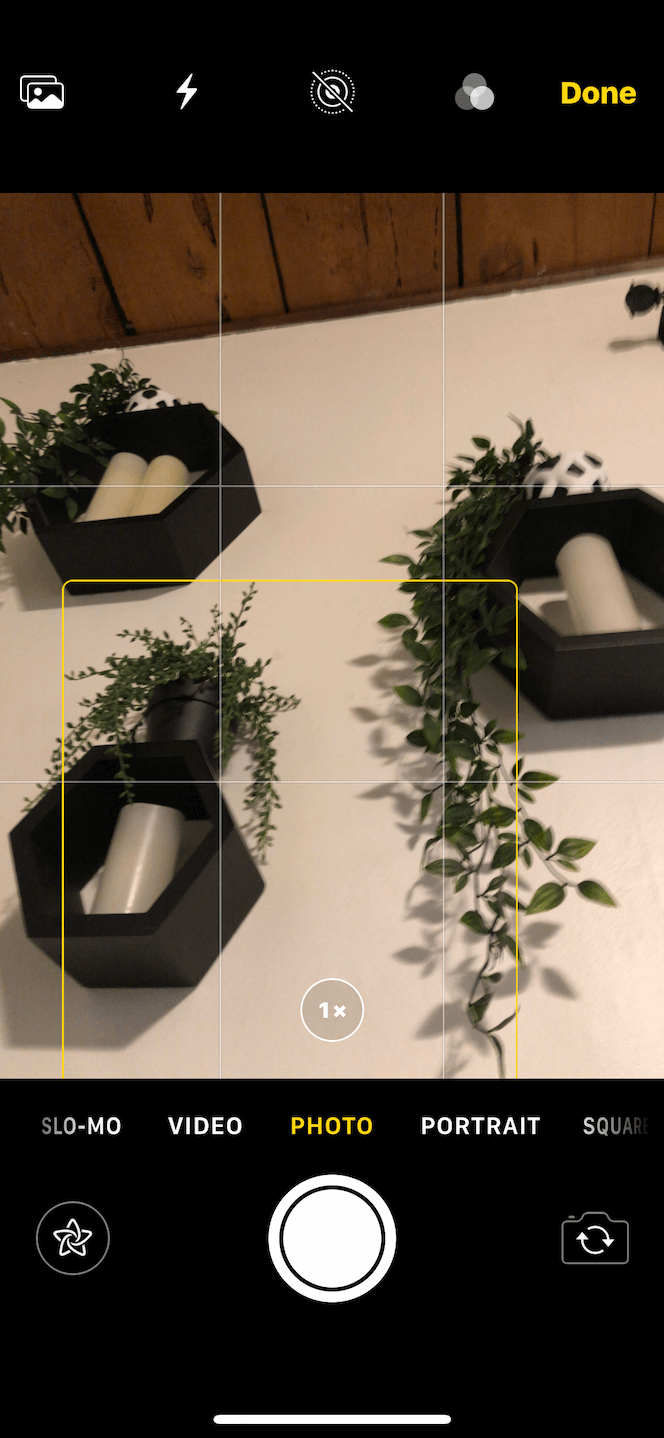
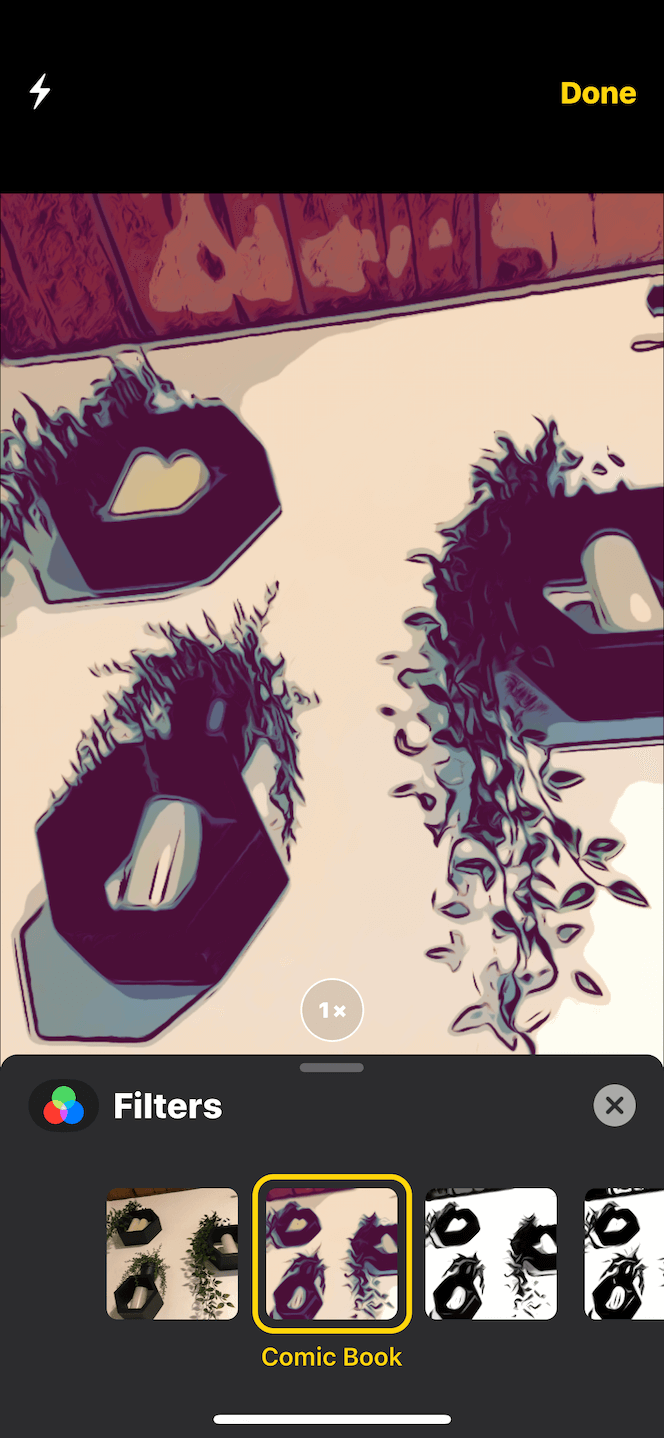
Whether you choose to send it or not doesn’t matter. Taking the photo means it’s automatically saved to your Camera Roll. As awesome as these hidden photo filters are, there is one drawback: You can’t take multiple photos within the Messages app. So if you don’t like the picture you’ve taken, you have to reopen the messaging camera again and again.
What filters are there in Messages?
There are seven different secret filters found within the Messages app in addition to those ten described above. Here’s what they are and what they do:
- Comic Book turns the photo into a comic book-style of art.
- Comic Mono does the same as above but in black and white.
- Ink turns the photo into an ink-style drawing.
- Camcorder turns the photo into an old camcorder style, complete with static lines.
- Aged Film turns the photo into an older film style, also with some static editing.
- Watercolor turns the photo into a watercolor painting.
- Watercolor Mono does the same as above but in black and white.
All of these filters can be used for taking photos and videos within the Messages app. However, you can’t go back and edit photos with these new filters. They are only available within the messaging camera itself.
No matter how great a photo is in its original setting, adding photo filters is a fun way to create some flair and add a little personality to your content. Even though there are cool filters found in third-party apps, we hope you find your iPhone’s built-in filters just as handy.
