Infrared light lies beyond the visual spectrum, which means that your eyes can’t see it. Infrared photography captures that elusive infrared light to create unusual visual effects in your images. Different effects can be captured in infrared images, and there are filters and post-processing apps that can simulate infrared photography to give your photos that IR look without any special equipment. Here’s what you need to know to take stunning infrared photos with your iPhone.
What is infrared photography?
Simply put, the human eye can see a certain spectrum of light wavelengths, and most cameras are used to capture the world as we see it. Infrared light is beyond what we can see, but certain cameras can capture that light to show us how the world would look if our eyes were able to capture the light spectrum beyond 700nm.


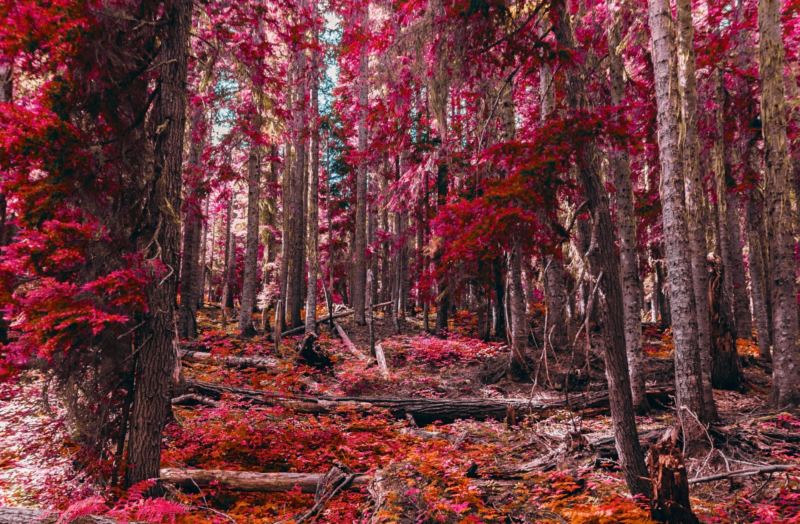
The most popular infrared photos use what’s called the Wood Effect, named after infrared photography icon Robert Wood. Photos that use the Wood Effect reflect light to create dreamy landscape scenes with white or pink foliage and deeply colored skies of different hues.
Can iPhone take infrared photos?
The short answer is yes, your iPhone can definitely take infrared photos — with some extra equipment and post-processing techniques. You will need an infrared filter, the ability to shoot in RAW, and the ability to shoot a long exposure. Let’s dig into the details.
iPhone models you can use for color infrared photography
You will have the best luck adding an IR filter to iPhone cameras that use LiDAR technology. LiDAR stands for light detection and ranging. iPhone cameras that use LiDAR include front-facing lenses that are sensitive to infrared light. That means you can use an IR filter with them to create infrared photos. The following models use LiDAR technology:
- iPhone 12 Pro
- iPhone 12 Pro Max
- iPhone 13 Pro
- iPhone 13 Pro Max
- iPhone 14 Pro
- iPhone 14 Pro Max
Gear and settings for infrared photography with an iPhone
To make your infrared photography dreams a reality, here’s what you’ll need.
Apple ProRAW
Starting with the iPhone 12 Pro, cameras were enabled with RAW technology, which Apple called ProRAW, allowing you more creative control when shooting and editing infrared photos. While shooting in RAW isn’t strictly necessary, it will give you more options when adjusting color, contrast, and sharpness in post-processing.
Other settings, filters, etc.
- An IR filter. Infrared filters come in different ranges for blocking certain light spectrums. You can either hold or tape the IR filter over your iPhone lens and case to achieve this effect.
- Portable tripod. Using the filter described above means you will be blocking light from hitting your camera sensor, which also means you’ll need a longer exposure to get a decent image. A portable tripod will be necessary to keep your photo sharp.
- Remote shutter. Another useful tool for keeping your images sharp.
- Night mode. Night mode’s long exposure settings will allow enough light to hit your camera’s sensor through the filter that you’ve applied.
How to process infrared photos in Lightroom
Obviously, the goal of infrared is not to achieve realistic photos. Instead, you will be using your creative license to create photos that look more like dreamscapes of your imagination. Here are some tips for processing your infrared photos with the Lightroom Photo & Video Editor app on your iPhone.
- Adjust the white balance. Under Color in Lightroom, tap White Balance, and then Custom. Now drag the circle to a light spot in your photo. This will get rid of that red hue in your photo.
- Increase the contrast. This is helpful for increasing the contrast between colors in your IR image.
- Use color grading to make color adjustments. The split-tone feature in Lightroom is now color grading.
- Dehaze. This is useful for bringing back some of the lost details and clarity to your image.
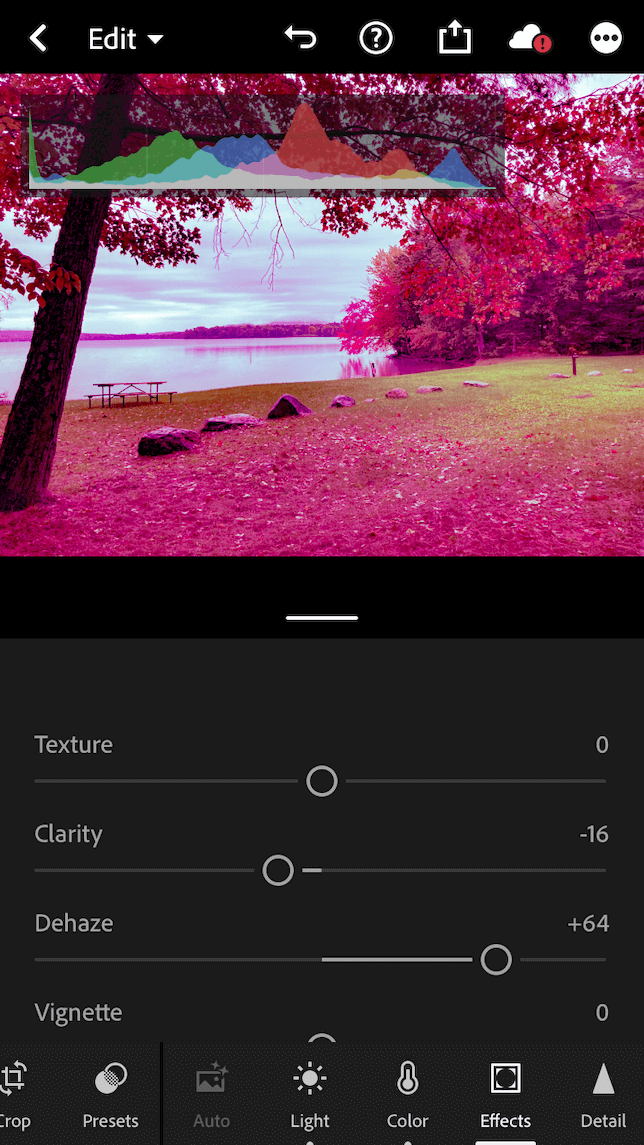
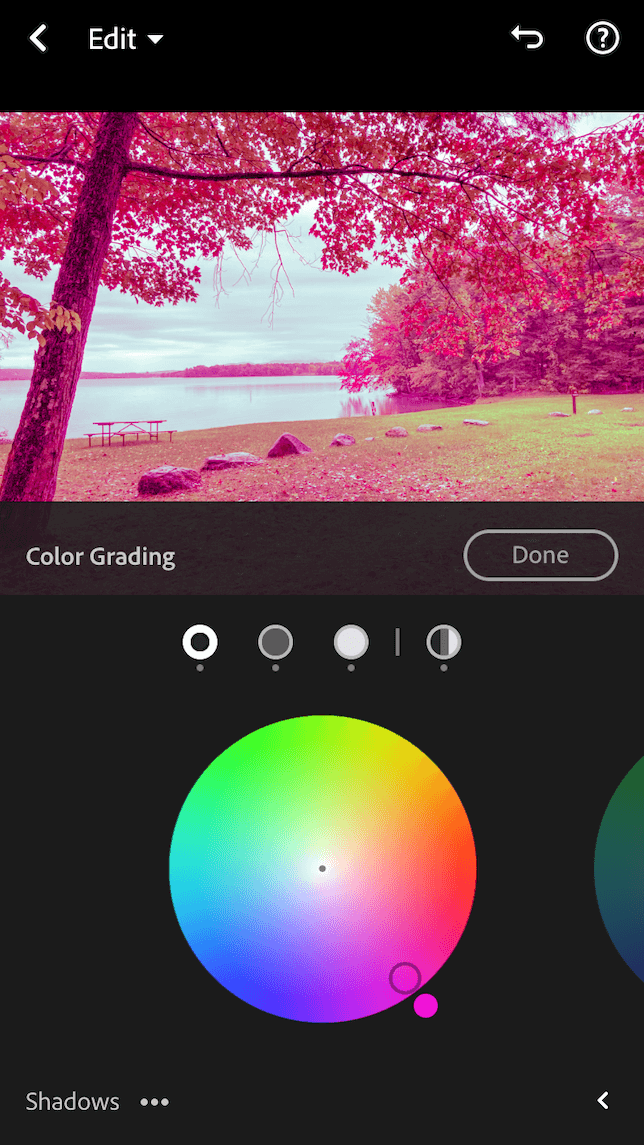
How to simulate infrared photos with VSCO
Want to achieve a cool infrared look without using an infrared filter on your camera? You can simulate infrared photos with 2 new premium presets available using the VSCO app. According to VSCO, the new infrared presets are an “approximation of the most common visual features of real infrared photos without actually having access to infrared information. Greens and yellows are turned to pink and red, blue skies are darkened, and brightness is especially influenced by the red channel.”
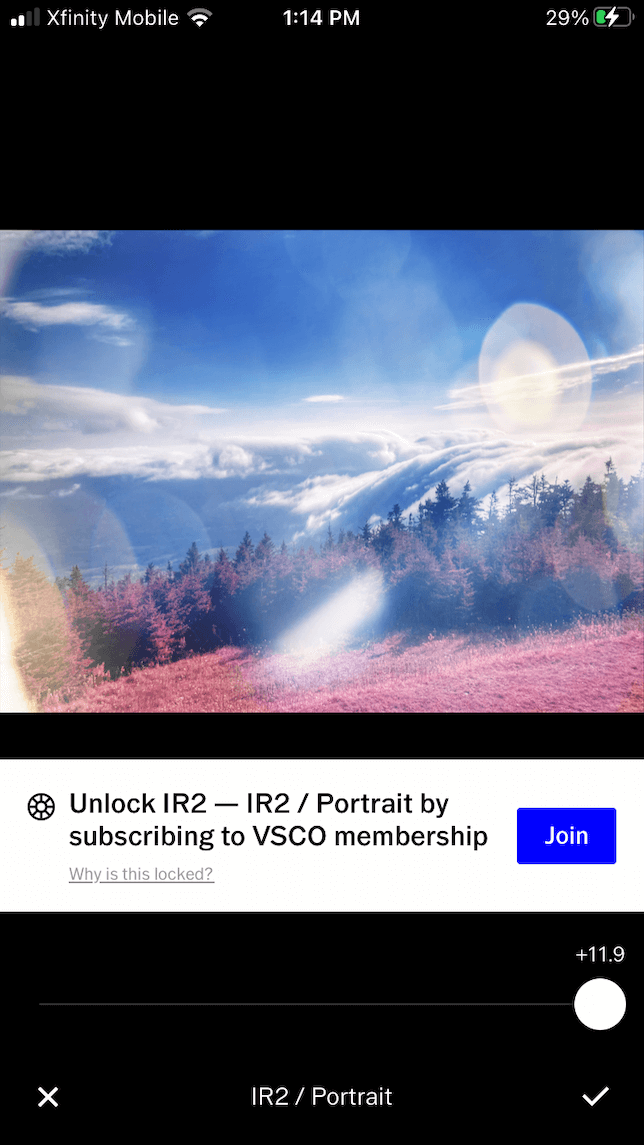
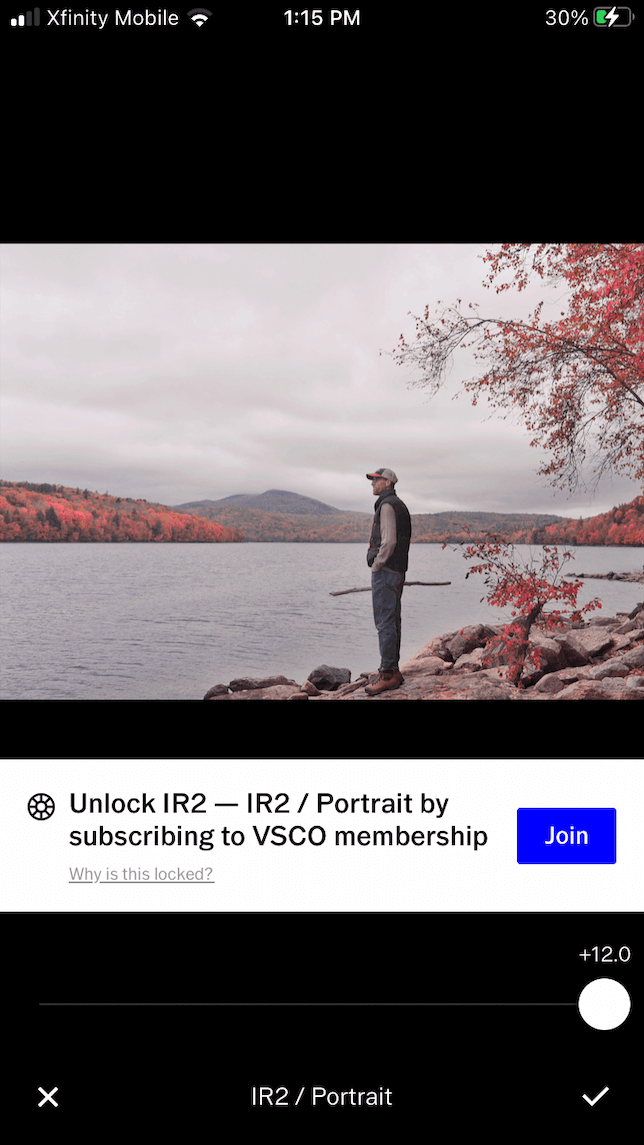
You can choose from two color infrared filters: one designed for portraits and one for landscapes. The effect is subtle, and the strength of the preset can be adjusted using the preset slider.
Infrared photography allows you to literally see the world in a whole new light, and thanks to your iPhone and a few extras, it’s easy to do. From photos of nature to urban photography, shooting infrared will allow you to create some unique images, so don’t be afraid to experiment!
