Your contact photo is not likely something you think of often — probably because you rarely see it. For the people on your contacts list, it’s another story entirely — they see your contact photo as often as they see messages from you. You can shake things up a bit by changing out your contact photo on iPhone. It’s so easy to do!
Let’s take a deeper look into how to change your contact info on iPhone, how to share your new contact photo, and how things have changed with the introduction of iOS17.
How to change and share your contact photo on iPhone
Your contact photo is the first thing people see when you call or text them. Now, that doesn’t mean that it has to be a professional headshot, but take a photo that shows off your personality and makes your friends and family smile. Once you’ve got a shot that you’re proud of, here’s how to change it out on your iPhone and share it with your contacts.
Change your contact photo in the Contacts app
Follow these step-by-step instructions to change your contact photo:
- Tap on the Phone icon on your iPhone.
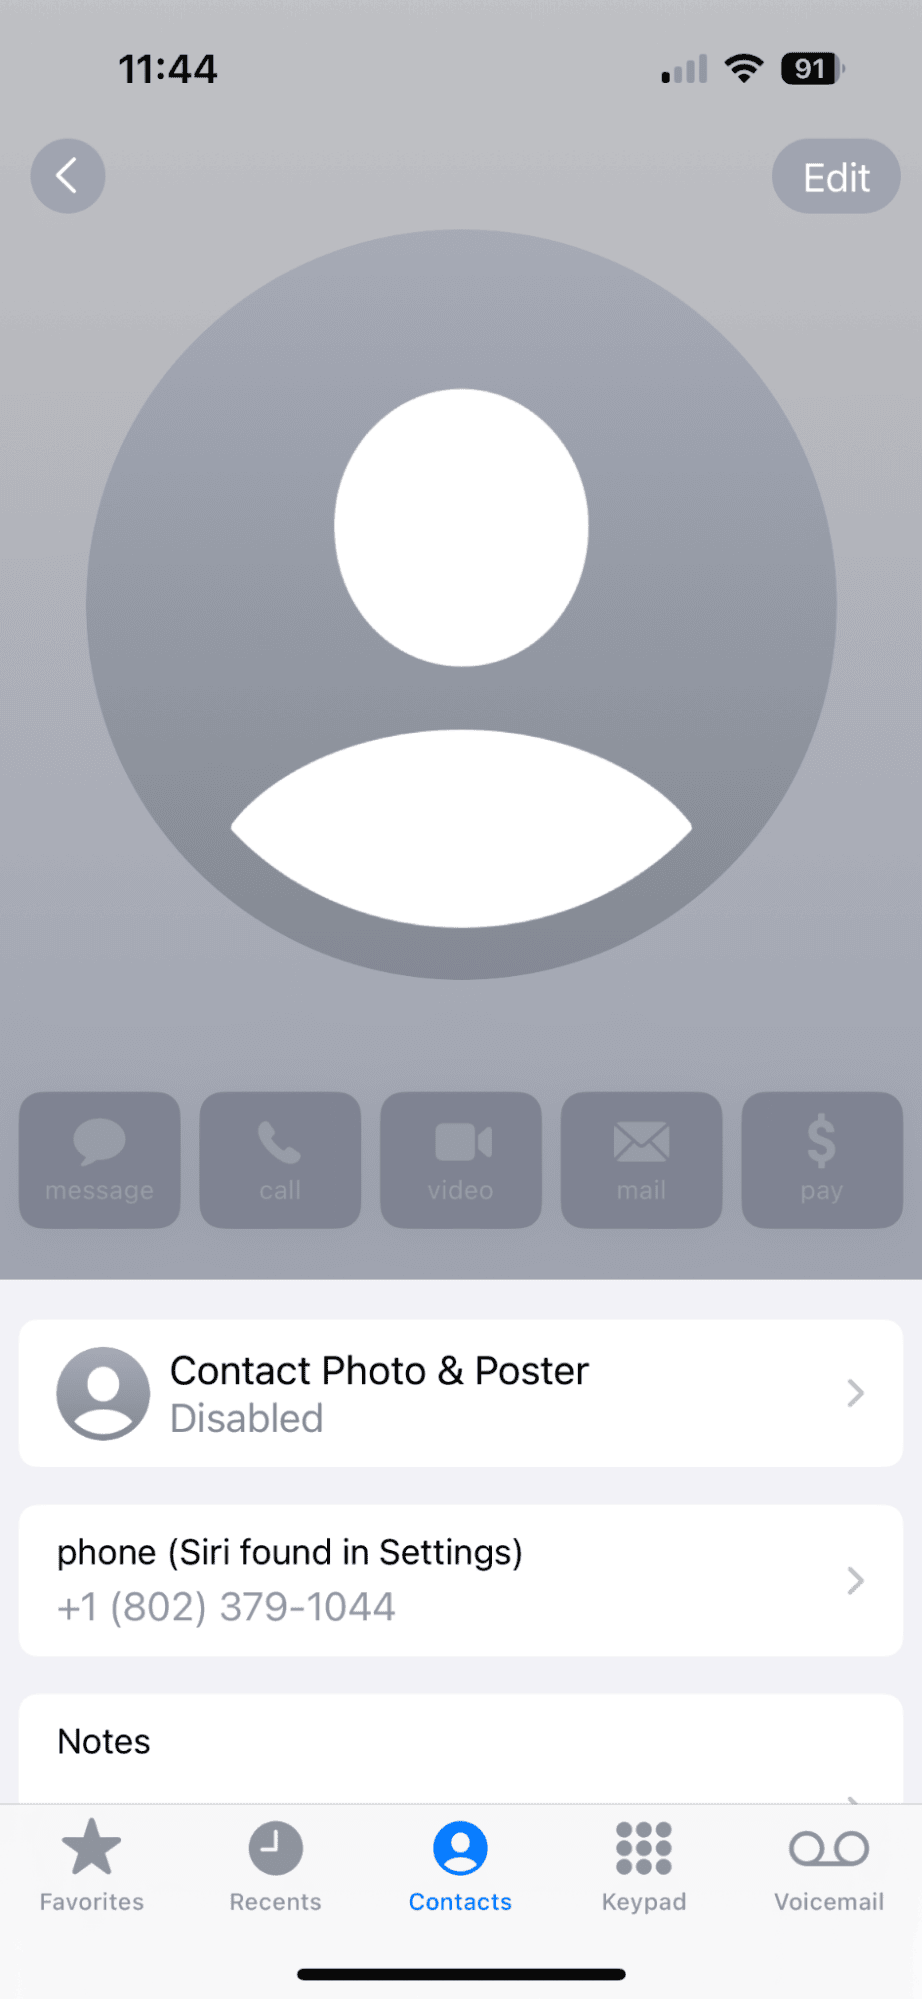
- Tap ‘Contacts’ at the bottom of the screen.
- Tap ‘My Card’ at the top of the screen > ‘Edit.’
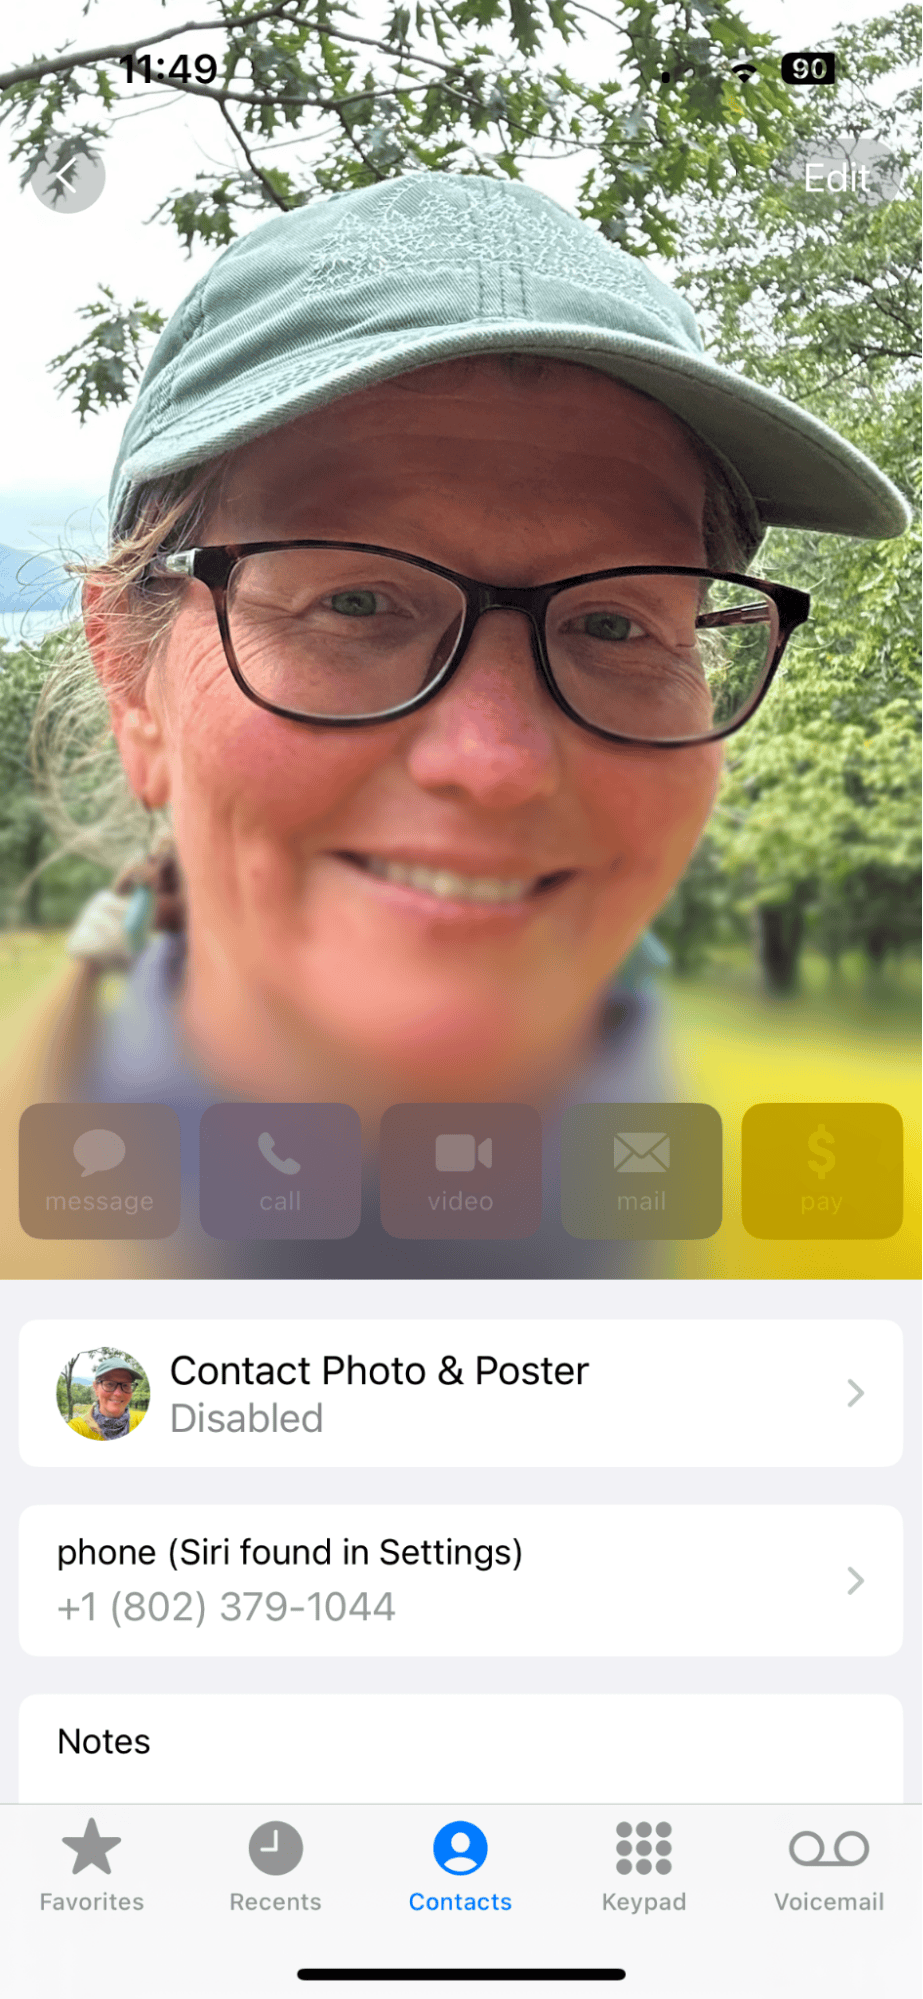
- Tap ‘Add Photo.’ Choose a photo from your library, take a new photo, or select a Memoji or Animoji.
- Crop and edit the photo until you are happy with the results and tap ‘Done.’
Tidy up your Photos library with CleanMy®Phone
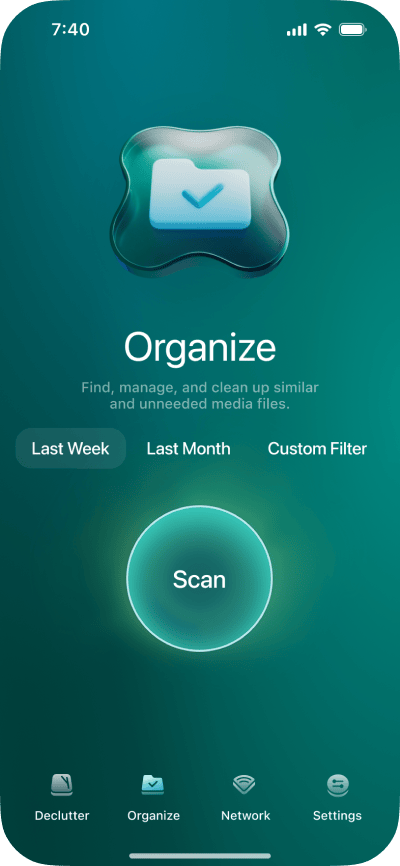
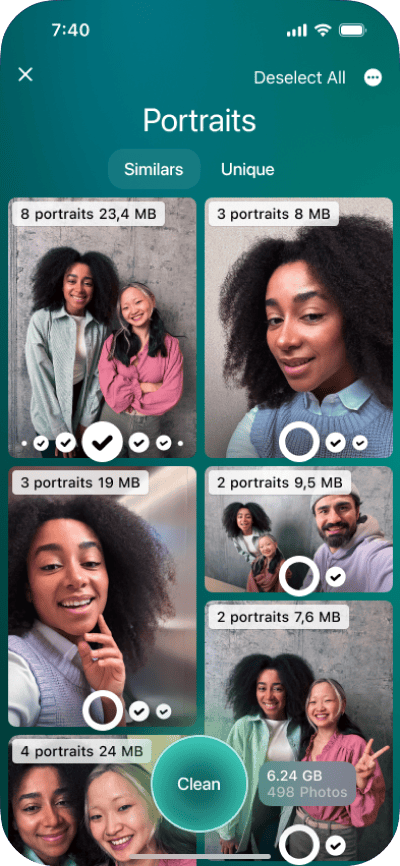
How many shots will you have to take to get the perfect photo for your contact photo? Hopefully, not too many, but if you do become overwhelmed by the sheer number of selfies on your iPhone, you can use CleanMy®Phone to clean up the clutter.
Simply download the app, and it will show you blurry photos, duplicates, screenshots, and similar photos. And its Organize module will even show all the selfies grouped into the Portraits category.
How to share contact photo on iPhone
After you change your contact photo, you want to make it visible to your contacts. To do this, you will have to toggle on the ‘Share Name and Photo’ option. Here’s how to do it:
- Navigate to Settings on your iPhone.
- Tap ‘Messages’ > ‘Share Name and Photo.’
- Choose the name and photo you want your contacts to see.
- Tap ‘Use This Photo Everywhere’ to share it with all of your contacts.
- Tap ‘Share.’
How to use the new Contact Photo & Poster feature in iOS 17
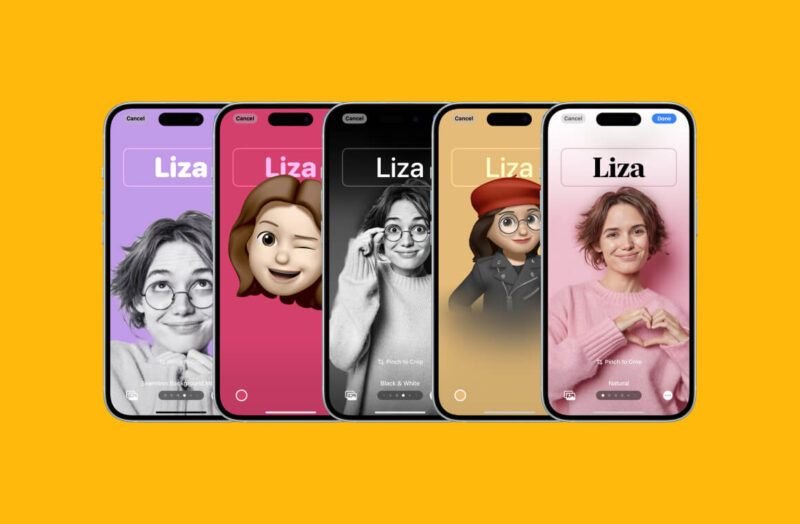
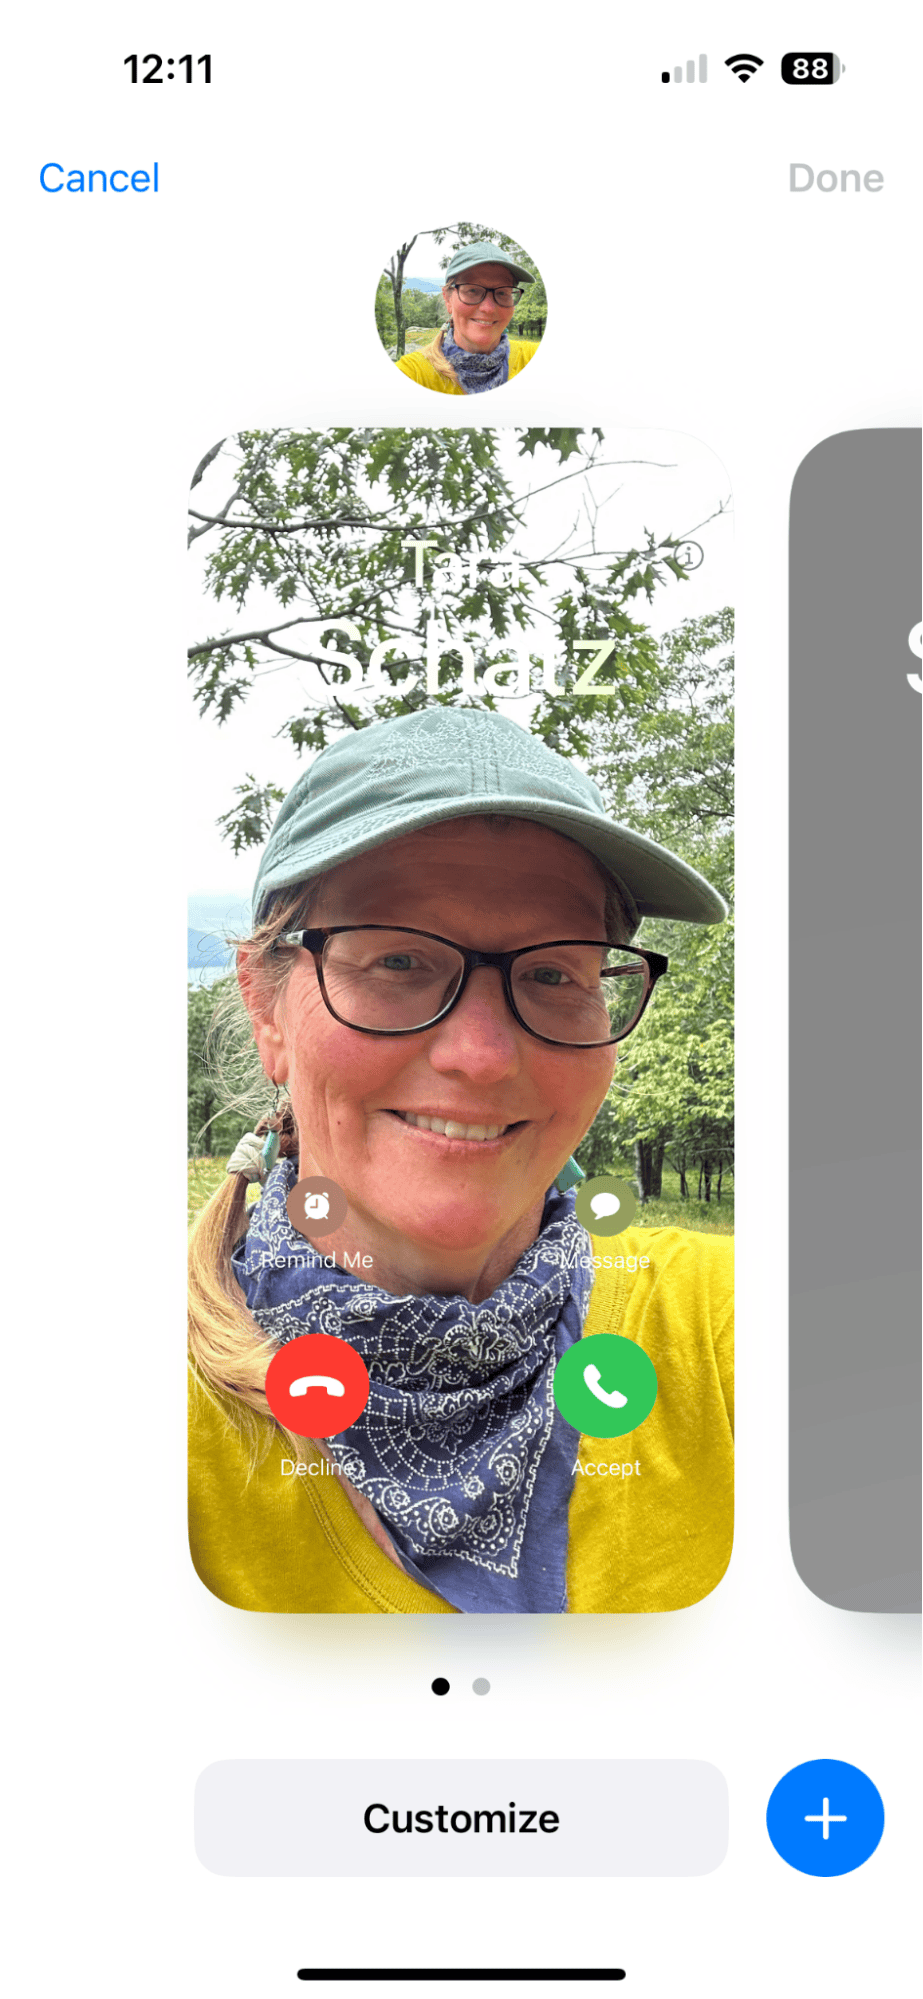
The new Contact Photo & Poster feature in iOS 17 allows you to add some personalization to an otherwise boring feature.
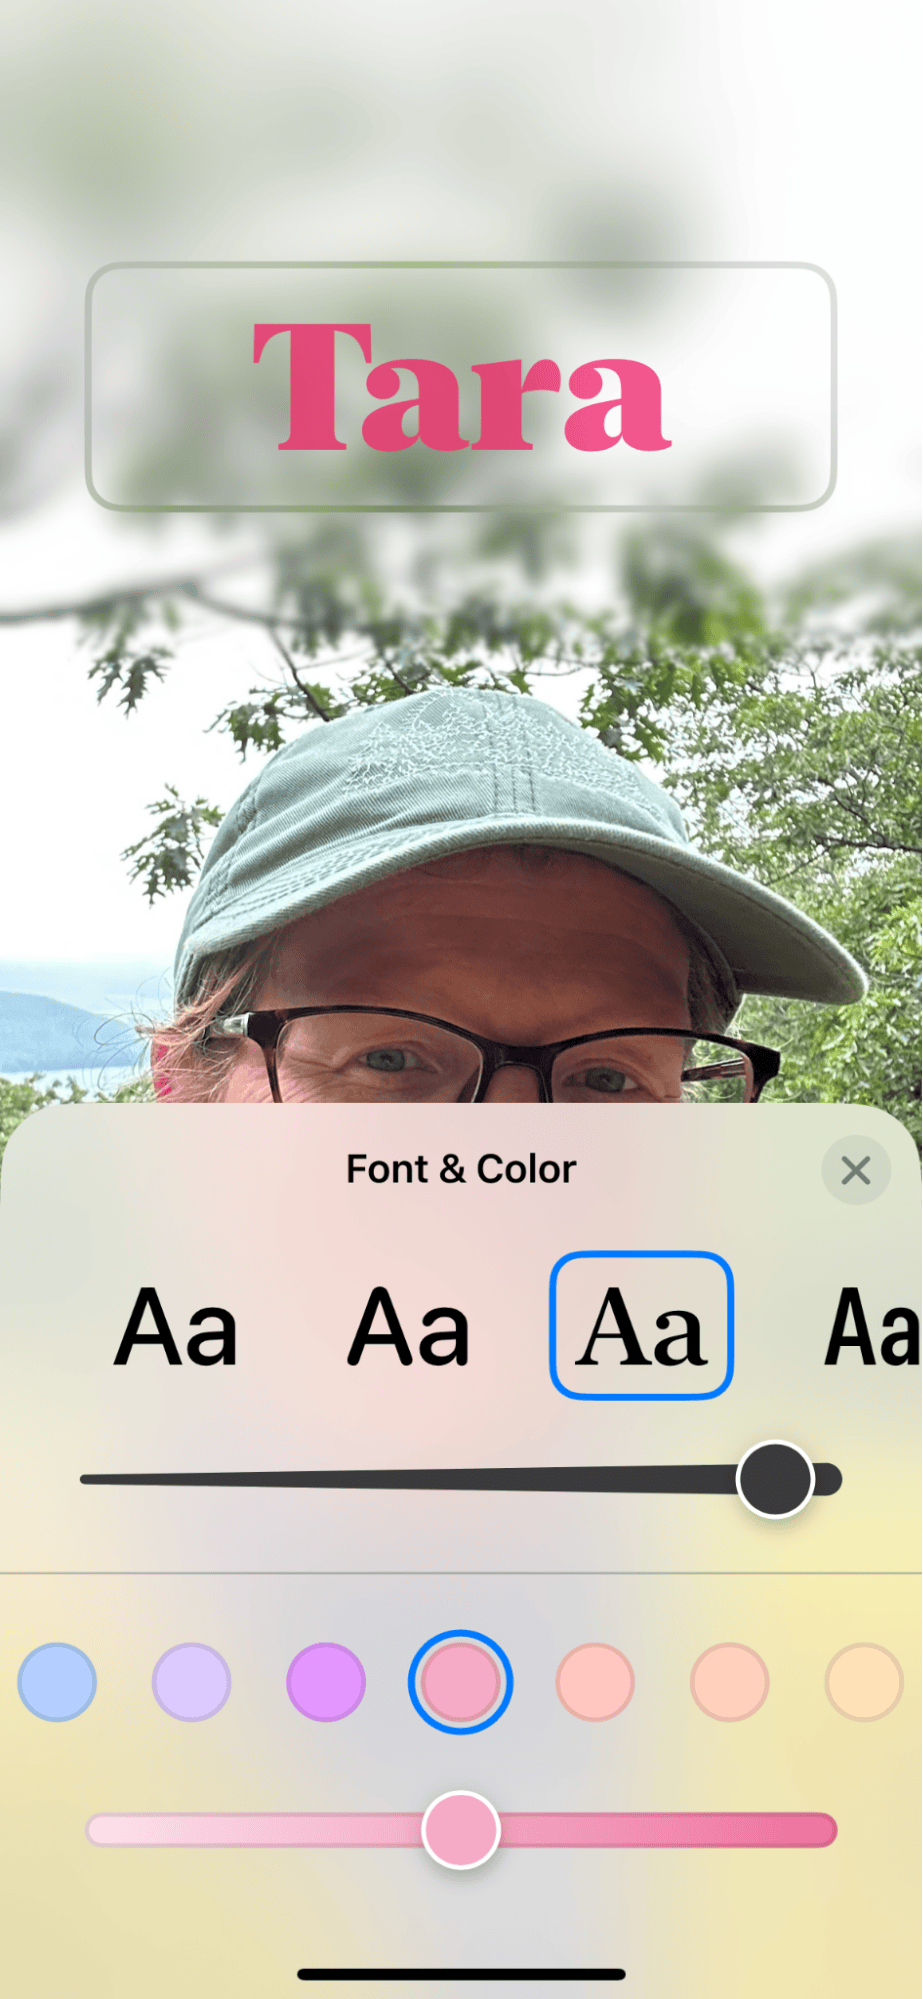
In addition to customizing your contact photo, the new feature makes your contact photo a full-screen poster where you can add your name and, optionally, your job title or the company you work for.
You can even choose to share your new poster image with your full list of contacts or just the ones you select.
You can choose to disable the Contact Poster and only use the contact photo, but I urge you to try it out for an added bit of personalization on your iPhone.
Here’s how to set up the Contact Photo and Poster feature:
- Tap on the phone icon on your iPhone.
- Tap ‘Contacts,’ followed by ‘My Card,’ and then ‘Contact Photo & Poster.’
- Tap ‘Edit.’
- Tap ‘Customize.’
- Choose ‘Poster’ to adjust the layout, add text, change the font, or change the filter on your image.
- Tap ‘Done’ when you are happy with the results. Once you are happy with your Contact Poster, you can share it with others by turning on Name & Photo Sharing. You can also choose to automatically share your Contact Poster with new contacts or to always ask permission before sharing it.
Why use the new Contact Photo & Poster feature on iOS 17
- Your contacts will be able to quickly identify you from other people in their contact list.
- Add a personal touch to an otherwise hum-drum feature.
- Promote your business to your professional colleagues.
- Express your personality in new ways.
Tips for taking a great contact photo to use on your iPhone
Whether you recruit a friend to snap a photo of you or try it on your own, selfie-style, here are a few tips for next-level contact photos:
- Avoid a cluttered background. Either use a simple background or use one of the new filters on iOS 17 to isolate your face and completely remove the background.
- Use Portrait Mode to take your photo. Using Portrait Mode in your Camera app will automatically blur the background and keep your features in focus when taking a photo. Since you want your face to be the focal point of the photo, stand within four feet of the camera when framing your shot.
- Use a portrait orientation photo. Portrait orientation is a better choice for your contact photo.
- Use natural light (no flash). Using a flash will wash out your face. Instead, look for a spot with soft, natural lighting for the best results.
- Crop and edit your photo. Once you have chosen a photo, crop it to remove any distractions, and then use iPhone’s built-in editor (or the editing app you’re comfortable with) to make adjustments to your photo. Don’t overdo it, though — you want your photo to look like you so your contacts aren’t confused!
Ready to shake things up with your contact photo on your iPhone? Follow our instructions and tips for creating a memorable contact photo.
