One of the greatest and most useful features of Apple products is the ability to AirDrop files wirelessly across your devices — and even the devices of other Apple users. AirDrop saves so much time and is especially valuable when you are transferring large files like videos and music files.
You can easily AirDrop files from Mac to iPhone or vice versa as long as you have your settings configured correctly on your devices. Here’s a complete guide to using AirDrop, along with some ideas for troubleshooting any issues you might be having.
AirDrop from iPhone to Mac
Let’s start with using AirDrop from iPhone to Mac. This is useful for photographers who take photos with their iPhones but like to do their editing on the big screen. It’s also great for sharing all your favorite iPhone videos. If you aren’t automatically syncing your iPhone files to your Mac using iCloud, AirDrop is the best way to transfer photos, videos, and music.
Here are the basics for wirelessly transferring photos from iPhone to Mac using AirDrop.
Before you AirDrop photos from iPhone to Mac
If you’re moving a bunch of photos from a specific moment — say, that road trip you did last weekend — the transfer time will depend on how many photos you took. And it can take forever to AirDrop photos if you took too many. So make sure you’re only transferring the photos you need, not those blurry shots that didn’t turn out well or dozens of photos that look almost the same.
CleanMy®Phone will help you declutter and organize your photos before moving them to your Mac by finding and deleting stuff like:
- Duplicates
- Similar photos
- Blurry shots
- Old screenshots and screen recordings
- Photos of text, like train schedules, and many more types of useless stuff
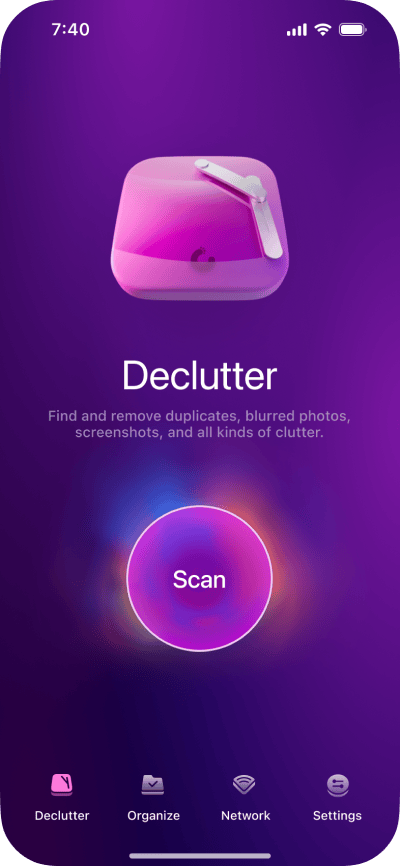
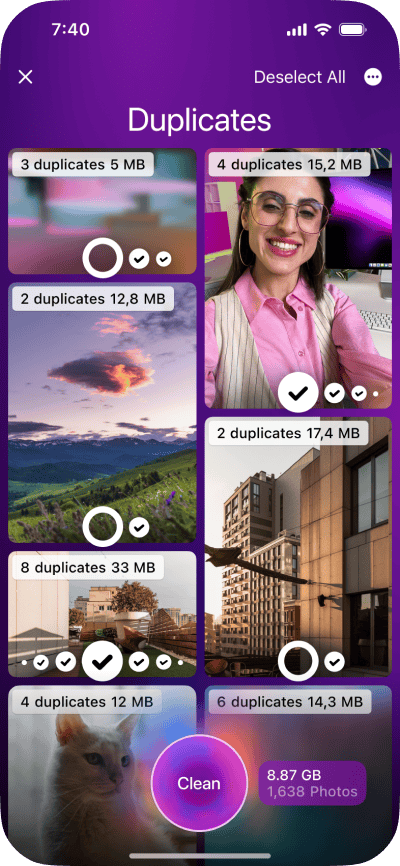
So, be sure to download CleanMy®Phone and run a scan with its Declutter and Organize modules before you start choosing the photos to AirDrop.
How to turn on AirDrop on an iPhone or iPad
On your iPhone or iPad:
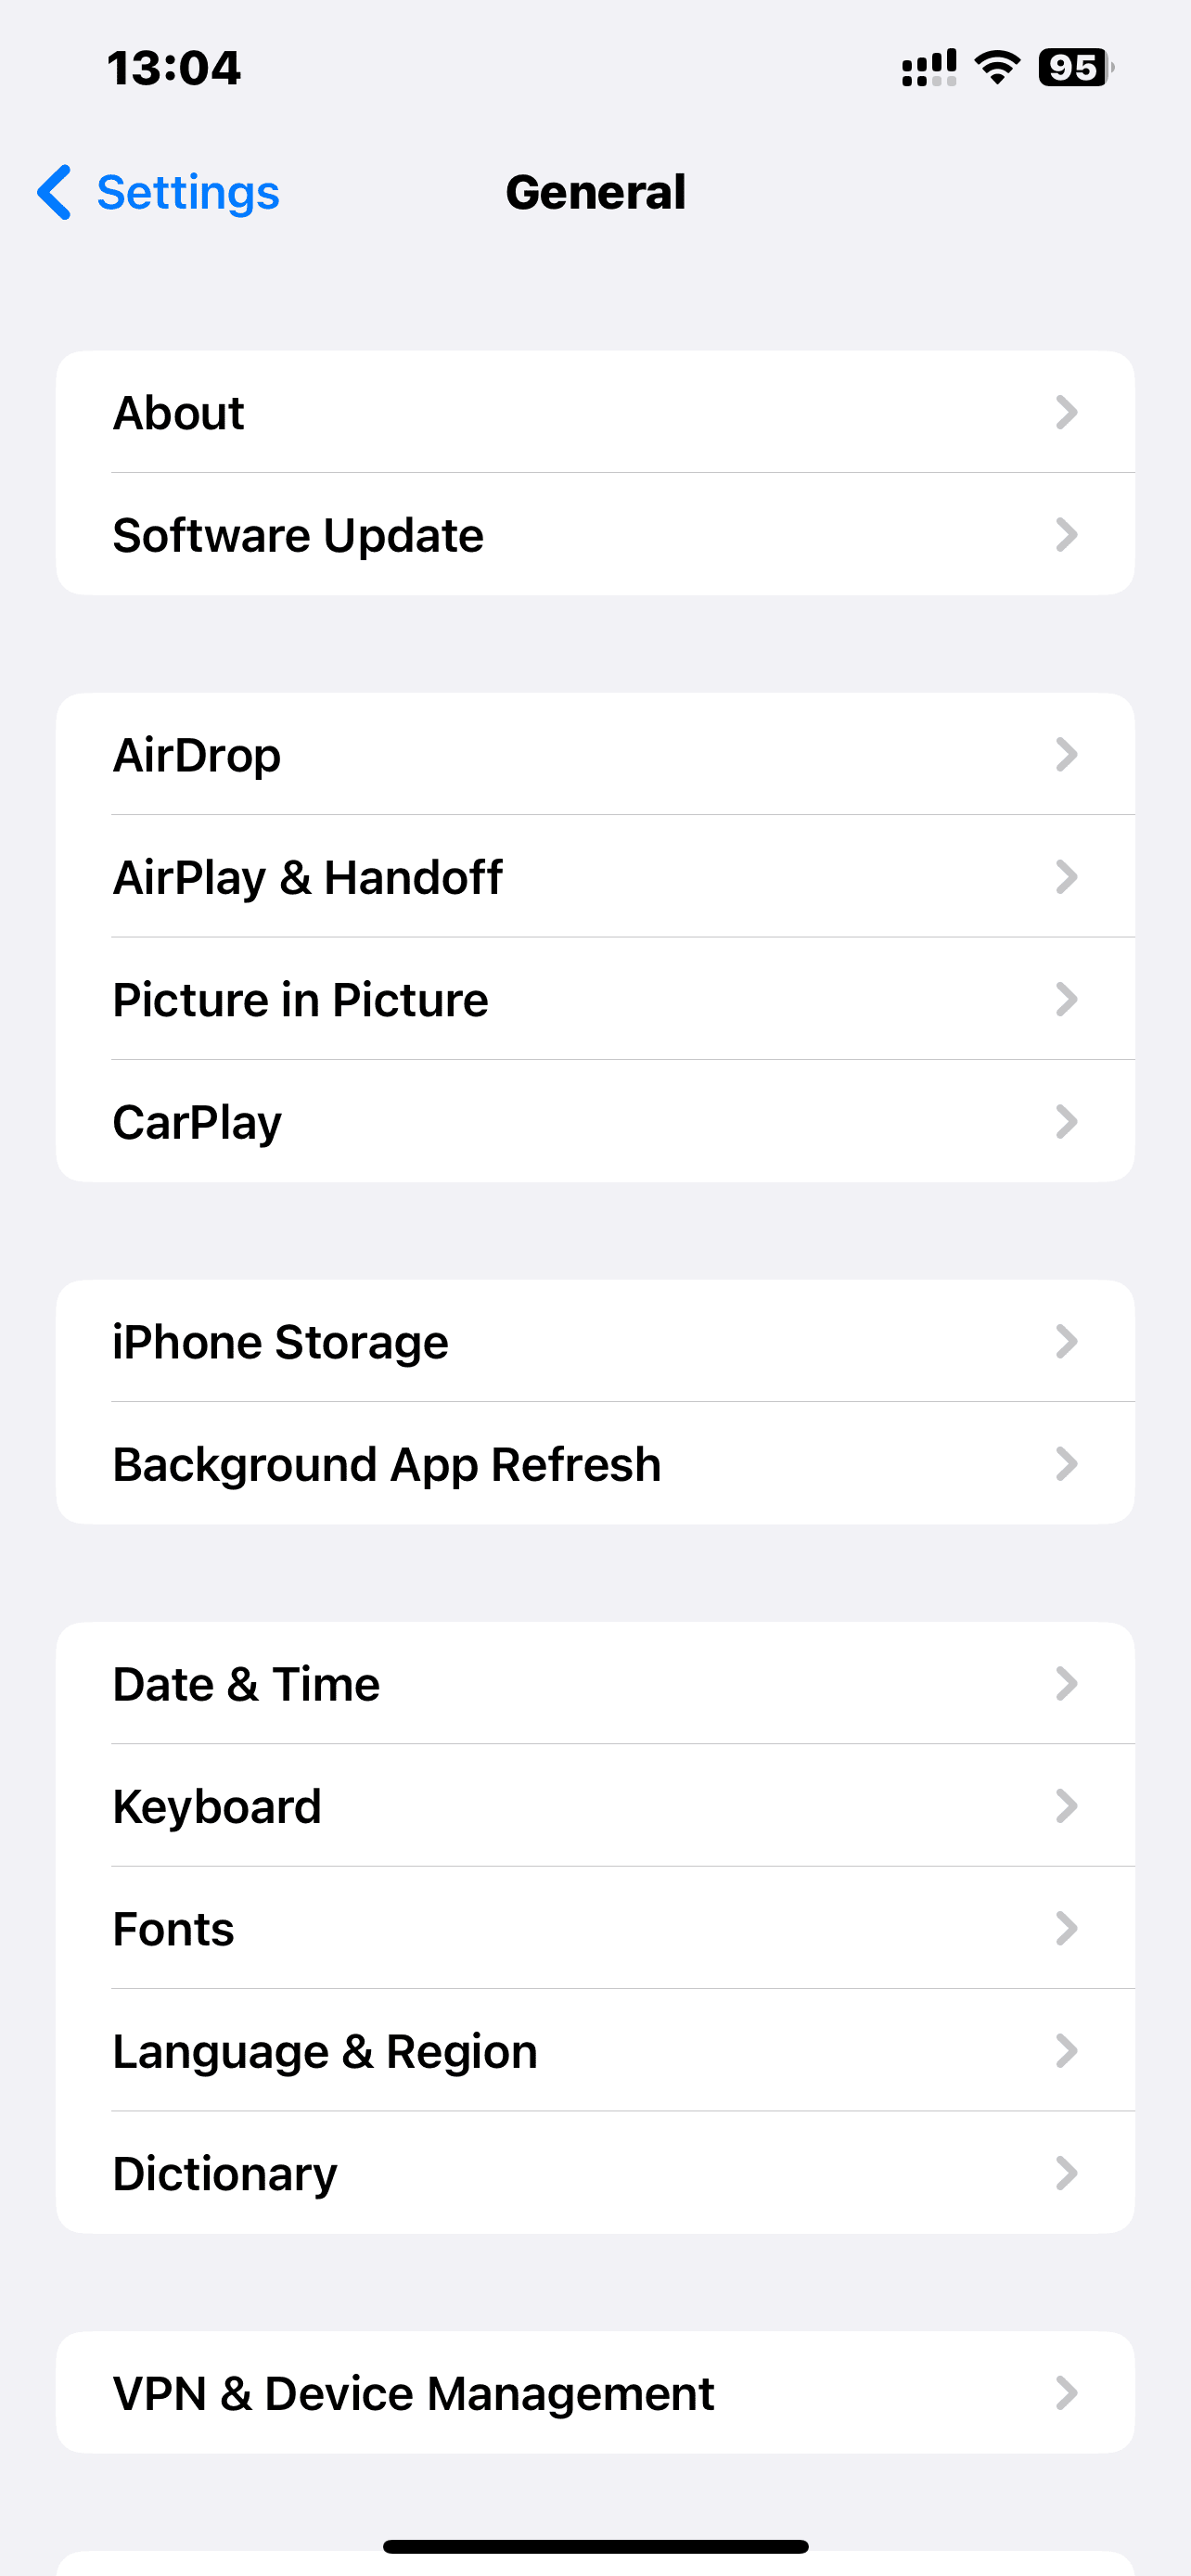
- Navigate to Settings.
- Scroll down and tap General.
- Tap AirDrop.
- In the AirDrop menu, choose Contacts Only to only transfer files to people in your contacts list or Everyone for 10 minutes to be able to transfer files to anyone nearby with an Apple device.
- Ensure that Bluetooth and Wi-Fi are both turned on and that you are within 30 feet of your Mac to begin transferring files.

How to enable AirDrop on a Mac
On your Mac:
- Open Finder.
- Choose AirDrop from the left sidebar. The AirDrop window will open.
- At the bottom of your screen, you will see “Allow me to be discovered by,” followed by a dropdown menu. Choose Contacts Only or Everyone.
- Ensure that Bluetooth and Wi-Fi are both turned on and that you are within 30 feet of your iPhone to begin transferring files.

How to AirDrop photos from iPhone to Mac
Now that you’ve turned on AirDrop on both your iPhone and your Mac, it’s time to start transferring your files. Here’s how to do it:
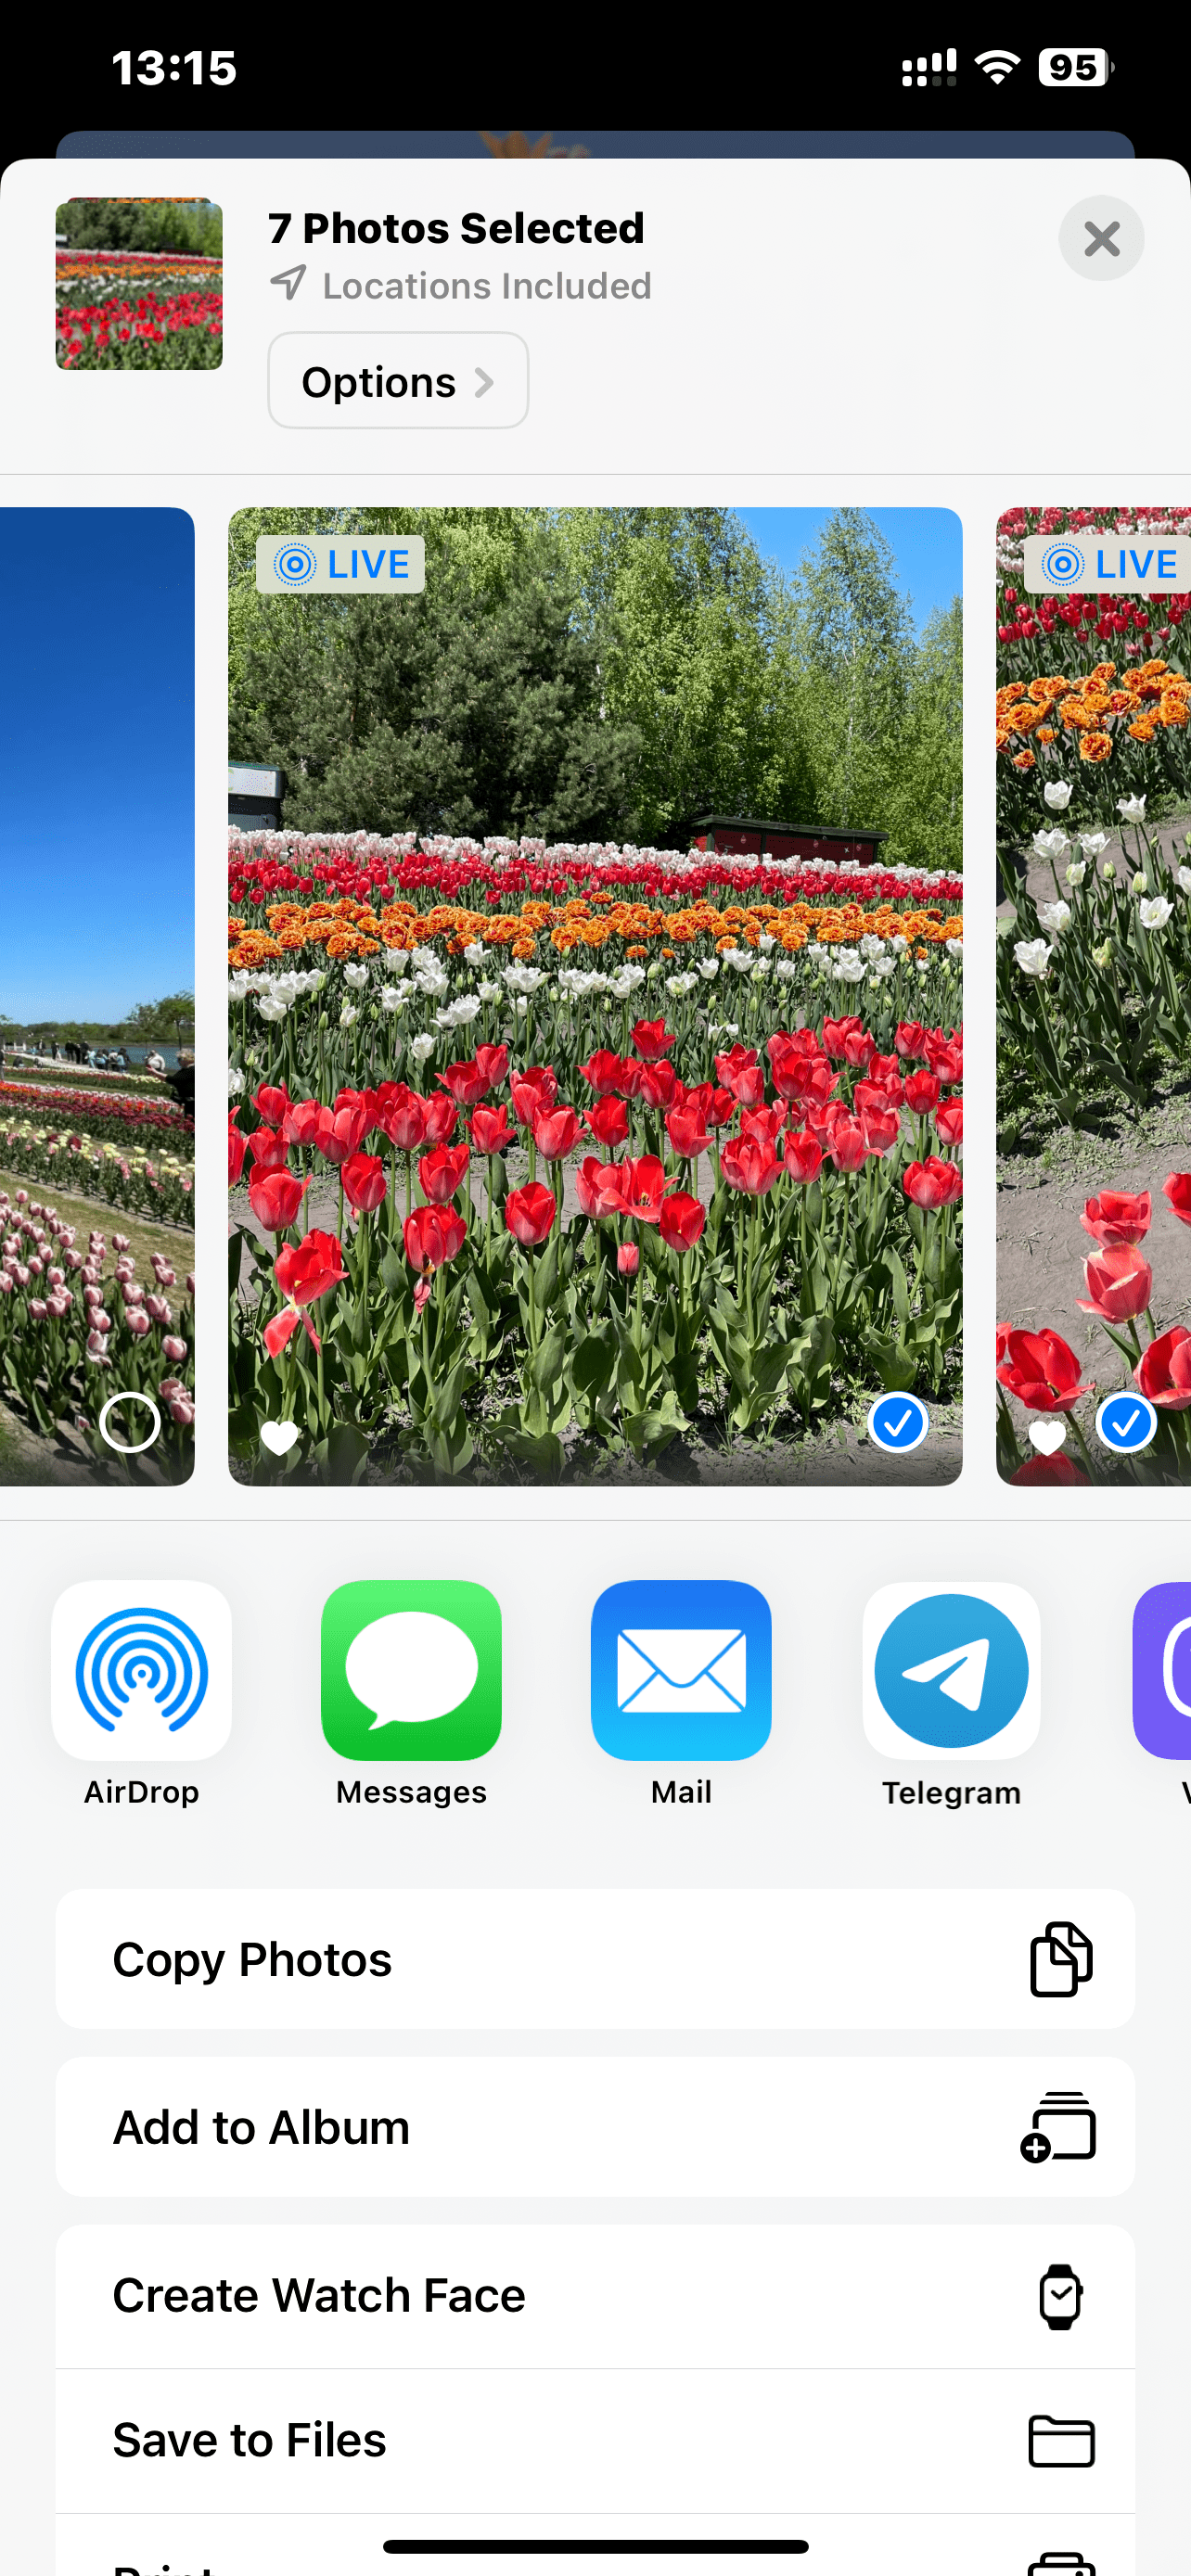
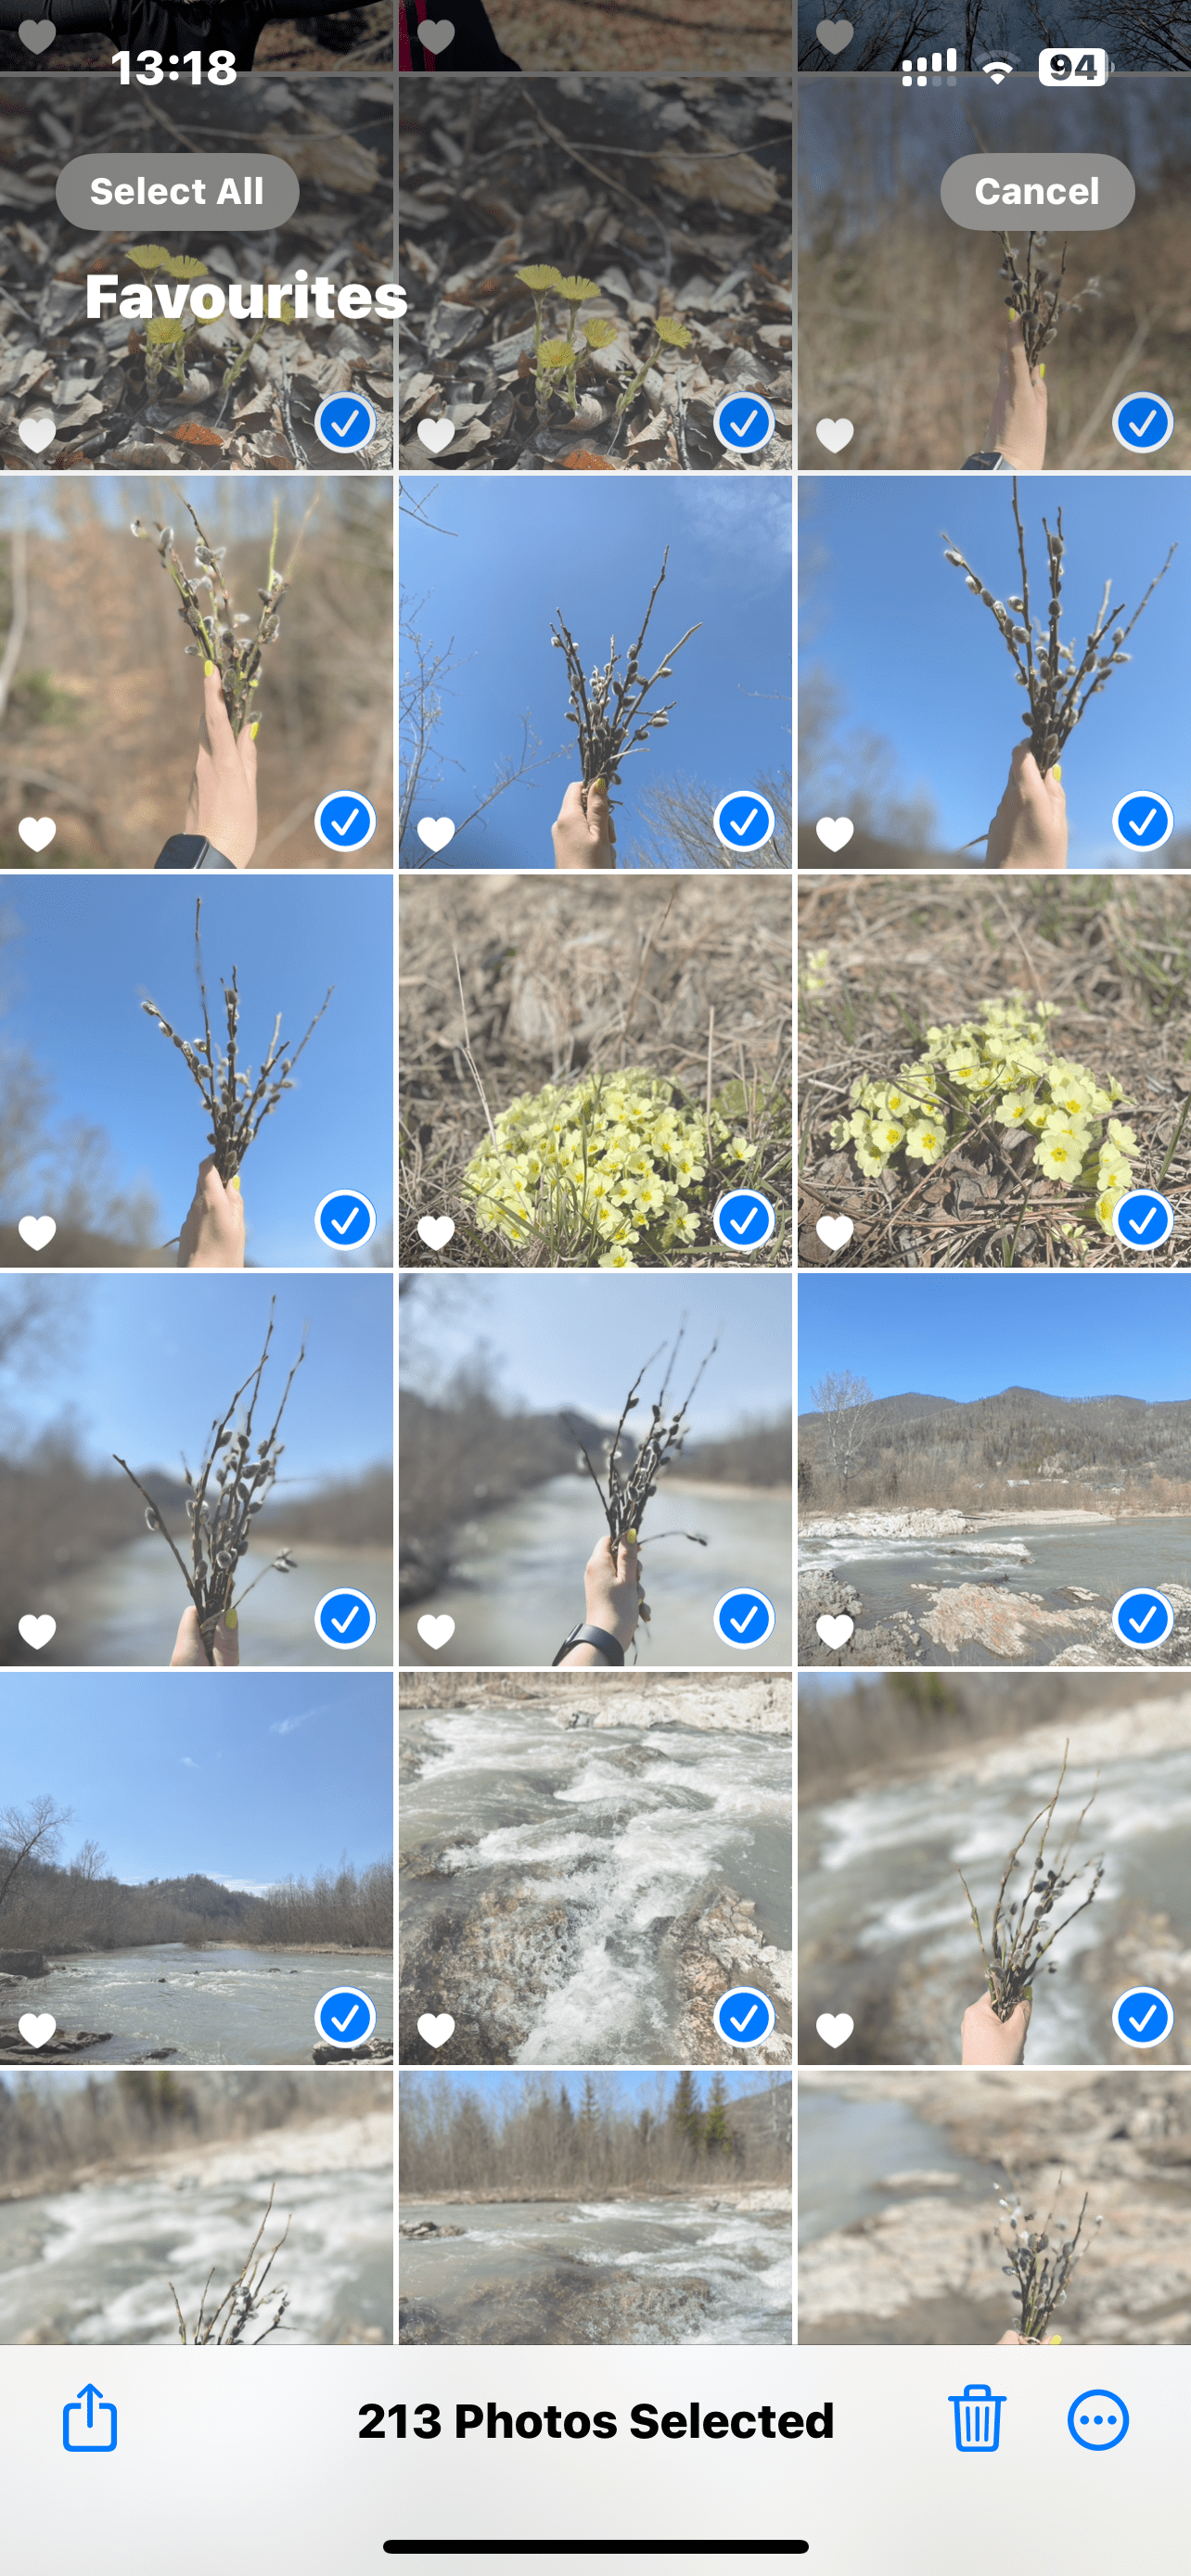
- Open the file that you want to AirDrop. If you want to transfer multiple photos or videos, open the Photos app and tap Select to choose all the photos and videos that you want to AirDrop.
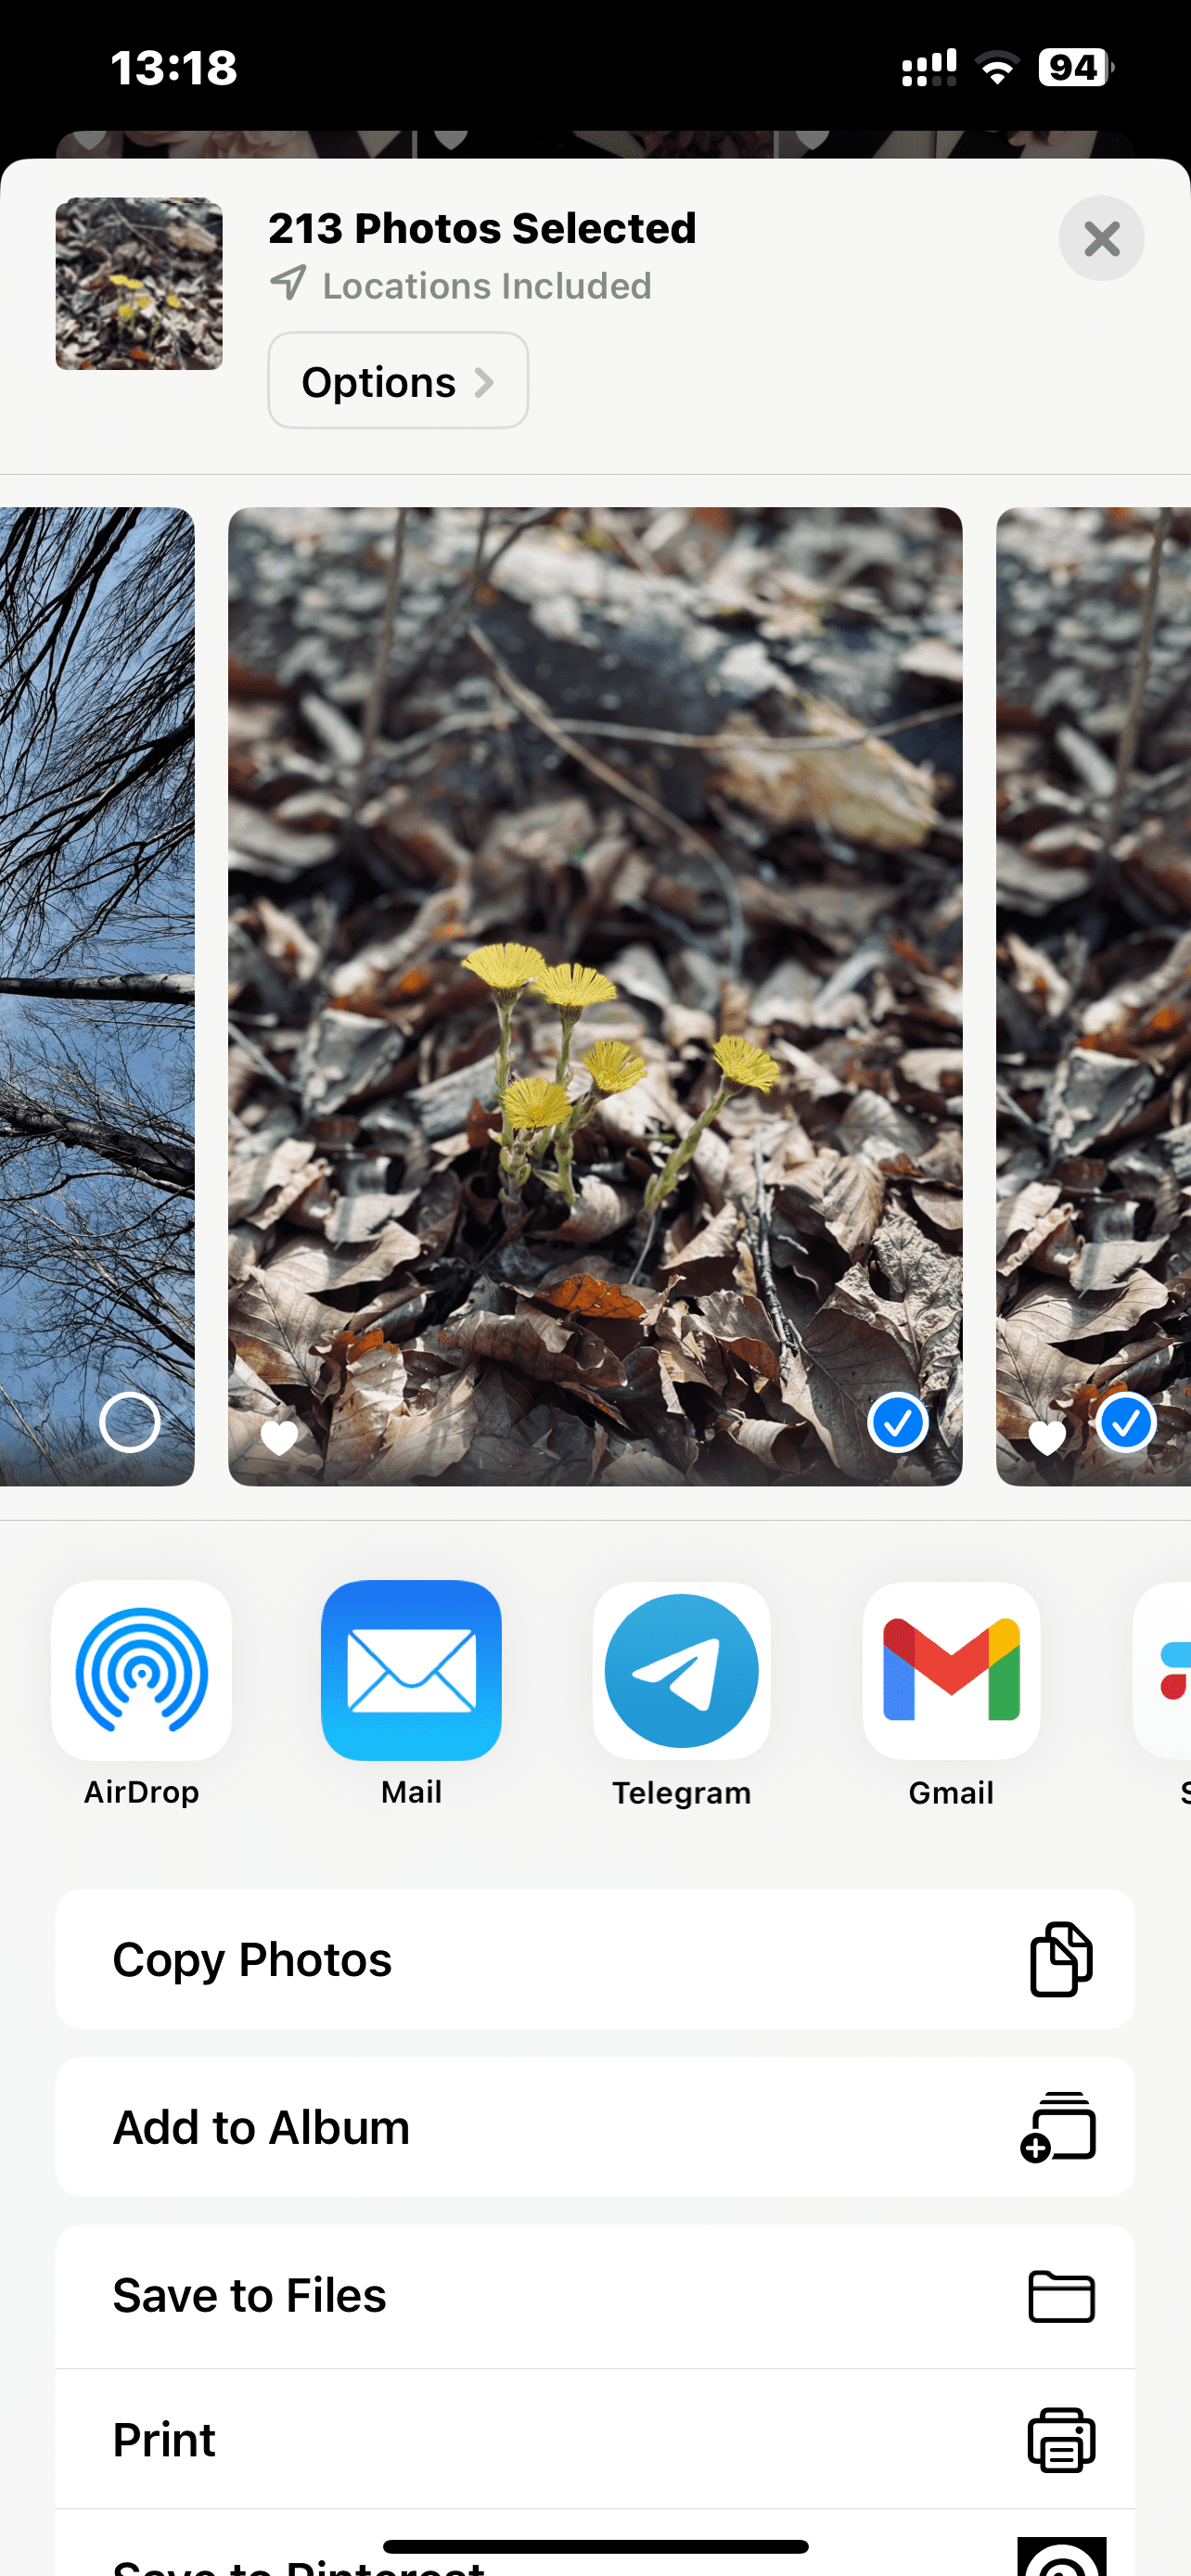
- Tap the share icon in the lower left.
- Choose AirDrop.
- Select your Apple device from the menu. The icon will be surrounded by a blue circle with the word Waiting underneath, followed by Sending and then Sent.
- Once your photos or videos have been sent, tap Done.

It’s worth noting that your iPhone photos might be transferred to Mac as HEIC files, and not all Mac apps are able to open them. Check out our guide to the HEIC format to figure out how to avoid and solve this problem.
Can I AirDrop 1,000 photos?
Theoretically, there’s no limit to how many photos you can send using AirDrop. However, your success will depend on how large your files are and how robust the processors on both of your devices are. The process could take upwards of 20-plus minutes, and you won’t be able to use either device while the files are transferring.
How do I AirDrop my entire Camera Roll?
The not-so-simple answer to this question is… it depends. How many photos are in your Camera Roll? How large are they? How powerful are your phone and your Mac? While there is no limit to the number of photos you can send via AirDrop, the time required could make the process impractical.
Want to try anyway? Here’s how to AirDrop your entire Camera Roll from your iPhone to your Mac:
- Open the Photos app on your iPhone.
- Tap Library, then All Photos to ensure that you include all of the photos in your Camera Roll.
- Tap Select in the upper right.
- Select the first photo on the bottom row (a blue checkmark will appear).
- Use two fingers to hold down on this thumbnail image. Then slowly drag your fingers upward across all of the photos in your Camera Roll until they’re all selected. While this process requires a bit of finesse, it’s still far easier than selecting each image one by one.
- Once all of your photos have been selected, tap the share icon at the bottom of the screen.
- Tap AirDrop and select the device you want to share the photos to.
- Be patient, as your transfer may take a while.
- Tap Done when all of your photos have transferred.
Why is my Mac not showing up on AirDrop?
As is the case with many technological advancements, AirDrop isn’t always perfect. If your Mac isn’t showing up on AirDrop, here are a few possible reasons and solutions.

Your Mac is not discoverable in AirDrop
Make sure that your Mac is set to be discoverable by your contacts or by everyone, as detailed above.
Bluetooth or Wi-Fi aren’t enabled on either your Mac or your iPhone
AirDrop uses Bluetooth to discover nearby devices and then uses Wi-Fi to transfer the data. To ensure that both are enabled, click on the Bluetooth icon at the top of the screen on your Mac. Click Turn Bluetooth On. Now click on the Wi-Fi icon at the top of the screen and select the Wi-Fi network you want to join. Look on your Control Panel on your iPhone to ensure that Wi-Fi and Bluetooth are enabled.
Your Mac is asleep
Your Mac display must be active for it to show up in AirDrop. To wake up your computer, simply press any key.
AirDrop from Mac to iPhone
Now, let’s go in the other direction and transfer files from your Mac to your iPhone. The process is very similar, and before you know it, you’ll be shuffling files back and forth like the digital card shark you are.
How to get a photo or video from Mac’s Finder to your Camera Roll
- First, ensure that both of your devices have Wi-Fi and Bluetooth enabled.
- Navigate to the Finder on your Mac and open the folder where your photos and videos are stored.
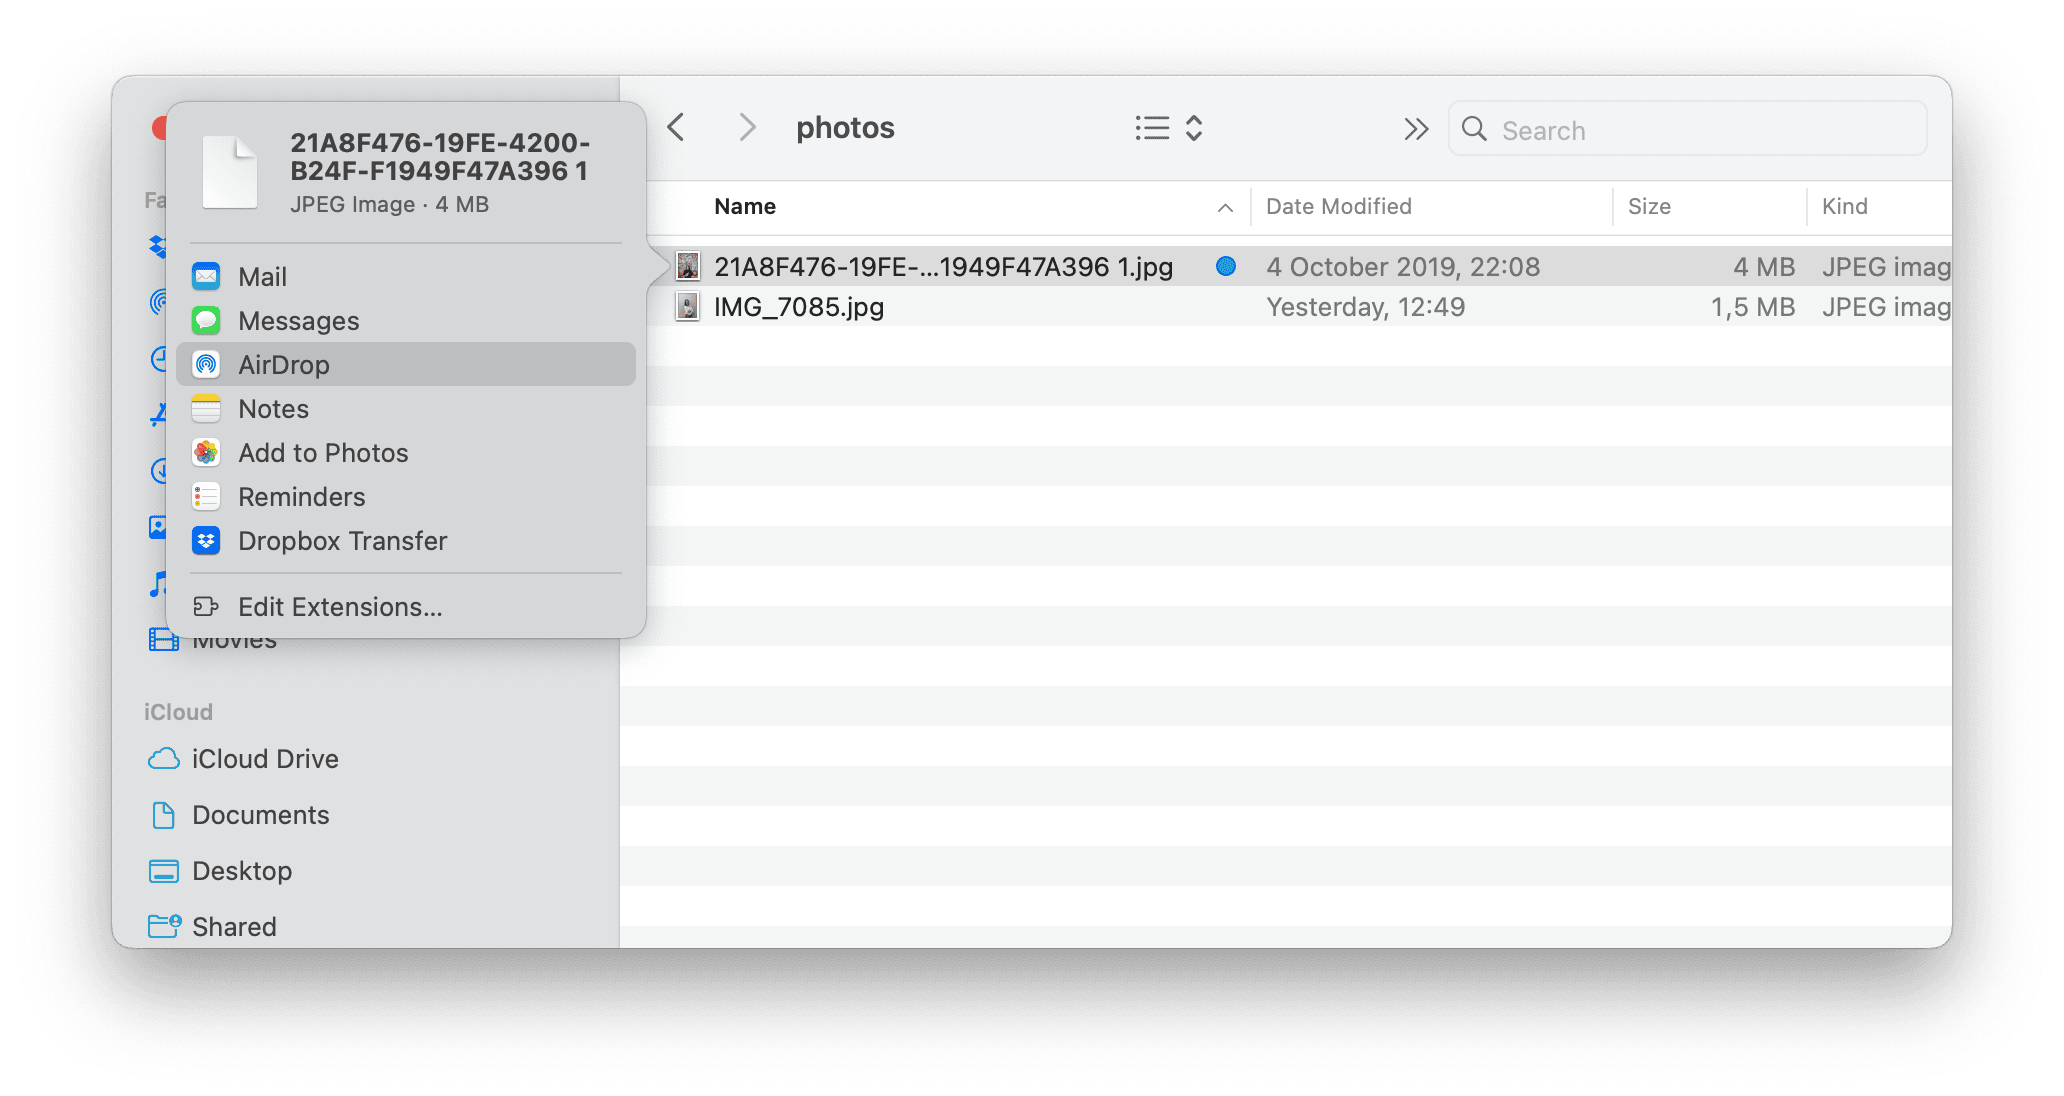
- Select a photo or video to highlight it. If you want to send more than one photo or video using AirDrop, hold down the Command key while clicking each photo or video to highlight them.
- Control-click and select Share > AirDrop.
- Select the name of the device you want to AirDrop to.
- Click Done.
- Your photo or video will open in the Photos app on your iPhone.
How to AirDrop a photo from macOS Photos to your iPhone
- Open Photos on your Mac.
- Select the photo or video that you want to transfer. If you want to send more than one, hold down the Command key while clicking the photos or videos that you want to send.
- Control-click and select Share > AirDrop.
- Choose the device you want to send your file(s) to, and then click Done.
- Your photo or video will automatically open on your iPhone.
Why is AirDrop not working on Mac?
Is AirDrop acting up on your Mac? Don’t give up on it just yet! Here are some possible reasons and solutions. You can also try the methods outlined in the “Why is my Mac not showing up on AirDrop?” section above.
Airplane mode is turned on
Airplane mode disables the cellular radio within your device, in addition to Wi-Fi. Try turning off Airplane mode to ensure that AirDrop will work.
You’re using a Personal Hotspot for your Mac’s Wi-Fi
If your Mac is using your phone’s Personal Hotspot, AirDrop will be disabled. That’s because Personal Hotspot and AirDrop require Wi-Fi for themselves. To turn off this feature in iOS, navigate to Settings > Personal Hotspot and toggle it to off.
There is a glitch in your Bluetooth connection
Unknown problems happen from time to time. When all else fails, toggle Bluetooth off and then on again on your Mac.
Ready to give AirDrop a try? Once you get used to transferring files this way, you’ll wonder how you ever lived without AirDrop in your tech toolkit!


